


Raid Overview
Raids are designed for 20-person parties, which are typically composed of four standard 5-person groups. Once players have sufficient gear, it's common to see "Low Man" runs, where the raid is completed with 12 people instead of the full 20.
The parties are often divided as follows, with the DPS taking all the remaining slots:
| Low Man | Normal / Hard | Nightmare |
|---|---|---|
| 12 People | 20 People | 20 People |
| 2 Tanks | 2 / 3 Tanks | 3 / 4 Tanks |
| 2 Healers | 4 Healers | 4 Healers |
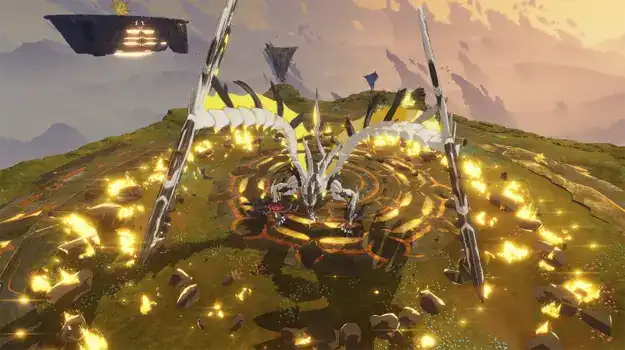
Dragon Shackles: Light-Tonatiuh (Light Dragon) Raid Guide

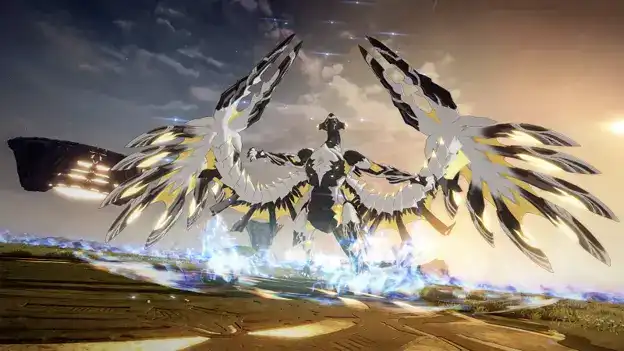
The Light Dragon Raid, where Players fight against Light-Tonatiuh, is the final dragon raid of Season 1. It serves as a capstone for players into the true endgame of BP:SR.
The challenge in this fight comes from players’ individual responsibility to resolve mechanics. When disengaging from the boss is not necessary, the focus will be on safe positioning and consistent damage output.
Players will have 3 revives in the Normal Mode, 1 revive in Hard Mode, and 0 in Nightmare Mode. The Airona Imagine can revive players without affecting your revive limit or costing any revival beans.
Loot
| Difficulty | Ability Score Needed | Drops | Gear Rarities | Item Lvl |
|---|---|---|---|---|
| Normal | 16140 | Runic Alloy Shards, Throne (Gold), Regorge Stones | Epic Modules + Legendary Gear | 60 |
| Difficult | 20670 | Runic Alloy Shards, Throne (Gold), Regorge Stones | Epic Modules + Legendary Gear | 60 |
| Nightmare | 27790 | Void Runic Alloy Shards, Throne ( Pure Gold), Regorge Stones, Glinting Stellar Core | Legendary Modules + Legendary Gear | 80 |
Note: Nightmare Raids also have a chance to drop a tradeable chest containing Throne (Pure Gold) or a Glinting Stellar Core.
Note: The gear that drops from the raid is regular Legendary gear; the raid gear can only be obtained by exchanging Runic Alloy Shards at Cassie, the Floating Island Envoy.
Phase 1
Spacetime Collapse


Targets the highest aggro with a tank buster that will lower their aggro significantly and give them a vulnerability debuff. This is a forced tank swap mechanic, and requires another tank to step in and handle the boss afterwards.
Nightmare +: Nearby players are pulled in after the collapse goes off, be careful with this!
Void Dual Pact

Marks two players with a small AoE circle. After a short time the AoE will deal damage and create Spacetime Crystals at the marked players’ locations. It is best to place one of these in the center of the arena, near the boss, and the other on the edge of the arena.
Spacetime Field

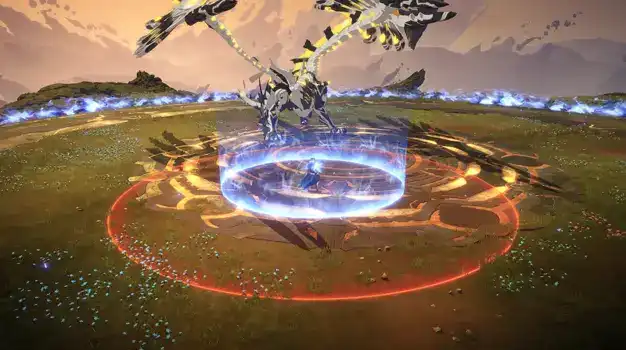
Interact with the Spacetime Crystal to turn it into a Spacetime Field. Standing inside the field will make players immune to projectiles, and take significantly less damage.
Hard +: After a player interacts with the Spacetime Crystal, a Void Collapse Zone will be placed upon them. This zone will leave a blue puddle on the ground that damages anyone inside of it. Be sure to place these along the edge of the arena to avoid unnecessary damage to the party.
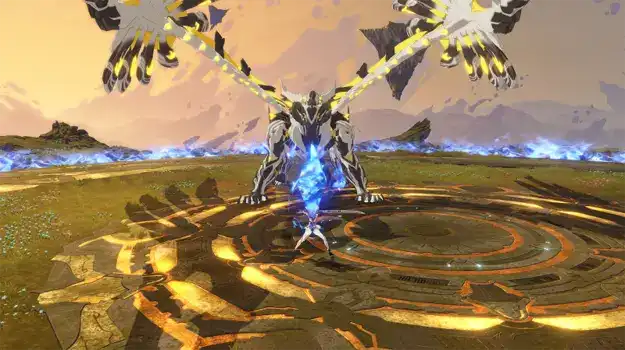
Spacetime Blitz
Tonatiuh will bow its head in an indication that it will fly up and slam down. Getting hit by this damage without being inside of a Spacetime Field will launch the player upwards and they will fall to their doom.
Spacetime Rift

After interacting with a Spacetime Crystal and opening a Spacetime Field, it will become a Spacetime Rift. When interacting with a Spacetime Rift, it will teleport you to the other Spacetime Rift.
Note: If the crystal is never interacted with and turned into a rift, players will be unable to teleport between the two. This can cause a wipe.
Purifying Light: Focus
A light wave will be summoned starting from the outside and working its way towards the center. Getting hit by this results in instant death. Players can save themselves by utilizing the Spacetime Rifts on the map.
Purifying Light: Scatter
A light wave will be summoned starting from the center and working its way outwards. Getting hit by this results in instant death. Players can save themselves by utilizing the Spacetime Rifts on the map.
Nightmare +: Starting from Phase 2, two light waves in succession will now be summoned instead of a single one. Note that the order of which Purifying Light is summoned between “Focus” and “Scatter” is now inverted.
Earthquake
Periodically throughout the fight, the dragon will stomp its foot and emit a quake that ripples through the ground. This deals AoE damage and can be healed through.
Summon Ads

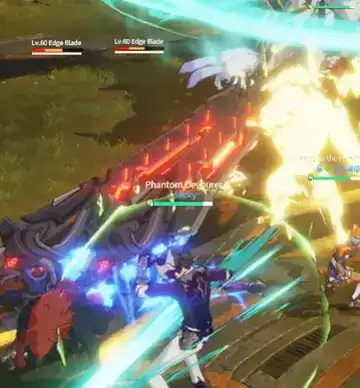

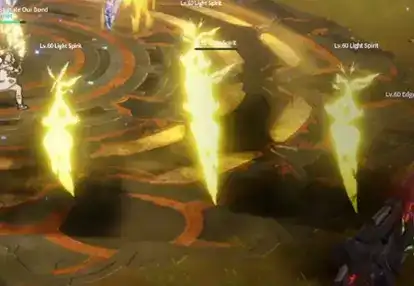
Tonatiuh will roar and summon ads consisting of a few Edge Blades and Light Spirits. These need to be bursted down to avoid the additional incoming damage to the party.
Phase 2
End of Spacetime


Tonatiuh will freeze time and then release an explosion that knocks players back. This will signal the end of the first phase of the fight and players will need to get knocked towards the floating light crystal and dark crystal islands.
Note: Be sure to be as close to the edge as possible when this knockback occurs, as it is possible to fall short of the island. To resolve this properly, players can walk forward a little bit when time unfreeezes, but before the knockback occurs.
Radiant & Dark Crystal

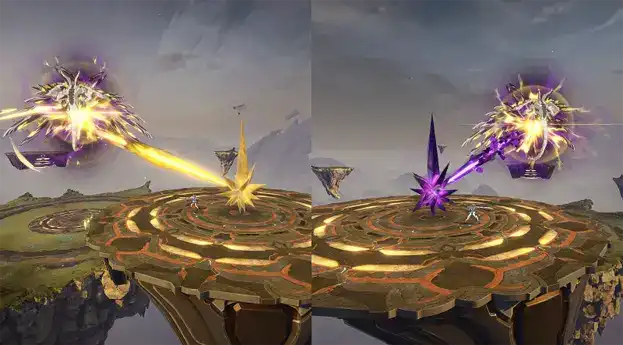
These crystals will continually feed energy to the boss otherwise he will unleash a devastating move upon the raid, causing a raid wipe. To get through this mechanic safely, the crystals must be defeated simultaneously, otherwise they will regenerate.
Hard +: The crystals will have shields, and breaking the shields inflicts a vulnerability toward the crystals element to everyone on the platform, along with spawning a rift. To resolve this, players will break the shield and then use the rift at the back of the platform to switch to the other crystal’s platform. This ensures that players aren’t taking additional damage from the crystals, but they still deal decent damage so be sure to heal through this!
Radiant Seed
Tonatiuh will summon several Radiant Seeds on players. These seeds will explode after a few seconds and instantly kill any players within range. To resolve this, players will place the Radiant Seeds along the edge of the arena and create a safe space along the edge of the arena for their teammates.
Tip: Players can utilize well placed rifts to move towards the edge of the arena quickly and create a safe spot for their allies.