


Raid Overview
Raids are designed for 20-person parties, which are typically composed of four standard 5-person groups. Once players have sufficient gear, it's common to see "Low Man" runs, where the raid is completed with 12 people instead of the full 20.
The parties are often divided as follows, with the DPS taking all the remaining slots:
| Low Man | Normal / Hard | Nightmare |
|---|---|---|
| 12 People | 20 People | 20 People |
| 2 Tanks | 2 / 3 Tanks | 3 / 4 Tanks |
| 2 Healers | 4 Healers | 4 Healers |
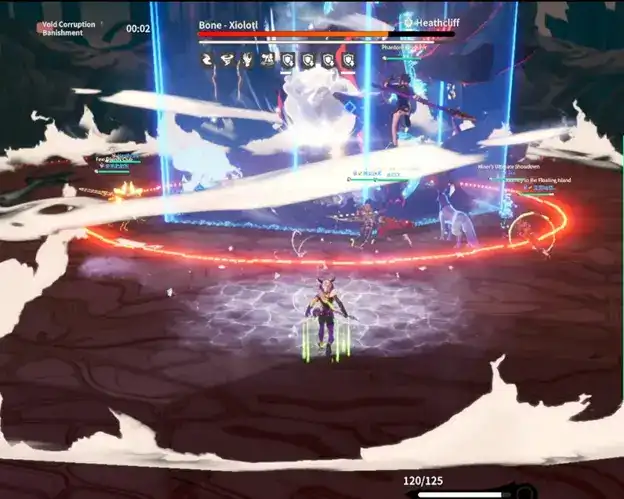
Dragon Shackles: Bone-Xiolotl (Void Dragon) Raid Guide

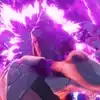
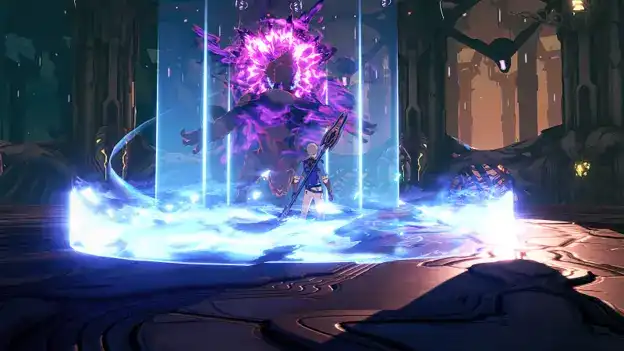
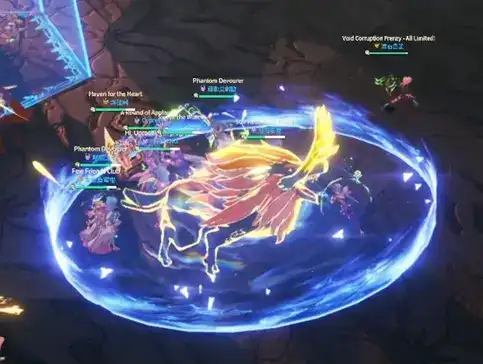
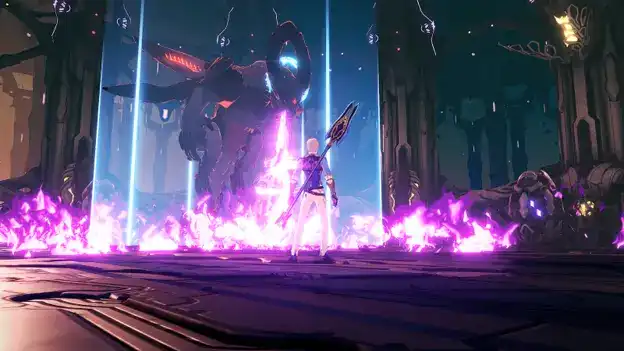
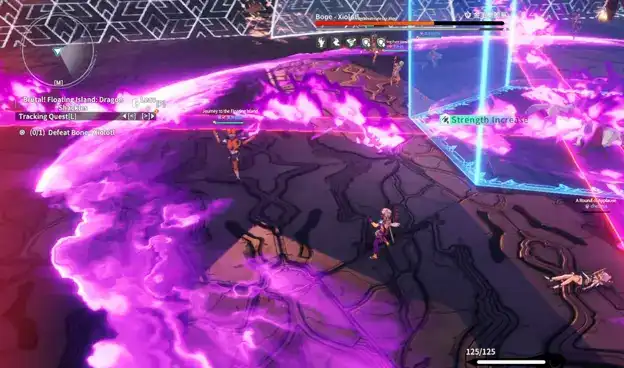
The second in a series of three, the Void Dragon Raid, where Players fight against Bone-Xiolotl, is a new challenge for adventurers of Regnus. It serves as a continuation for players into the true endgame of BP:SR.
The challenge in this fight stems from players’ individual responsibility to understand and resolve mechanics. When disengaging from the boss is not necessary, the focus is on maintaining safe positioning and consistent damage output.
Players will have 3 revives in the Normal Mode, 1 revive in Hard Mode, and 0 in Nightmare Mode. The Airona Imagine can revive players without affecting your revive limit or costing any revival beans.
Loot
| Difficulty | Ability Score Needed | Drops | Gear Rarities | Item Lvl |
|---|---|---|---|---|
| Normal | 15210 | Runic Alloy Shards, Throne (Gold), Regorge Stones | Epic Modules + Legendary Gear | 60 |
| Difficult | 19040 | Runic Alloy Shards, Throne (Gold), Regorge Stones | Epic Modules + Legendary Gear | 60 |
| Nightmare | 24180 | Void Runic Alloy Shards, Throne ( Pure Gold), Regorge Stones, Glinting Stellar Core | Legendary Modules + Legendary Gear | 80 |
Note: Nightmare Raids also have a chance to drop a tradeable chest containing Throne (Pure Gold) or a Glinting Stellar Core.
Note: The gear that drops from the raid is regular Legendary gear; the raid gear can only be obtained by exchanging Runic Alloy Shards at Cassie, the Floating Island Envoy.
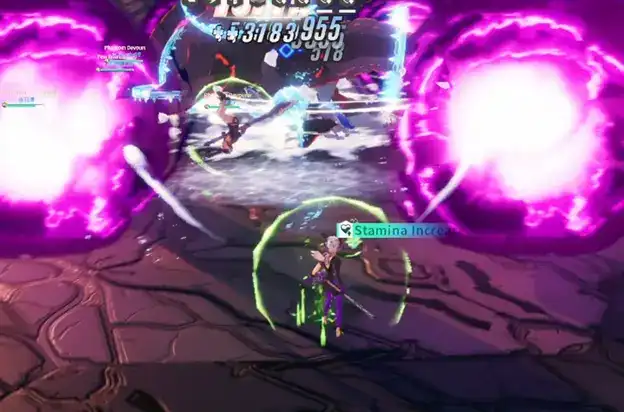
The Fight
Void Contagion

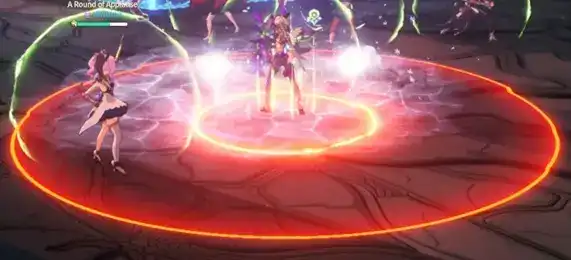
Xiolotl will roar and several players will get an AoE marker on them. When this AoE hits a player besides the person targeted by it, it will spread to them. This mechanic is best resolved by spreading out and ensuring that the Contagion AoE only hits the intended target.
Void Corruption Banishment

A portal will appear, taking players to the sealed dimension. Typically, this mechanic happens twice and it is split up by parties 1 & 3 (left side, enters first) and parties 2 & 4 (right side, entering second).
Hard +: The same player can not enter the portal more than once. Attempting to do so will result in immediate death for that player.
Void Spheres

Right before the cast of Void Corruption Banishment, the Void Dragon will roar and push back players. Afterwards, it can opt to shoot out Void Spheres in a spiral pattern that deal high damage to players hit.
Nightmare +: These will one shot anyone that is hit by them.
Void Wheel

Right before the cast of Void Corruption Banishment, the Void Dragon will roar and push back players. Afterwards, it can opt to do a donut AoE that players can dodge by being adjacent to its hitbox or very far from it.
Unsealed Wing
When Xiolotl’s wing seal is broken, he will fly into the air and unleash a spinning breath attack. Players must avoid the 4 line AoEs that will fan out from the center and begin rotating around the arena.
Unsealed Wing (Hard+)

There are Void Corruption Waves that accompany the breath attack. Players must jump over these while avoiding the line AoEs as well.
Unsealed Tail

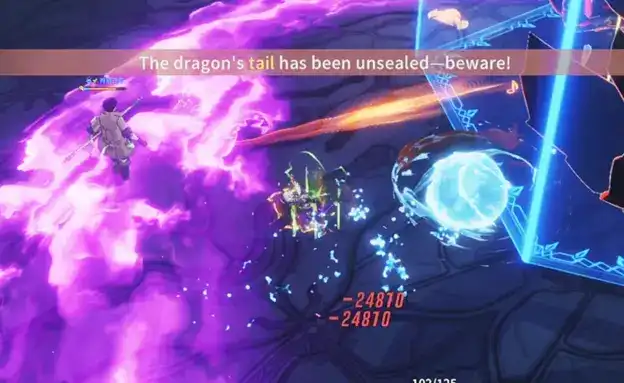
The Void Dragon will slam its tail on the ground and emit two void pulses from it. To dodge this mechanic, players need to jump over it.
Unsealed Head
Xiolotl will fire a breath in front of it, toward the tank position.
Unsealed Claw
The Void Dragon will summon an orb in front of itself. It will then swipe at this orb 4 consecutive times, dealing large AoE damage each time.
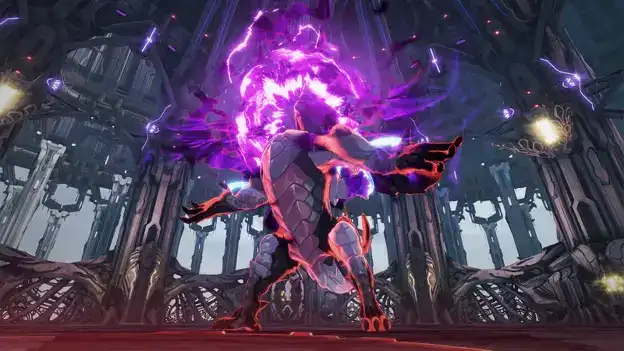
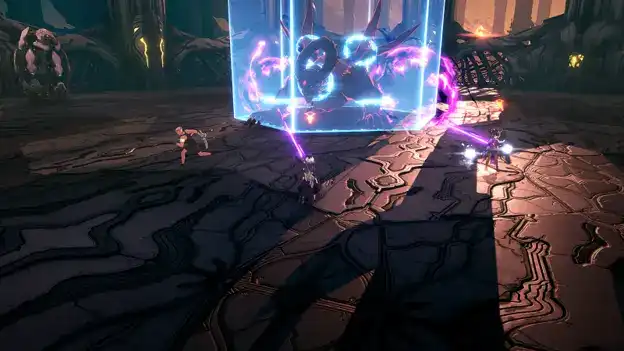
Inside the Seal

There will be 3 divine constructs with rune’s on their heads, along with 2 small green robots that generate a forcefield and 2 red robots that repeatedly deal AoE damage. Gather all 3 of the divine constructs (white robots) on top of one of the small green robots, avoid stacking the party on the red robots. Defeating a divine construct will drop its rune, and once all three runes are picked up, the group will automatically exit the seal.
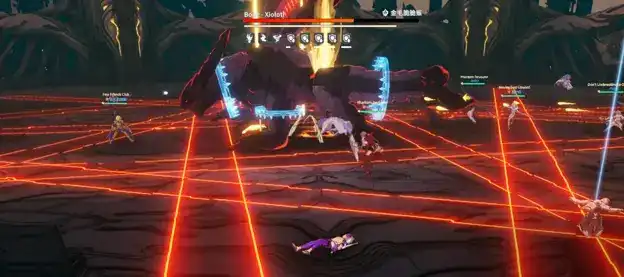
Void Corruption Afterimage
Xiolotl will summon two Void Corruption Afterimages that will lock onto two random players. After a short time, the Afterimages will charge at the target and all players along the path will share the damage. This is a linear stack mechanic, and the targeted players will also have arrows pointing inwards to indicate this.
Hard +: Getting hit by both stacks will instantly kill you.
Void Mist Spray
Two players will be marked with Void Mist. Take these towards the edge of the arena to give people space in the center to safely fight the boss. Be sure that when you are in position, that you stop walking forward. It is possible to walk too far into this telegraph if you’re not careful.
Nightmare +: Three players will be marked instead.
Divine Seal
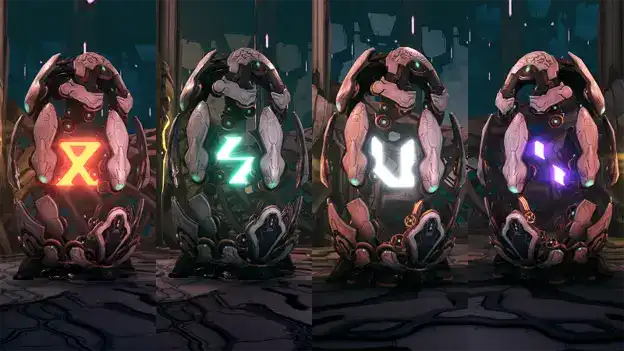
These runes are used to suppress the Void Dragon. They will change frequently, so pay close attention to which rune is inside which seal.
Divine Seal Orbs

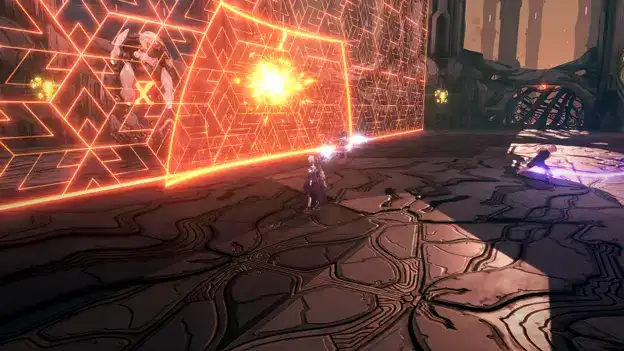
Occasionally, the Divine Seals will shoot out 3 orbs each, indicated by the line AoEs on the ground. Stand in the safe spots to avoid taking extra damage here, and remember to watch out for the cleaves from the front of the dragon!
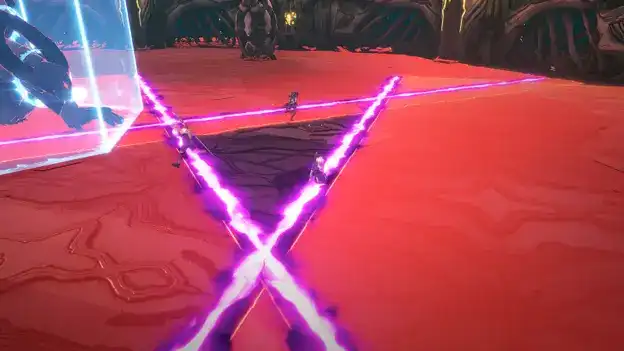
Divine Seal Emergency Mode
After exiting the alternate dimension inside the seal, the Divine Seals will start generating a light wall that will slowly close in on the party and kill anyone it touches. To prevent this, the players that picked up runes will need to create a shield with the interact key and block the light walls. Be sure to line it up far enough away from the party to allow. Be sure to line it up far enough away from the party to allow for space to execute the other mechanics.