

Loading content...
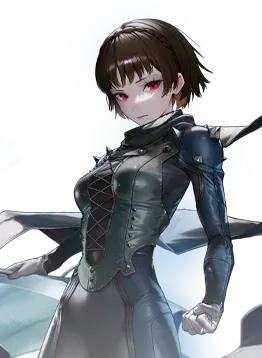
 character from the Attacker class, who wields a Shotgun
  weapon and belongs to the Fire
  element. She's part of the Abnormal
  faction.
 To learn more about Queen (Makoto Niijima) check the sections below. Use the tabs to quickly switch to the kind of information you're looking for.
Profile
Normal Attack
Shotgun
Mode: Normal
Ammo: 9
Reload: 1.5s
■ Affects Target(s).
Deals 201.5% of ATK as damage.
Deals 200% damage when attacking core.
Persona: Johanna
Passive
Cooldown: -
■ Activates at the start of battle. Affects self.
Persona - Johanna: This effect is continuous and cannot be removed.
Function: Queen (Makoto) strengthens herself using her Persona.
Effect 1: Nuke Boost: Elemental Advantage Attack Damage ▲ 13.59% continuously. This effect cannot be removed.
Effect 2: Defense Master: DEF ▲ 14.78% continuously. This effect cannot be removed.
■ Activates at the start of battle and when Full Burst ends. Affects self.
ATK ▲ 50.28% for 15 sec.
■ Activates when 1 More takes effect. Affects all enemies.
Deals 548.99% of final ATK as distributed damage.
■ Activates when Follow Up takes effect. Affects all enemies.
Deals 548.99% of final ATK as distributed damage.
Fist of Justice!
Passive
Cooldown: -
■ Activates at the start of battle. Affects self.
Attack Damage ▲ 30% continuously.
■ Activates when using Burst Skill. Affects self.
Fist of Justice!: This effect is continuous and cannot be removed.
Function: Queen (Makoto) strengthens herself.
Effect 1: Nuke Amp: Elemental Advantage Attack Damage ▲ 25.56% continuously. This effect cannot be removed.
Effect 2: Rakukaja: DEF ▲ 17.95% continuously. This effect cannot be removed.
Deactivation condition: When Full Burst ends.
■ Activates when entering Burst Stage 3. Affects self.
Distributed Damage ▲ 90.01% for 10 sec.
■ Activates when 1 More takes effect. Affects all standard Burst 3 allies (except the skill user) in the Persona state.
Baton Pass: ATK ▲ 35.2% of the skill user's ATK continuously. Stacks up to 3 times.
Mafreidyne
Active
Cooldown: 40s
■ Affects all enemies.
Deals 1421.69% of final ATK as distributed damage.
■ Activates if a Wind Code enemy is present. Affects self.
1 More: ATK ▲ 30.27% for 10 sec.
Review
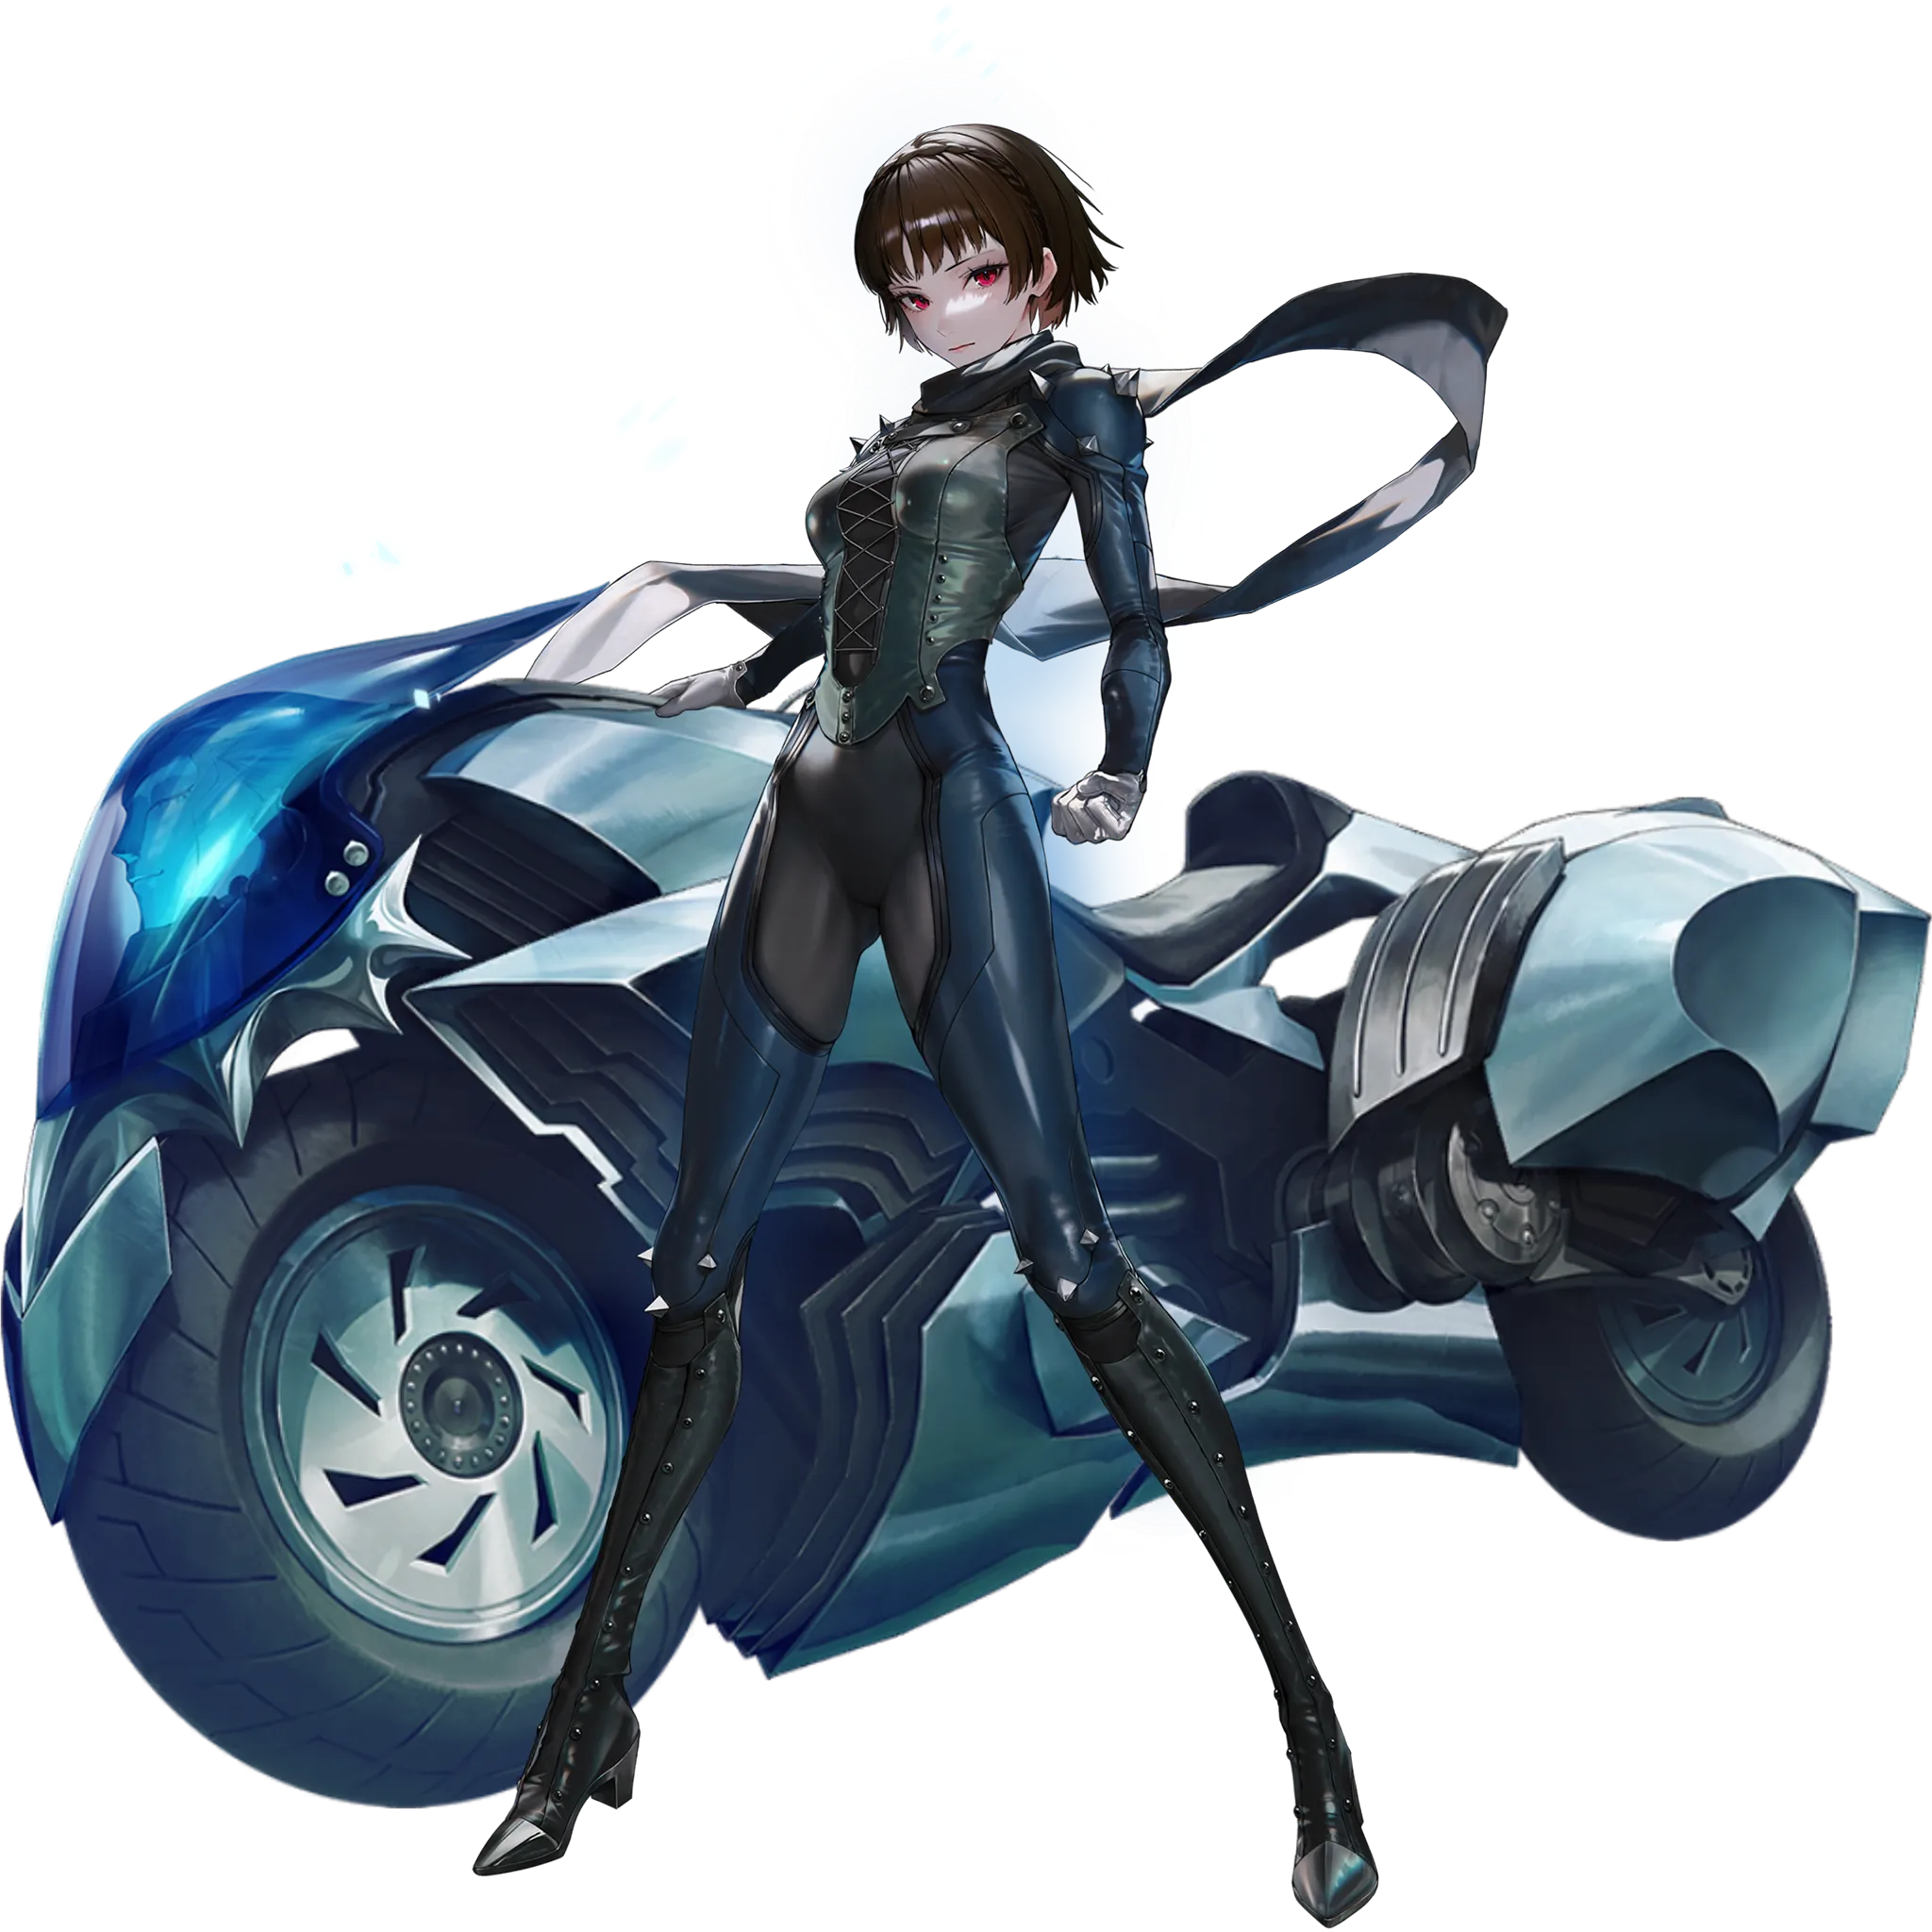
An intelligent and responsible collaborator,  Queen (Makoto Niijima) is a powerful Wind boss killer playable solo or with her kin,
  Yukiko Amagi .
Deployed together, they buff each other's ATK and additionally Yukiko enables Makoto to deal extra Distributed DMG. Their teamwork allows them to be highly relevant for Fire-weak SR and also UR if you're double hitting Wind (i.e. Fire-Weak). This makes them similar to EVA 2 on release.
Played solo (to use Yukiko elsewhere), she is still viable in Fire SG Team. Given equal investments, she surpasses Neutral  Dorothy: Serendipity , forming the archetype's best variant for Fire-weak SR.
In PvP, she can be used as a regular wiper or early pressurer against Wind units such as a vulnerable  Noah . However, as she is non-Clip SG, she isn't as versatile as
  Drake (Treasure) .
Collab banners always have the nuance of being limited, so our recommendations are less strict:
If you like the Persona franchise or want to avoid gray entries in Nikkepedia, pull at least 1.
If you are a Fire-weak SR main, pull at least 1 and consider dupes if seriously competitive (above 2 LB/3 MLB not advised for non-spenders).
If you are a generalist (wants good overall performance in UR/SR regardless of element), pull at least 1 because they are Fire's T2.
If you are a beginner:
If you are low on gems, skip both characters or pull only Yukiko.
If you don't have any Fire DPS, there is merit to building Makoto and Yukiko (especially the latter), but they will get superseded outside Raid by RRH and MiharaBC when you get them.
If you are a beginner who is rerolling, reroll in Yukiko's banner first before Makoto.
Note that you always have the option to pull the units but defer building them.
Depending on how much you value units unobtainable in the future, they can be worth mileage. That said, the return is not as high as when using it on 1% banners. We recommend using gems first.
Makoto and Yukiko both have high amounts of ATK▲, diluting external buffs. Plus, they support each other. This means getting dupes for either will boost the damage of both. Hence, dupes are valuable, but we only recommend them to players who are seriously competitive in Fire-weak SR.
Makoto strengthens herself with buffs that activate in four different timings:
At the start of the battle: Permanent 13.59% ELE DMG and 30% ATK DMG.
When entering Burst Stage 3: 90% Distributed DMG that buffs Burst Skill & S1 damage.
At the start & when Full Burst ends (every rotation): 50.28% ATK that lasts 15s—permanent as rotations are 12.5-13s long with CDR.
When using Burst Skill: 25.56% ELE and 30.27% ATK that buff S1 but not Burst Skill.
From the second rotation onward, her total buffs are:
For Burst Skill & in Other B3's Burst Skill: 50.28% ATK, 90% Distributed DMG, 30% ATK DMG, and 13.59% ELE DMG
In Her Full Burst: 80.55% ATK, 90% Distributed DMG, 30% ATK DMG, and 39.15% ELE DMG.
If Yukiko is in the team, Yukiko's Burst will grant +80.2% of Yukiko's base ATK to Makoto for 25s—permanent with CDR because rotations are 12.5s-13s long. Makoto's Burst will also give Yukiko +35.2% of Makoto's ATK, which stacks 3 times and caps at +105.6% after 3 Makoto’s Bursts.
The first rotation will not enjoy this 'duo' benefit. Thus, whoever Bursts first depends on your investments, as well as which team they are in:
Makoto + Yukiko + Maids Team: Yukiko Bursts first with Mast.
Makoto + Yukiko + Crown Team: Makoto Bursts first.
Makoto SG Team: Makoto Bursts first.
The above example is to give an idea of how it can play out. For players with varying investments, it might be worth it to mock and check which variation is more damage for them.
This advice assumes you can get 14 Full Bursts, otherwise Burst with the other B3 first. It also may change depending on the boss's QTE timings, range, and core presence.
Makoto deals Distributed DMG when using Burst Skill and when Yukiko uses hers.
Distributed DMG on Makoto's Burst:
1421.69% is dealt without the extra buffs from Burst Skill & S2.
548.99% is dealt with the extra buffs + Full Burst multiplier/buffs.
Distributed DMG on Yukiko's Burst:
548.99% is dealt, but Burst Skill & S2 effects would have worn off (not Yukiko's supportive B2). Still benefits from Full Burst multiplier + buffs.
This Distributed DMG is a fake screenwipe, meaning the more enemies there are on screen, the less damage each takes. It can bypass Volleyball's and specific bosses' mechanics, such as Luxurious Spider's (Persona's unique SR boss, with the familiar hitcount mechanic).
SGs aren't good at Campaign, and the fact that Makoto's only wipe is Distributed Damage, it doesn't help much (except against Volleyball). Makoto also deals considerably less damage if the stage is not Wind (Fire-weak). Due to the lack of real AoE, we cannot see Makoto being played in ANY mobbing content unless you are a newbie who wants to buff Yukiko.
Her closest peer is 2B, who also deals Distributed DMG to all enemies. However, Makoto doesn't need stacking and synergizes with Yukiko, who is a decent Campaign unit. She is therefore 1 tier higher.
Makoto can be played solo or with Yukiko:
Solo: She is only viable in Fire SG Team, replacing the current Neutral SDoro. She is now the new BiS (Best-in-Slot). In this team, she is paired with DrakeTr, not Yukiko. This allows Yukiko to be used separately in another team, such as Maids. Solo Makoto is only relevant for Solo Raid.
Duo: With Yukiko, Makoto is no longer restricted to the SG Team, as her role shifts towards a supportive one. While still dealing decent damage, Yukiko will be the main carry. This makes them similar to EVA 2, who can be used with any support, but they much prefer Crit, Damage Taken, and Reload Speed due to diluted buffs. In Solo Raid, they want buffs that trigger before Full Burst due to Burst Skill Damage. Maids and Idols are good candidates.
While both are essential if you are competitive in Fire-weak SR (and Fire-weak UR if double-hitting), Makoto is more restrictive in usage. Yukiko is already very good without Makoto—can heal and slot in anywhere. Meanwhile, Makoto solo is much worse unless in SG Team, which is only relevant for Solo Raid. Because of that, we will rate them similarly to EVA 2, with Yukiko in S and Makoto in A.
SGs have strong early pressure in PvP, so they always have value (despite being lower recently due to the rework of CentiTr). Makoto can be used as a:
Fire Early Pressure: On Attack, she can be used to assassinate unprotected Wind P1. On Defense, she can discourage enemies from running unprotected Wind P5. Noah is the most common Wind unit.
Modest Wiper: She has a pseudo-screen wipe that may be strong enough to kill enemies thanks to lots of self buffs.
Makoto has lots of ATK▲, so she scales on ATK and Crit similarly. In fact, her optimal play, especially in Maids' team, will involve crit fishing her Distributed Damage. Other than those, like with other B3, you want ELE.
With Yukiko in the same team, Makoto S2 easily outweighs S1 and Burst by miles, becoming the most significant skill of hers. Without Yukiko in the team, S2 still remains a higher priority than S1, but the difference is smaller. Burst, while being the least impactful among her skills, still improves personal damage by 2%-3.1%.
Skill 1: 7~10
Increases Elemental DMG▲, ATK▲, and Distributed DMG multiplier for herself.
S1 is slightly worse than S2 if Makoto is not paired with Yukiko, otherwise S2 impact is much more significant.
In PvP, amplifies early pressure.
Skill 2: 10
Increases Attack DMG▲, Elemental DMG▲, Distributed DMG▲ for herself.
Increases caster’s ATK▲ for Yukiko.
With her supportive capability, S2 is the highest priority among her skills.
In PvP, amplifies early pressure.
Burst Skill: 7-10
Increases ATK▲, which is quite diluted when paired with Yukiko, and the Distributed DMG multiplier.
Lowest priority among all skills.
For PVE:
Resilience: Use Resilience in a team with high reload speed buff if the Diffusion cube is not invested.
Diffusion: Use Diffusion if the Diffusion cube is significantly higher or equal level to Resilience in a team with high reload speed buff.
Bastion: Bastion is the common go-to for SG team to maximize uptime.
Destruction: Use Destruction if the boss allows high parts-shooting time.
For PvP:
Tempering & Vigor: If you want her to survive longer.
Bastion & Resilience: To allow her to shoot for longer, or reload faster if her ammo count finishes
PvE: Lots of ATK for self and Yukiko. Scales well on Weapon Skill. SR 15 recommended but not before maxing the ones on more meta units first.
PvP: Maximizes damage for early pressure. CP padding may be important. SR 5 recommended if you use her
Comfortable duo with Yukiko, with their insane amount of caster’s ATK buff for each other in Fire-weak raid. Dual Fire DPS with healing and mini “wipe”.
Makes the Fire SG team look more relevant
Her Distributed Damage allows you to deal with annoying mobs like Volleyball.
Selfish SG DPS when not paired with Yukiko, making her be powercrept sooner than Drake when the new Fire SG DPS Nikke joins.
She made me look at the game name again.
To be fair, we don’t know much about this IP to even make a joke T_T
Investment Tips
PVE investment
4/7/4 → 7/10/7 → 10/10/7 (→ 10/10/10)
PVP investment
4/7/4 → 7/7/7 (→ 10/10/10)
Priority
Medium (Boss)
Notes
S2 should be maxed for her personal damage and Yukiko’s damage.
In SG team, a minimum of 36 ammo (177%-178% from Max Ammo OL) is needed to remain high shooting time. Outside of the SG team, Max Ammo is not compulsory and performs worse than ATK, Crit Rate and Crit DMG. Consult Top Raiders’ teams before committing her OL.
PVE Priority
7/10
PVE Comment
Lots of ATK for self and Yukiko. Scales well on Weapon Skill. SR 15 recommended but not before maxing the ones on more meta units first.
PVP Priority
4/10
PVP Comment
Maximizes damage for early pressure. CP padding may be important. SR 5 recommended if you use her.

Resilience Cube

Diffusion Cube

Bastion Cube
Destruction Cube

Tempering Cube
Vigor Cube
Bastion Cube
Teams
Makoto SG
Mode: Union / Solo Raids || Element: Fire



The proper SG comp for Fire weak content. At peak, Makoto should deal more than Drake here around 20-30%
-
Persona Maid Reload
Mode: Union / Solo Raids || Element: Fire


This team helps Yukiko more than Makoto, because it provides reload buff which is very important for MG wielder. Makoto acts as supporter here who can deal pretty good damage too
-
Persona Crown Reload
Mode: Union / Solo Raids || Element: Fire

This team can show up when Mihara is not in Crown team (due to she can stay afk with Miranda). Last spot can be M.Mast for better output
Flex unit may ideally be Maid Mast or Privaty