


Simulated Universe Builds
If you want to learn more about the Simulated Universe itself, please check out our other guide:

Simulated Universe Builds
Currently there are 3 popular Paths Builds that make it a easy to clear all available Worlds.
Preservation Path Build
This build revolves around the Fire MC that you unlock after finishing Jarilo-VI storyline (TL 24). Since Fire MC is able to Shield his allies every turn, you can stack all the Preservation Blessings to drastically improve the capacity of his Shields, making the team basically immortal - especially if you also use March 7th or Gepard in the same team.
And considering that the Resonance skill for this Path deals damage based on the total shield capacity on your whole team, you can actually deal decent damage to the enemies. Sadly, while this strategy is safe and can be used by F2P players without any issues, it takes some time to kill the Bosses as their HP pools are massive.
Key Blessings
- Resonance Formation: Eutectic Reaction - When Path Resonance is used, all allies gain a Shield that can absorb DMG equal to 1% of their respective Max HP, for 2 turns, and Amber is applied to all allies at the same time.
- Divine Construct: Resonance Transfer - After a character launches an attack, deals Quake DMG equal to 100% of the character's current Shield to the hit enemies.
- Construct: Rotation - When a character gains a Shield, there is a 20% fixed chance to dispel 1 debuff that is currently placed on the character.
- This one is must have for World 5 and 6 as without dispel you will have rough time there.
Pros
- Super safe. It's really hard to die using this strategy,
- It only requires characters you can obtain for free for it to work.
Cons
- It's slow. Really slow,
- You need to gear the Fire MC with 4* rarity Relics and upgrade them to +6 (look for DEF% stat) as his shields initially aren't the best.
Remembrance Path Build
This strategy utilizes the Blessings of Remembrance to freeze the enemies and to buff the team’s damage against frozen targets. Since frozen enemies are unable to act and have to spend one turn unfreezing themselves, your party’s survivability increases greatly as the enemies are not attacking as often. At the same time, your party will be doing increased damage to the frozen enemies due to the buffs from the Blessings of Remembrance.
Key Blessings
- Perfect Experience: Reticence - After an enemy is attacked 6 time(s), they have a 120% base chance to become Frozen for 1 turn(s),
- Perfect Experience: Fuli - When attacking Frozen enemies, there is a 100% base chance to inflict Dissociation for 1 turn(s),
- Ultimate Experience: Insensitivity - After Dissociation is removed from an enemy, there is a 50% base chance to Freeze the enemy for 1 turn(s)
- Experience: Unspeakable Shame - For every Blessing of Remembrance the team has, enemies’ chance to resist Frozen decreases by 6%, stacking up to 6 time(s).
The Core Blessings are key to making this strategy work, so try and pick them up as early as you can and enhance them before you fight the boss. Once you have the Core Blessings, you can either grab more Blessings of Remembrance to buff your damage against frozen enemies further or you can start to pick up Blessings of Preservation for shielding effects and buffs if you prefer to be more defensive.
Pros
- Freeze causes enemies to lose turns and don't do any damage to your team,
- It only requires characters you can obtain for free for it to work.
Cons
- Sometimes the RNG might not work in your favor - especially the Bosses that have Freeze RES are annoying.
Hunt Path Build
This strategy utilizes the Blessings of The Hunt to turn your Seele into a killing machine. While this Build can be used with Dan Heng or Sushang, it works best with Seele thanks to her Resurgence talent. And if you also have Bronya, oh boy. You will just speedrun the whole World even on auto and only the last Boss will require some manual gameplay.
Key Blessings
- Imperishable Victory - After a character defeats an enemy, their action is Advanced Forward by 100%. At the beginning of the next turn, they gain 4 stack(s) of Critical Boost.
- Auspicious Star - When a character defeats an enemy, regenerates Energy equal to 60% of the character's Max Energy.
- Vermeil Bow and White Arrow - For every Blessing from The Hunt, increases SPD by 3%. This effect can stack up to a max of 6 time(s).
- Make sure to upgrade this Blessing as the second level is what you want.
Pros
- Super fast and works fully on auto,
- Enemies don't move so you don't have to worry about dying.
Cons
- Requires Seele and Bronya to achieve the build's full potential.
Abundance Path Build
This strategy uses the healing provided by the Path Resonance: Abundance to activate the effects of the Blessings of Abundance and keep your team’s HP topped up. Teams that are able to tank at least one round of enemy attacks will become nigh unkillable with this strategy, allowing you to turtle your way to victory.
Key Blessings
- Resonance Formation: Anatta - After Path Resonance Energy is consumed for the first time in battle for the use of Path Resonance, the Path Resonance for the Abundance will appear on the action order. The Outgoing Healing provided by this Resonance decreases by 30%. When this Resonance takes action, it will automatically release Path Resonance to heal allies.
The only Blessing you need to make this build work is the Resonance Formation: Anatta. This Resonance ability creates a new entity in the action order that will heal your whole team every time it takes an action which allows you to consistently maintain the buffs from the Blessings of Abundance as well as keeping your team healthy.
This Resonance Formation can be obtained after getting any 6 Blessings of Abundance. Also note that you will need to unlock the ability to obtain Resonance Formations from the Ability Tree as well before you can pick up this Resonance Formation during your Simulated Universe runs. This shouldn’t be a problem as you should have also unlocked this upgrade node in the Ability Tree by the time that you gain access to the Blessings of Abundance.
Pros
- Not team or blessing dependent as the only requirement is obtaining any 6 Blessings of Abundance in order to unlock the Resonance Formation: Anatta,
- Your team will be extremely hard to kill.
Cons
- Only available after unlocking Simulated Universe World 5
- Lacks damage without the right Blessings, so fights can take a while
Additional information
The videos below give you more information about the various builds you can play:
Simulated Universe World 1 Guide

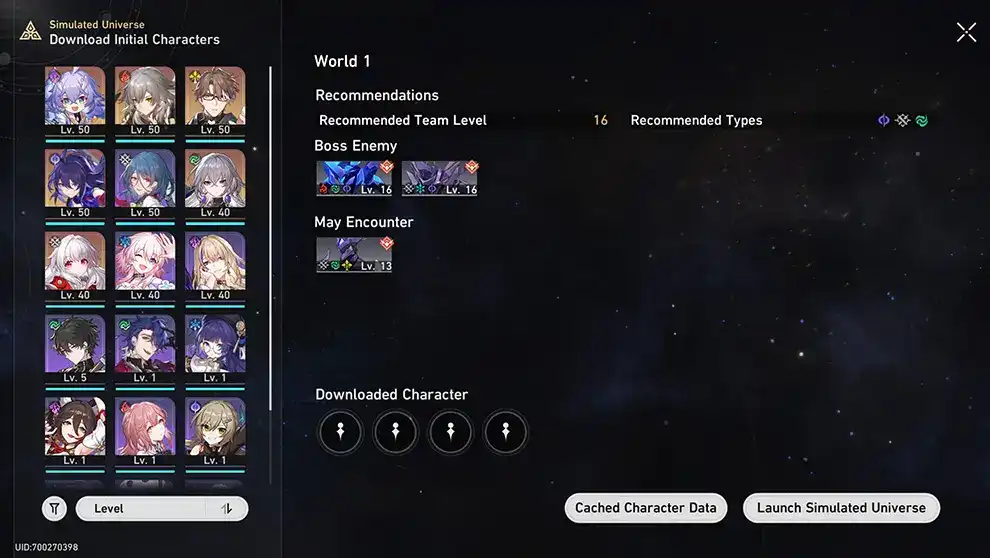
SU1 is pretty straightforward as the difficulty is tailored to the players just starting out the game, so as long as you follow the tips Herta gives you, you can't fail.
Just make sure to level up your characters (and their Light Cones) to 20 and it should be enough to clear it.
Here's the team you can use:


If you don't have Natasha yet, you can safely use Asta instead.
Simulated Universe World 2 Guide

When you unlock World 2, start a run and try to get as far as you can. Do not worry if you cannot clear it. You just want to start a run as after the first run (even if you didn’t clear it), the Simulated Universe Ability Tree will be unlocked. The Ability Tree provides extremely powerful and useful buffs for your team while inside the Simulated Universe, so if you are struggling with this game mode, it is worthwhile to spend some time and grind out Ability Points to upgrade this tree.
Freeze Strategy
Team
Here's the team you can use:

March 7th’s role in the team is to provide shields to allies as needed and to freeze enemies with her Ultimate. Generally, you will want to have her shield herself to draw aggro away from the rest of the team. Being an Ice element Character, she can also help to whittle down the bosses’ Toughness bar.
Natasha is the healer of the team, keeping everyone alive. She can be replaced with any other healer that you have access to.
Serval and Herta are the damage dealers as both of the bosses’ are weak to Ice and Lightning. Being Erudition Characters, both Serval and Herta can also effectively hit both bosses at the same time with their Skill and Ultimate. This will help both in breaking the bosses’ Toughness bar (and subsequently their HP bar) faster as well as helping to proc the freeze effect from the Perfect Experience: Fuli Blessing more consistently.
Simulated Universe World 3 Guide
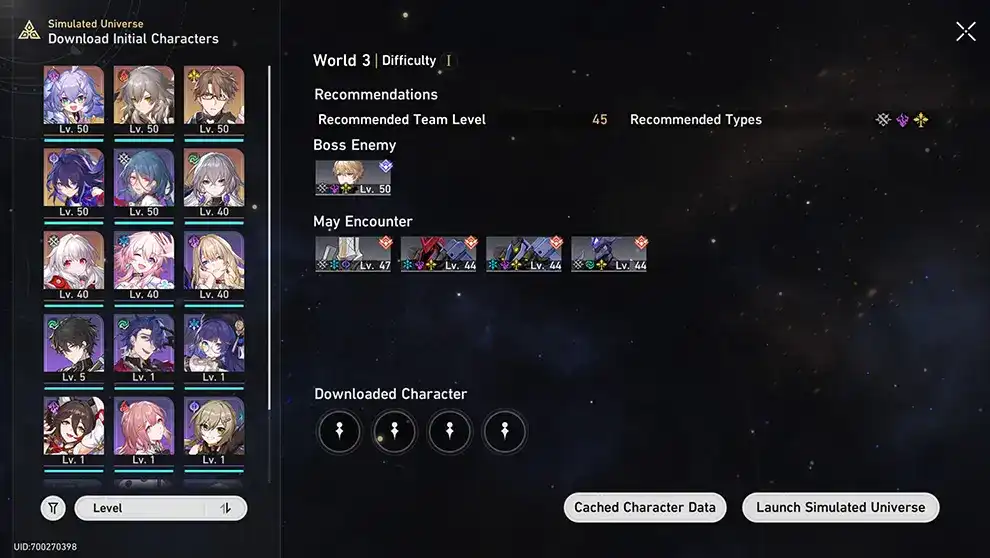
World 3 can be cleared on the level 40 character cap, but it requires you to have great Blessing to make it doable. And the same Freeze Strategy you've used in W2 can actually work here, but you will need to adjust your team a bit.
Freeze Strategy
The Freeze Strategy from W2 works here perfectly and you just need to adjust your team a bit.
Team
Here's the team you can use:

March 7th’s role in the team is to provide shields to allies as needed and to freeze enemies with her Ultimate. Generally, you will want to have her shield herself to draw aggro away from the rest of the team. Being an Ice element Character, she can also help to whittle down the bosses’ Toughness bar.
Natasha is the healer of the team, keeping everyone alive. She can be replaced with any other healer that you have access to.
Similar to W2, we will keep using Serval as Gepard is weak to Lightning element. Still, Herta services will no longer be necessary and you will use either Dan Heng or Sushang instead. If you managed to pull Sushang, she will simply dominate the boss (because of the Physical Weakness), but Dan Heng will also work here - his damage output is decent even against enemies not weak to him.
Simulated Universe World 4 Guide
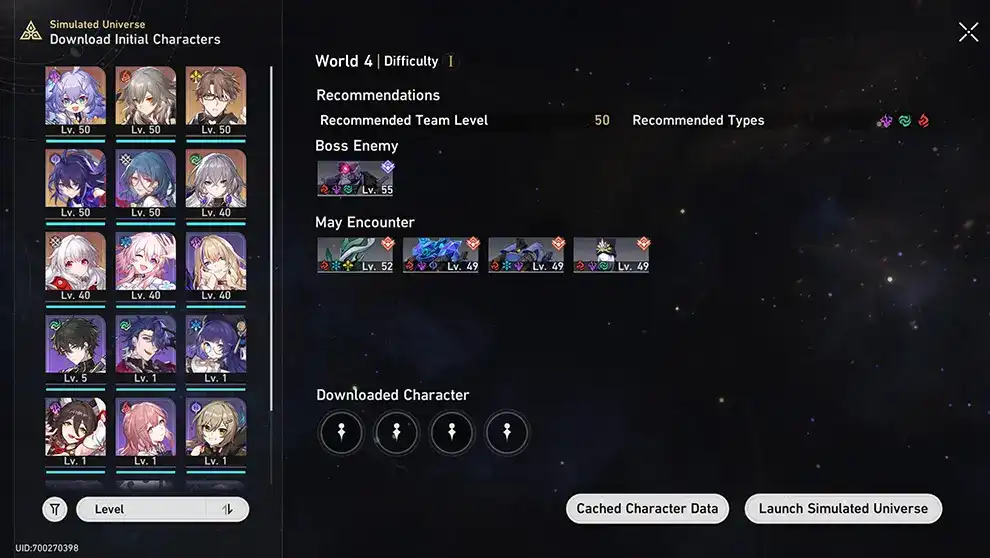
The main mechanic to watch out for in this World is the robot hand enemy that Svarog will summon during the third phase of his boss fight. This robot hand can capture one of your Characters which renders that Character stunned and uncontrollable. You can free the captured Character by breaking or destroying the robot hand enemy.
Hunt Strategy
Due to the Character capture mechanic, a more aggressive strategy is recommended for this World. The Hunt Path works perfectly for this purpose as it specializes in speeding up and boosting your team’s damage with its Blessings being able to provide offensive buffs to Critical Rate and Critical Damage and utility buffs like extra turns. The Path Resonance is also an effective way to weaken mob enemies or even completely wipe them out with enough Blessings of Hunt.
The majority of the enemies in this World are weak to Lightning, so Serval is a great Character to use due to her excellent AoE breaking capabilities. Dan Heng provides additional single target damage for the team while the Fire Trailblazer provides some tanking and additional breaking power to the team. All three Characters are also of elements that Svarog and the robot hand enemy are weak to which helps to bring down Svarog faster as well as mitigate the pain when the robot hand captures someone. No matter who the robot hand captures, there will always be someone on the team that is capable of breaking the robot hand to free the captured Character.
Simulated Universe World 5 Guide

You will unlock the Path of Abundance after entering World 5 for the first time. This Path is incredibly powerful and is a very effective counter to the boss of this World, Kafka. Unfortunately, you can only pick Abundance as your Path Resonance starting from the second run, so feel free to restart your run if you are having trouble defeating Kafka during your first run.
Abundance Strategy
This strategy uses the healing provided by the Path Resonance: Abundance to activate the effects of the Blessings of Abundance and keep your team healthy and free of Kafka’s debuffs. Make sure you pick up Resonance Formation: Anatta and Resonance Formation: Anicca. Anatta periodically heals your whole team while Anicca will remove any debuffs from your team whenever you activate your Path Resonance ability.
Being able to cleanse debuffs is crucial to defeating Kafka as she has the ability to inflict the Dominate debuff on your team. You lose control of any Character that is affected by this debuff and on that Character’s turn, they will randomly attack an ally. As such, being able to get rid of this debuff as quickly as possible is key to defeating Kafka.
Simulated Universe World 6 Guide
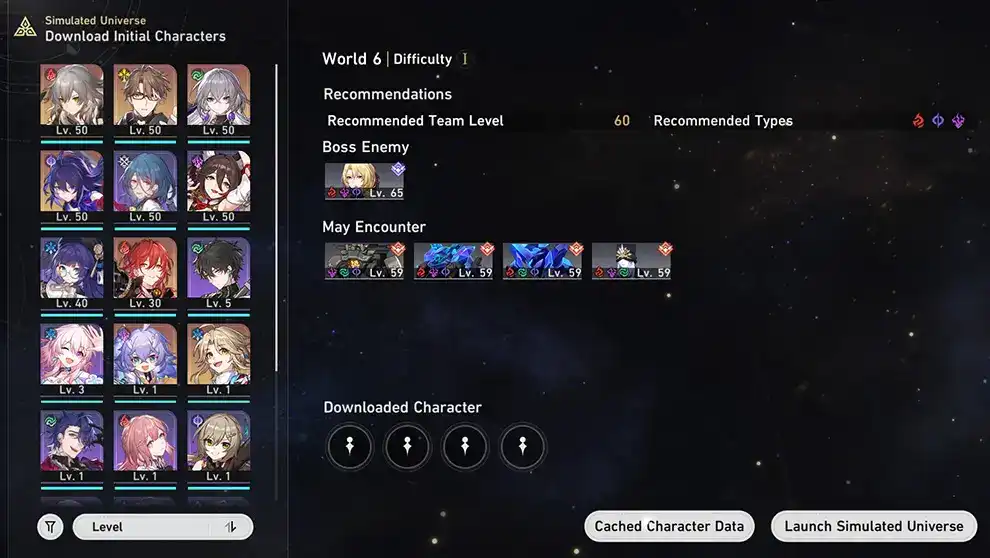
The main things to keep in mind for Cocolia, the boss of this world, are the minions that she will summon during the fight. During the first phase, she will periodically summon two ice pillars that deal damage to your whole team, so try to destroy them quickly before you take too much damage from them. She will also summon Bronya when you reach her second phase. Make sure to take out Bronya as fast as possible as like the playable version, she can give an extra turn to Cocolia which can potentially allow her to act four times in a row. One last thing of note is that Cocolia is more or less immune to the freeze debuff and has extremely high ice resistance, so it is not recommended to use Path of Remembrance or Ice Characters against her.
Abundance Strategy
Like in Simulated Universe World 5, the strategy here is to simply turtle through the boss using the Path of Abundance. The healing will allow you to survive the periodic AoE attacks that Cocolia will do and the cleanse also helps to unfreeze any Characters that Cocolia freezes during some of her attacks.
Simulated Universe World 7 Guide
The key to defeating the boss of this World lies in how well you manage the flowers that the boss summons. There are four types of flowers with different abilities. One can heal the boss, one can taunt a Character on your team, one can buff the boss’ attack, and one can quicken the rate in which the boss can use its ultimate attack which is a massive AoE attack that can wipe out your team in one hit if you’re not careful.
Hunt Strategy
Given the relatively quick rate that the boss can resummon the flowers once they are defeated, a turtling strategy is not recommended for this fight. Instead, let’s go for a more aggressive strategy and use the Path of the Hunt which specializes in buffing your team’s offensive power and speed.
The Path Resonance, an AoE attack that hits all enemies when activated, is also extremely helpful in clearing out the flowers, especially if you are able to pick up Resonance Formation: Perfect Aim and Resonance Formation: Bow and Arrow. Perfect Aim allows you to store up to two charges of the Path Resonance attack while Bow and Arrow enables the Path Resonance attack to automatically crit when attacking enemies below 50% HP as well as restoring a half a charge of the Path Resonance attack (or a full charge if you have Resonance Formation: Perfect Aim). When combined together, these two Resonance Formation effects will effectively allow you to clear out the flowers with just the Path Resonance attack, making the fight quite a bit easier as you no longer have to use your Characters to clear out the flowers. The curio, the Doctor’s Robe, is also a very good curio to pick up as well as it increases the damage of the Path Resonance attack and lets you start every fight with it fully charged.
Simulated Universe World 8 Guide
Similar to World 7, the key to defeating the boss of this World, Yanqing, lies in how effectively you can deal with the enemies that he summons. Yanqing will summon 4 flying swords to aid him in battle. While these flying swords are on the field, Yanqing will be in an enhanced state and cannot be weakness broken, so it’s best to destroy all the flying swords as soon as possible. Note that Yanqing will also take a decent amount of damage as well when all four flying swords are destroyed.
Hunt Strategy
As with World 7, Path of the Hunt is a great choice for this fight as the Path Resonance attack can help you deal with the flying swords quickly and is capable of destroying all the flying swords by itself when sufficiently powered up with blessings and curios like Resonance Formation: Perfect Aim, Resonance Formation: Bow and Arrow, and the Doctor’s Robe. This frees up the rest of your team to focus on taking down the boss himself.