Loading content...
Last updated: 31/May/2026

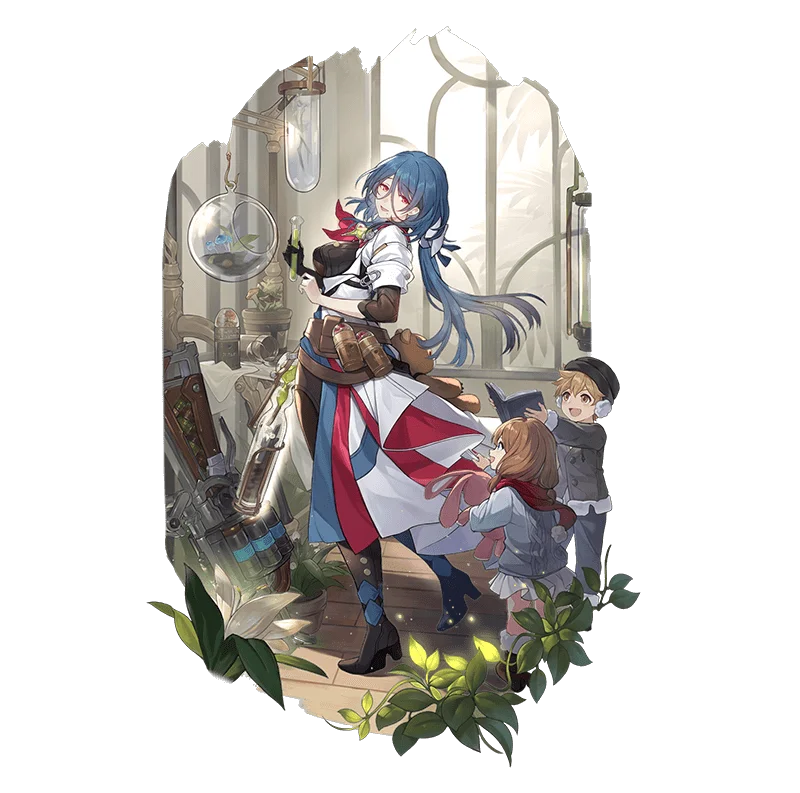
Best guide and build for Natasha from HSR (Honkai: Star Rail). Natasha is a 4★ character from the Physical element who follows the Path of Abundance.
A fastidious doctor who always wears a curious smile. In the Underworld where medical resources are few and far between, Natasha is one of the very few doctors whom the people can turn to.
Even the rambunctious Hook would politely greet her... "Hi, Auntie Natasha."
This character has no video guide yet.
Last review update
Patch 2.6
Last major build/calcs update
Patch 3.4
Last profile update*
31/May/2026
*Profile update means smaller edits to relics, stats, synergies or teams that don't require new calculations.
To learn more about Natasha check the sections below. Use the tabs to quickly switch to the kind of information you're looking for - kit, traces, review or build guides.
Profile
Behind the Kindness
Single Target
Energy gain: 20
Break: 10
Love, Heal, and Choose
Restore
Energy gain: 30
Break: -
Gift of Rebirth
Restore | 90 energy cost
Energy gain: 5
Break: 30
Innervation
Enhance
Energy gain: 0
Break: -
Hypnosis Research
Energy gain: 0
Break: 20
Soothe
Healer
Recuperation
Pharmacology Expertise
Eidolon 1
After being attacked, if the current HP percentage is 30% or lower, heals self for 1 time to restore HP by an amount equal to 15% of Max HP plus 400. This effect can only be triggered 1 time per battle.
Clinical Research
Eidolon 2
When Natasha uses her Ultimate, grant continuous healing for 1 turn(s) to allies whose HP is at 30% or lower. And at the beginning of their turn, their HP is restored by an amount equal to 6% of Natasha's Max HP plus 160.
The Right Cure
Eidolon 3
Skill Lv. +2, up to a maximum of Lv. 15. Basic ATK Lv. +1. up to a maximum of Lv. 10.
Miracle Cure
Eidolon 4
After being attacked, regenerates 5 extra Energy.
Preventive Treatment
Eidolon 5
Ultimate Lv. +2, up to a maximum of Lv. 15. Talent Lv. +2, up to a maximum of Lv. 15.
Doctor’s Grace
Eidolon 6
Natasha's Basic ATK deals Additional Physical DMG equal to 40% of her Max HP.
Review
Freely accessible healer,
Talent allows for strong emergency healing,
Lowest cost Ultimate in the game,
Carries you through the early and mid-game sections.
Overly simplistic kit struggles in the late game,
Healing output is lower than other healers,
Healing frequency is too slow,
Outclassed by pretty much every other sustain unit.
Natasha is a free healer unit given out during the events of Jarilo-VI. She specialises in healing over time with her Skill and AoE healing with her Ultimate. She has the lowest cost Ultimate in the game at 90, allowing high uptime on her AoE healing, and she also has high bonuses to Outgoing Healing. Despite this, Natasha struggles to deal with end-game scenarios and is largely outclassed by other sustain units.
A pivotal figure during the initial events on Jarilo-VI, Natasha is given out to players for free right around the point the game’s difficulty starts to noticeably rise. It’s very likely that this is the first sustain unit that players obtain, unless their starter banner 5-star was either Bailu or Gepard.
Much has changed since the initial review was written. Back then, Natasha was the only other healer in the game besides Bailu, and the late-game landscape was quite a bit less hectic than it tends to be now. With many more sustain units in the game than before, Natasha has unfortunately not aged well in regards to her performance, and there are even cases of players opting for an extra Harmony or Nihility support instead of Natasha in their teams, going for an all-or-nothing approach because Natasha just struggles to keep people alive.
Natasha’s Skill restores a single ally’s health by up to 10.5% of Natasha’s Max HP plus 280, and additionally grants them a heal over time for 7.2% of Nat’s Max HP plus 192. This regen will apply its heal at the start of the ally’s turn and lasts for 2 turns. Her Ultimate heals all allies for 13.8% of Natasha’s Max HP plus 368, and has a very low Energy cost of 90.
These healing values are decent, but much of the power of Natasha’s Skill is concentrated into the regen effect, meaning it can come too late to be meaningful. It’s also not possible to apply this healing any other way besides using her Skill, meaning you need to expend a Skill Point to do so.
Sustain characters have become pretty widely accepted to be SP-positive units, sometimes spending SP themselves but mostly restoring more than they consume so that your other support characters and damage dealers have enough SP to use their important actions. Having this Skill also be single-target means that it can become very costly to sustain the whole team. Natasha’s Ultimate also may have a low cost but with nothing else going for it beyond the raw healing, it’s almost necessary for its cost to be so low.
Natasha’s Talent will increase her Outgoing Healing by 50% when healing allies whose HP is at or below 30%, and this works for regen effects too. This is a huge amount of extra healing, but it requires allies to be at 30% or below and still be alive to receive said healing. That is literally red health territory which is an uncomfortably low amount of health to be at, and usually it’ll end up being reached during an enemy’s turn meaning you need to have Natasha’s Ultimate available to get the Emergency healing off, which can often lead to holding her Ultimate for that circumstance. Holding any Ultimate is already painful but holding a 90 Energy Ultimate for the sole purpose of being able to actually sustain a teammate in an emergency feels utterly horrendous.
The 30% HP threshold for the Talent’s boost is too harsh in the current oversaturated era of endless enemy AoE attacks. Natasha just doesn’t have the tools to keep up with the enemy onslaught, at least not without completely bankrupting your team’s SP reserves. Worse still is that Natasha cannot really make up for that deficit with Eidolons, meaning this is the best you’re going to get.
A2 gives Natasha’s Skill a 1 debuff cleanse, something that is largely intrinsic for the newer healer units. A4 increases Natasha’s Outgoing Healing further by 10%, and A6 increases the duration of her Skill’s regen effect by an extra turn, for a new duration of 3 turns. None of these particularly improve the ease of use in harder content where it’s actually important to have a good sustain unit.
In comparison to the other sustain units, Natasha requires too much effort on the part of the player to make use of, and there are now more readily accessible units that do a better job. Lynx in particular is an almost complete and direct upgrade over Natasha, and as a 4-star is relatively easy to acquire eventually, either from warps or from Starlight Exchange. Gallagher is even better than either of them and he is currently the pinnacle of 4-star sustains, being better than even most limited units.
Comparing Natasha to 5-stars is pretty much pointless as they all vastly surpass Natasha in pretty much all aspects. Natasha’s previous only competitor in Bailu has such a huge advantage against the current landscape of enemies that the fact that Bailu lacks any source of cleanse is a lot less impactful when the raw healing is enough to sustain through painful enemy damage over time. It’s still one of the huge negatives of Bailu, but Invigoration not only greatly surpasses Natasha’s overall healing throughput, it also provides a Max HP increase alongside true damage reduction, and the mechanism for its healing is characters taking a hit, making it far stronger as both a reactive and a preventative measure.
Even in the cases where there are people showing full free-to-play teams with Natasha involved, she is never the reason for that team’s success. It is always the other units who are so well invested to the point where Natasha’s inclusion is largely cosmetic.
Of course, you can still make Natasha work despite her drawbacks. For many players, Natasha will be their only sustain unit for a while until they get the Path of Preservation unlocked for the Trailblazer. Preservation Trailblazer does a phenomenal job at covering for the weaknesses of Natasha as their passive shielding helps mitigate damage and allow Natasha to actually make much better use of her powerful Talent; allies can stay at lower health values for longer without as much fear of outright death, so there’s more time to utilise the strong bonus to Outgoing Healing.
This introduces a new drawback of now your team has two sustain units and has become a double defensive team. In harder late game content, this puts a lot more strain on the remaining two units in the team to deal the damage you need. Preservation Trailblazer themselves can actually be an acceptable solo sustain against quite a few specific enemy lineups, so Natasha again can struggle to be relevant.
If heavily invested into, Natasha can reach a point where her Skill and Ultimate are virtually full heals for lower Max HP teammates, which can allow you to get through some of the harder content as long as you’re prepared to hold onto some SP for Natasha to use… But again, the issue isn’t just the amount of healing she does, it’s the very mechanism that delivers that healing. By the time you invest in Natasha enough for her to reach this point in the late game, there’s a very strong possibility of you already having another sustain unit, at which point you should immediately pivot to using them and shelve Natasha.
If you just like her a lot and want to use her for her then that is, as always, entirely valid, but if you’re looking to start tackling Memory of Chaos you should be aware of the issues that you may encounter.
Honkai: Star Rail is a game where team building matters most and while our tier list takes the optimal setup into account, a lot of characters can work and do well - even those ranked lower - when you invest into them. Also for story or lower difficulties of Simulated Universe, you don't need to worry about ratings and tiers. You can safely clear that content even with F2P characters as long as you build your team correctly.
Available ratings:
Build and teams
1
2
3
4
1
2
The percentage numbers showcase the relative DPS increase when you take into account the set bonus only. For some characters there's no DPS (or its equivalent) available and in that case we listed the sets in the order of priority.
1
2
3
If you can't put together a top recommended 4P set with satisfactory sub/main stats, mix and match the 2P Bonuses from the following instead:


4
1
2
3
4
5
SPD (breakpoint) > HP% > Effect RES = DEF%
HP: 5200 - 6100+
DEF: 800 - 1000+
SPD: 134 (Recommended) / 143 / 160
ENERGY REGEN: 19.44%+
Ultimate > Skill > Talent > Basic
Soothe > Recuperation > Healer
Natasha synergy information isn't available yet.
Rank 488
App. rate: 0.01%
Avg. cycles: -
Avg. cycles (E1+): 1.5
Rank 488
App. rate: 0.01%
Avg. cycles: -
Avg. cycles (E1+): 7
MoC/PF/AS Statistics