
4 cost
CRIT Rate / CRIT DMG
3 cost
Glacio DMG
3 cost
Glacio DMG > ATK%
1 cost
ATK%
1 cost
ATK%

Last updated: 22/October/2026
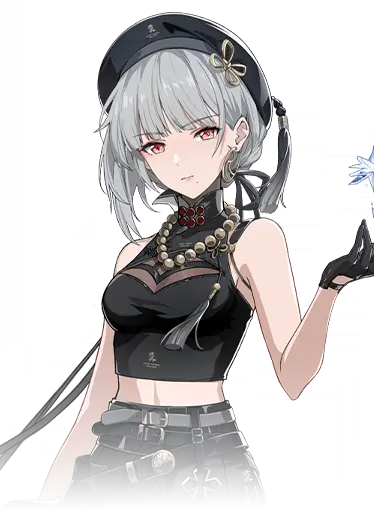
Best guide and build for Sanhua from WW (Wuthering Waves). Sanhua is a 4★ rarity character from the  Glacio element who uses the Sword type weapon.
The bodyguard of Jinzhou’s Magistrate, known for having an icy personality. Once regarded as the Asura of Calamity, Sanhua is now a taciturn guardian. She has learned to maintain inner calmness amidst the chaotic frequencies, and the things that once frightened her now fuel her determination.
Sanhua has at least one video guide available:
Last review update
Patch 3.7
Last major build/calcs update
Patch 3.7
Last profile update*
22/October/2026
*Profile update means smaller edits to echoes, stats, synergies or teams that don't require new calculations.
To learn more about Sanhua check the sections below. Use the tabs to quickly switch to the kind of information you're looking for.
Profile
Frigid Light
Sanhua performs up to 5 consecutive attacks, dealing Glacio damage.
Sanhua consumes Stamina to launch attacks, dealing Glacio damage.
Sanhua consumes Stamina to perform a Mid-Air Plunging Attack, dealing Glacio damage.
Use Basic Attack after a successful Dodge to attack the target, dealing Glacio damage.
Eternal Frost
Sanhua sends an air blade to create 1 "Ice Prism" cross the ground, dealing Glacio damage.
Glacial Gaze
Sanhua deals Glacio damage and creates 1 "Glacier".
Clarity of Mind
When holding Basic Attack, your cursor can move. If Basic Attack is released when cursor falls in the "Frostbite" area, Sanhua will cast a Heavy Attack Detonate to attack the target, dealing Glacio damage, considered as Heavy Attack damage.
Sanhua’s Heavy Attack Detonate detonates all "Ice Thorns", "Ice Prisms" and "Glaciers" within her attack range, dealing Glacio damage. DMG done by Ice Burst is considered as Resonance Skill damage.
The "Frostbite" area expands with every 1 stack of "Clarity". "Clarity" stacks up to 2 times.
Sanhua obtains 1 stack of "Clarity" upon performing Basic Attack V.
Sanhua obtains 1 stack of "Clarity" upon casting Intro Skill Freezing Thorns.
Sanhua obtains 1 stack of "Clarity" upon casting Resonance Skill Eternal Frost.
Sanhua obtains 2 stack(s) of "Clarity" upon casting Resonance Liberation Glacial Gaze.
Upon casting Heavy Attack Detonate, all "Clarity" is removed.
Condensation
Damage dealt by Sanhua's Resonance Skill increased by 20% for 8s after casting her Intro Skill.
Avalanche
Damage dealt by Sanhua's Forte Circuit Ice Burst is increased by 20% for 8s after casting Basic Attack V.
Freezing Thorns
Sanhua swings her blade downward and creates 1 "Ice Thorn", dealing Glacio damage.
Silversnow
The next character (or other characters on a nearby team that activates an Outro Skill) gains 38% Basic Attack DMG Deepen for 14s, or until the character is switched off field.
Sequence Node 1
Basic Attack V increases Sanhua's Crit. Rate by 15% for 10s.
Sequence Node 2
Stamina cost of Heavy Attack Detonate is reduced by 10. When Sanhua casts Resonance Skill Eternal Frost, her Anti-interruption is enhanced for 10s.
Sequence Node 3
Sanhua's damage dealt is increased by 35% against targets with HP below 70%.
Sequence Node 4
Resonance Liberation Glacial Gaze restores 10 Resonance Energy. DMG of the next Heavy Attack Detonate within 5s is increased by 120%.
Sequence Node 5
Crit. DMG of Forte Circuit Ice Burst is increased by 100%. Ice Creations (Ice Thorn, Ice Prism, and Glacier) will explode even if they are not detonated.
Sequence Node 6
After an Ice Prism or a Glacier is detonated, all team members' ATK is increased by 10% for 20s, stacking up to 2 times.
 Glacio DMG
 ATK%
 HPATK
 DEF
 Max Energy
 CRIT Rate
 CRIT DMG
 Healing BonusGlacio DMG
While the source of the materials can be quickly found in the game, when it comes Wintry Bell you will have to gather them from the map. Check our Interactive map to find them quickly:
Review
Please keep in mind Wuthering Waves is a skill-based game and each character has a different playstyle, difficulty level and even special tricks and combos. Wuthering Waves is also a team based game and it's only by combining both these factors to the highest level a character can reach optimal performance.
The premier and only F2P Basic Attack buffer in the game. Fantastic with all Basic Attack damage dealers;
Has one of the fastest rotations in the game and is optimization/quickswap-friendly;
Requires next to no investment to perform in terms of build quality and weapon choice;
She’s free!
Basic Attack damage dealers are few and far between, and aside from a select few most of them are really outdated and powercrept, so her synergies are either too old to perform or too account-dependent;
Personal damage is among the lowest of all Hybrid/buffer-type characters;
S5 is a big rotation time decrease, S6 provides added team buffs. A good amount of her value is locked behind her last 2 Sequence nodes.
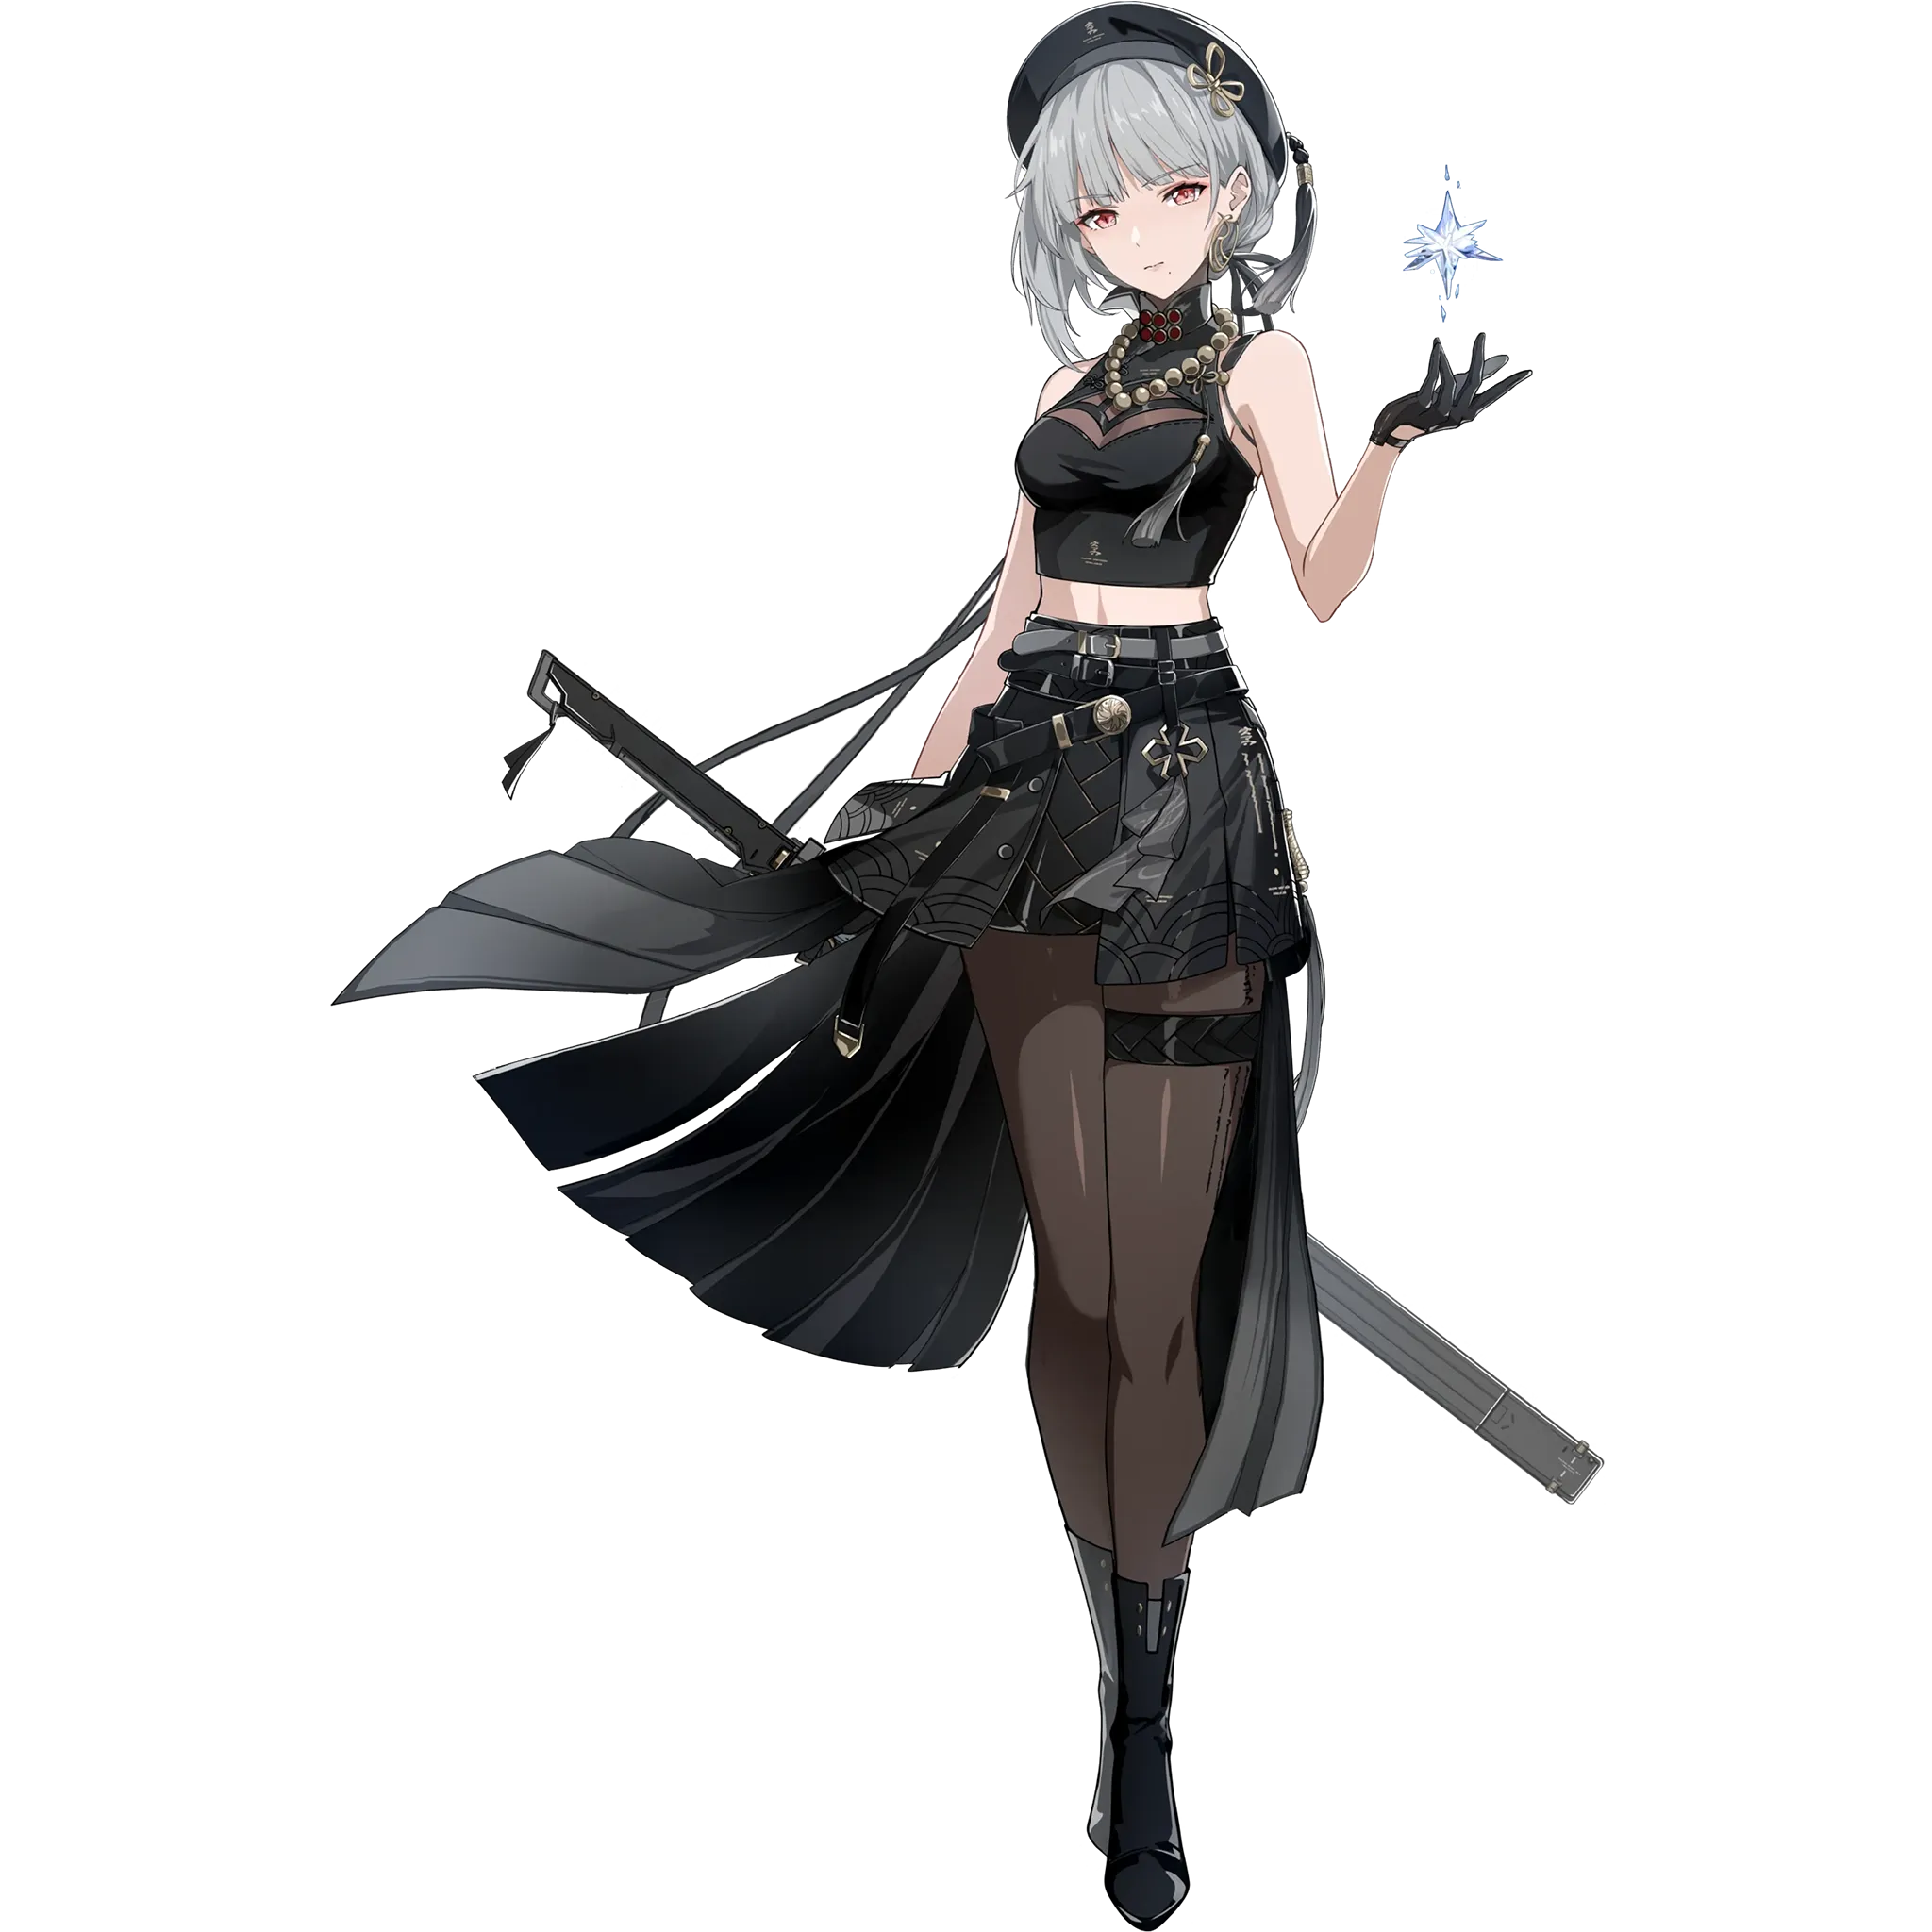
Sanhua is a 5-star Glacio Sword Hybrid buffer character specialized towards buffing Basic Attack damage dealers. She rotates in and out of the field remarkably quicker than most her peers, gives them a sufficient amount of buffs and lets the DPS she’s paired with take the spotlight.
Sanhua’s primary rotation goal is to create and detonate Ice Creations to generate her Concerto as quickly as possible. She generates the following Ice Creations through the following attacks:
Intro: 1 Ice Thorn per cast;
Skill: 1 Ice Prism per cast;
Ultimate: 1 Glacier per cast.
Each restores 15 Concerto and deals some amount of damage (we listed them in the order of lowest to highest damage above).
Sanhua detonates these Ice Creations through her Forte Heavy Attack, called Detonate. It can be activated any time, however it requires you to charge it up and time it with her Forte. A little arrow icon will appear when you hold down Basic Attack on Sanhua and you can release it to make it stop. A regular Heavy Attack is performed if instantly released or released in the grey area. If released in the blue area though, Sanhua performs Heavy: Detonate. Timing the release of the Basic Attack button correctly and quickly is essential to properly performing Sanhua rotations. This timing window is made bigger when Sanhua generates any Ice Creation, allowing for faster, more lenient timings.
Once the animation is complete, Heavy: Detonate will shatter all Ice Creations and generate a large amount of Concerto Energy. Paired with her Intro, Skill and Ultimate, at S5 (which has the hidden property of dealing Glacier damage twice, giving 15 extra Concerto), it gives Sanhua enough Concerto to get off her Outro. A second Heavy: Detonate will be needed at S4 and below, which will be more difficult to time than the first.
Other important aspects of Sanhua’s kit are her Outro, which gives 38% Basic Attack DMG Amplification for 14s to the next character, expiring upon swap. This is what gives Sanhua her team synergies. Her S6 also provides 20% team-wide ATK.
Sanhua has been a staple F2P meta character since her release. Her and Mortefi are specialized towards amplifying a specific damage type by 38%, which is a pretty large amount for how dated the characters are, all things considered. Paired with the Moonlit Clouds Echo set and their S6, they’re able to provide a good amount of buffs to any character of their corresponding damage types.
Recently, Sanhua has seen a resurgence in usability, because two key Basic Attack damage dealers have released: Luuk Herssen, and most importantly, Suoming. Suoming has everything Sanhua wants to shine as a buffer: that is, just dealing a lot of Basic Attack damage. Nothing else. Raw Basic Attack damage numbers are exactly what Sanhua buffs, and while Luuk is also a viable choice to use as Sanhua’s Main DPS, he specializes in Tune Strain which Sanhua has no synergy with whatsoever, making her significantly outclassed by Denia and Lynae who have affinities with the archetype.
In terms of other team options though? Before Luuk, the Basic Attack damage archetype had not seen a non-overly specialized DPS (such as Cartethyia) come out since Camellya. Indeed, a lot of Sanhua’s best teams are still confined to the long-since outdated 1.x version’s meta, like Encore and Havoc Rover for example. She in fact finds better use cases in teams with modern DPS characters who have no better fully F2P teammate alternatives. Teams like Hiyuki Sanhua Verina have come to exist, simply because Sanhua gives small amounts of buffs and allows the DPS to take as much of the spotlight on-field as possible thanks to her lightning fast rotation. It gives her a tiny bit more staying power long-term, but her best use cases are still in Basic Attack damage teams by far.
In conclusion, Sanhua is a great choice for F2P Basic Attack buffing. Sanhua is never truly best in slot in any current team, however she’s a very close second for a lot of Basic Attack DPS. She can allow players to skip pulling premium Supports for Basic Attack DPS characters while still performing well enough to clear endgame content with a proper build. This makes her a staple investment for many accounts looking to round out their endgame teams.
Build
The percentages show the performance of the weapon based on calculations, but in some cases, some weapons might provide additional QOL that can't be quantified and it would push that weapon ahead of others in the priority (and in those cases, we would put that weapon higher).
Sanhua calculations were done using added buffs from the following teammates:
 Suoming + Unspoken Rue +

Heart of Sworn Vigil
 The Shorekeeper + Stellar Symphony +

Rejuvenating Glow

108.39%
103.32%
100.00%
102.50%
99.80%
99.80%
99.10%
99.10%
99.10%
98.90%
97.00%
84.80%
81.50%
1
Offers a 10% unconditional Energy Regen% boost taking some pressure off your gear when aiming at ER breakpoints. Also upon using Outro, grants the next character switching in a 22.5% ATK boost, amplifying any of your main damage dealers burst windows.
Below you can find Main Echo options:
Substats: Energy Regen (Until Satisfied) > CRIT Rate = CRIT DMG > ATK% > ATK
All recommended endgame stats portray a fairly good quality endgame build as a goal to aim for on most characters. However, don’t treat this as an end-all-be-all, and more of a suggestion.
All stat recommendations are given at S0 for 5-stars, S6 for 4-stars, and free characters (unless specified otherwise), based on total stats in the in-game stat-screen with the character out of combat but also active in the party (and hence some buffs may or may not apply). Any other precision may be directly specified. If not specified, Energy Regen requirements are estimated in the character’s best team.
HP: 15000+
DEF: 1150+
ATK: 1800-2200+
CRIT Rate: 60-80%+
CRIT DMG: 210-260%+
Energy Regen: 100%
On Moonlit Clouds, her only meta set which also gives a lot of extra Energy, Sanhua requires no additional Energy Regen.
Glacio DMG Bonus: 30-60%+
Below you can find the order of leveling the abilities for Sanhua.
Forte Circuit
Res. Liberation
Res. Skill
Intro Skill
Basic Attack
Gameplay and teams
Sanhua’s rotation goal is to generate and detonate all her Ice Creations as quickly as possible in order to generate full Concerto in the quickest amount of time.
Swap Cancel Impermanence Heron right before her Outro at S5+ (written in the rotation itself), or Interrupt it via Dash and Ultimate before S5 (no Quickswap, written in the rotations themselves), or Swap Cancel it before the rotation starts before S5 (in Quickswap, not written).
At S5 and higher, Sanhua generates 15 more Concerto than normal from detonating her Ice Creations (as Glacier damage occurs twice). This allows us to use a rotation as short as this:
Intro
Skill (Cancel animation endlag via Ultimate)
Ultimate
Heavy: Detonate
Echo (Swap)
Outro
At S0, Sanhua is missing the 15 Concerto she needs to perform the above rotation, so extra attacks are in order. However, we can try to optimize a bit by interrupting the Impermanence Heron cast via a Dash into an Ultimate after the first Skill, or by Swap Cancelling it before Sanhua Intros in Quickswap loops.
Used in the very first team rotation, when Sanhua has no initial Concerto to begin with.
Intro
Skill (Cancel animation endlag via Echo)
Echo (Interrupt instantly via Dash
Dash (Interrupt instantly via Ultimate)
Ultimate
Heavy: Detonate
Heavy: Detonate
Heavy: Detonate (Swap)
Outro
Where 15 Concerto is transferred into the next rotation, so you can rotate somewhat similarly to S5+:
Intro
Skill (Cancel animation endlag via Echo)
Echo (Interrupt instantly via Dash
Dash (Interrupt instantly via Ultimate)
Ultimate
Heavy: Detonate
Heavy: Detonate (Swap)
Outro
What matters most in this rotation is cancelling your Impermanence Heron cast quickly to ensure an efficient rotation. In Quickswap, it’s also easy to Swap Cancel it before Sanhua’s rotation starts (that is, before her Intro) to retain the damage and Energy generation from the cast. This saves you from doing any related inputs (you can just chain Skill into Ultimate like at S5+).
Sanhua’s Heavy: Detonate is a great Swap Cancel window at S5+ and makes for a really easy rotation time save if you have a good window to cast it during your other characters’ rotations (with a Skill and Ultimate preceding it) or if you have something productive to do during Sanhua’s own on-field cast.
You can Swap Cancel the first Heavy: Detonate in all S0 rotations to execute other parts of your team’s rotation during the cast, but it’ll amount to the same rotation time as not doing so due to needing to charge subsequent Heavy: Detonates making it overall a skippable idea.
At S5+, with Sanhua and Verina in the same team, Sanhua can execute her Intro twice instead of Verina having to do any of them to save on a bit of rotation time due to her awkward Intro. In that case, just execute Sanhua’s rotation as normal through the Intro given to her by your DPS, swap out of the Heavy: Detonate, and come back through the second Intro generated by Verina.
If Sanhua is switched into combat without an Intro, she starts from Basic 2. It’s possible to rotate without an Intro by replacing it with Basic 2-3 instead at S5+.
Lastly, Sanhua has a tech you can execute on all non-mobile devices that involves charging her Forte gauge during her Intro and Skill animations. If you hold Basic Attack all throughout, execute the inputs, and then follow into an Ultimate, the Forte charge arrow will be located where you left it before the Ultimate cutscene started. This can allow you to save around a quarter of a second compared to normal if you want to learn this. On mobile devices, the Forte charge will reset during the Ultimate animation, so this trick is not considered viable for general use.
Suoming  Luuk Herssen
 Camellya - Sanhua's premium synergies. These limited Basic Attack Main DPS characters make great use of her buffs, Suoming being ideal thanks to her general scaling while Luuk is more reliant on Tune Strain. Camellya is a really old choice that can clear some low-difficulty endgames with enough effort.
 Encore
 Rover (Havoc) - Sanhua's F2P synergies include the old reliable Encore, the best permanent banner DPS, and Havoc Rover if you really want to make use of DPS Rover. Neither of them fully rely on Basic Attack DMG but mostly do, so Sanhua works decently here, although these are really old F2P pairings so don't expect them to shatter your expectations in endgame.The Shorekeeper
 Verina
 Mornye - Sanhua's teams generally go alongside DPS characters that don't scale off any specialized mechanics, so Shorekeeper and Verina are the best generalist Support options most of the time. Luuk does scale off of Tune Strain though, which Mornye can help with if you want to use that team in specific.
Premium Teams

Suoming is a huge upgrade over other options, use her if available. Mornye is the best in slot in a team with Luuk only - privilege Shorekeeper/Verina otherwise.
F2P Teams
Calculations