Character stats
Level Stats
Base HP9,570
Base ATK212
Base DEF601
Cryo DMG Bonus24.0%

Best Diona build, teams, weapons, artifacts, combos, rotations, and gameplay notes for Genshin Impact.
 4-star
 Cryo
Cryo Bow
BowLast updated: September 13, 2026

Talent text and per-level multipliers, straight from the character data.



Passive talents are shown in full as kit cards.




All constellation names and descriptions in full for quick reference.






Keyword and ability definitions referenced across this character's kit.
Decent Stellar-Glimmer support at C6 for the active character
Has both shielding and healing in her kit, allowing for comfortable sustain
Long cooldowns
Circle impact
Only buffs the active character
All her buffs are locked behind C6, and she has little value without it
Diona is a 4-star Cryo Bow character commonly played as a sustain on Stellar-Glimmer teams. Her kit packs shielding on Skill and healing on Burst, with the latter providing good Elemental Mastery and Reaction DMG% buffs at C6.
Stellar-Conduct is a reaction that replaces Superconduct when certain characters are on the team. It deals no damage when triggered, instead spawning a Starlight Prism which generates a Polestar Field around it. This applies the 40% Physical RES Shred from the base reaction while also activating Radiance: Stellar-Conduct effects in kit. It additionally provides a DMG Bonus for the Electro and Cryo DMG and a Base Reaction Coefficient for direct Stellar-Conduct damage based on a tally which counts whenever these elements are applied; this starts at 29% and 1.45 at one stack, and increase by 1% and 0.05 to a maximum of 40% and 2 respectively. These bonuses are granted every 4 seconds, with the tally beginning anew each time.
Stellar Swirl meanwhile replaces Cryo Swirl, and activates Radiance: Stellar Swirl effects when triggered. It also deals Anemo Stellar Swirl reaction damage to the target and creates a “Level 1” Vortex; this Vortex levels up after Stellar Swirl is triggered two additional times, exploding after 3 seconds or 5 additional Stellar Swirl triggers to deal Cryo Stellar Swirl reaction damage based on the Vortex’s level. A large jump can be performed just after the Vortex explodes, though this is generally impractical to use. Note that if both Stellar-Conduct and Stellar-Swirl are triggered by the team, Radiance: Stellar-Conduct will take priority.
Similar to other damaging reactions, Stellar damage scales with EM, reaction damage bonuses, ignores DEF, and does not benefit from standard DMG% - unlike typical reactions, it can also CRIT. Stellar Swirl damage from reactions also takes into account the level and stats of all characters who contributed to triggering reaction based on their damage dealt to the enemy: 60% of the stats of the strongest participant, 30% of the second, and 5% for the third and fourth. Direct Stellar damage is considered to be of the element of the unit dealing it and is based on the multiplier and the scaling stat listed in the ability instead of level, with Stellar-Conduct damage additionally being multiplied by the Base Reaction Coefficient.
Diona’s kit is remarkably simple, though her Elemental Skill has the most mechanics associated with it. The Skill can be Tapped or Held, launching 2 or 5 Icy Paws respectively on cast that deal Cryo damage and create a shield based on her Max HP. The number of Icy Paws fired directly control the shield duration; her Tap Skill lasts for 4.8 seconds with a 6 second cooldown, while her Hold variant lasts for 12 seconds with a 15 second cooldown and is additionally bolstered with a 75% DMG absorption bonus. Each Icy Paw has an 80% chance to generate an energy particle, making her Hold Skill far more efficient in almost all cases and rendering her Tap Skill rarely used.
Diona also has two passives tied to this Skill: Her first Ascension Passive allows her shield to grant a 10% Movement SPD increase and Stamina Consumption reduction, while her Revelation Passive allows her to fire 3 additional Icy Paws at the enemy every 3.5 seconds when Cryo Swirls, Superconduct, or their Stellar variants are triggered for 20 seconds after using her Skill. These Icy Paws don’t actually affect her shield duration or give additional particle generation, but instead serve as a handy way for Diona to get extra Cryo application.
Her Burst creates a field which heals allies based on her HP and deals negligible Cryo DMG to enemies every two seconds; thanks to her second Ascension Passive, it can also apply a 10% ATK debuff to enemies. The ability has a 12 second duration and a lengthy 20 second cooldown, meaning it can be slightly awkward to play around.
Its real value, however, comes at C6 – granting a 30% Incoming Healing Bonus buff for characters below 50% HP and a 200 Elemental Mastery buff otherwise; if Diona has Radiance: Stellar-Conduct or Radiance: Stellar Swirl, characters in the field additionally are granted a 40% DMG Bonus buff for the corresponding reaction damage. Besides this, it also provides a handy 25% Max HP boost for Diona, increasing her shield strength and healing. This accounts for almost all of her buff profile, and is the reason Diona can be considered in these teams.
Luckily, as a 4* character that has been around since nearly the start of the game, Diona’s Constellations are relatively accessible — though the ones outside of the aforementioned C6 are relatively unremarkable. C1 and C2 both offer good Quality of Life to Diona’s sustain, with the former giving her Burst a 15 Energy refund while the latter increases her shield’s DMG Absorption by 15%. It also provides DMG Bonus to her Icy Paws, which is meaningless since her damage output is fairly lackluster; by a similar principle, the reduced Charged Attack time for Diona while in her Burst radius is also poor since they are almost never used due to her low damage.
This last point also holds true for her regular Normal and Charged Attacks, especially since her Hold Skill effortlessly procs most relevant weapon buffs such as Favonius Warbow with its 5 hits.
Diona tends to use her Hold Skill followed by her Burst to supply the team with sustain, her C6 buffs, and off-field Cryo application. Her Hold Skill can also be used after Burst to battery the next character in the rotation. If she is not C6, her Burst can be skipped entirely unless the healing is needed.
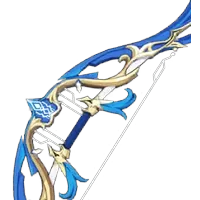 Elegy for the EndR1105%DPS - TeamCalculations done in a Sandrone Yaedette team.
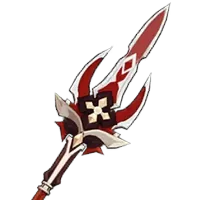
Almost always Diona’s best option for players who have it, granting Diona ER% while she easily triggers the teamwide EM and ATK% buffs on its Passive.
Elegy for the EndR1105%DPS - TeamCalculations done in a Sandrone Yaedette team.
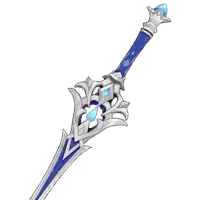
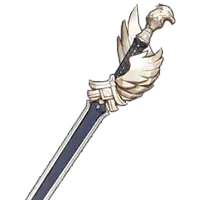
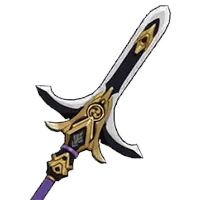
Almost always Diona’s best option for players who have it, granting Diona ER% while she easily triggers the teamwide EM and ATK% buffs on its Passive.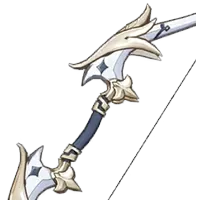 Favonius WarbowR1100%DPS - TeamProvides teamwide Energy generation, and Diona can easily trigger its Passive with a bit of CRIT Rate investment thanks to her Skill’s 5 hits. It also provides her a massive amount of ER%.
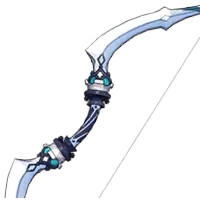 Sacrificial BowR596%DPS - TeamResets her Skill cooldown, which lets her extend the rotation to double cast her Skill for the particle generation. While typically worse than Favonius Warbow, it can be better if batterying a Cryo character.
 Noblesse ObligeGenerally her best option since Diona Bursts every rotation in most of her teams.
 Tenacity of the MillelithImproves Diona’s sustain through the HP% and Shield Strength while providing a teamwide ATK buff similar to Noblesse; however, her Skill only doing off-field damage once every 3.5 seconds means its uptime can have unpredictable gaps. Still, usually a close runner up.
 Heart of the FurnaceWhile there are typically better holders for the set such as Odette, it becomes her best option in Stellar-Conduct teams if this is not the case. Diona can activate the Set Bonus through triggering a reaction; however, it can be difficult to reliably maintain uptime without an Electro on-fielder.
 Sands
Sands Goblet
 Circlet
 ER
ER HP%
HP% CRIT RateSkillBurst
| Favonius on Diona | No Favonius | Sac Double Skill | |
|---|---|---|---|
| Triple Cryo | 200% | 225% | 175% |
| Double Cryo | 235% | 290% | 255% |
 Sandrone
 Yae Miko (C1)
 Odette
 Diona
DionaUsage rates are gathered from player profiles connected to Enka and refreshed periodically. They describe what people are running, not what performs best.
Last statistics update: 04/September/2026
Based on Enka-connected profiles matching this character. Usage rate describes observed profile popularity, not optimality. Characters may have multiple viable builds, and guide recommendations can differ from popularity.
Sample: 64,498Sacrificial Bow46.8%Favonius Warbow27.2%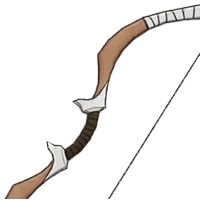 Hunter's Bow7.0%
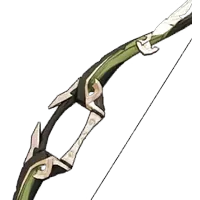 Recurve Bow3.0%
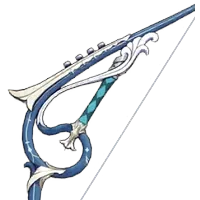 The Stringless2.5%Noblesse Oblige26.0%
 Maiden Beloved4.8%
 Instructor3.4%C06.6%C17.2%C27.2%C36.7%C46.0%C55.4%C660.8%
Diona typically wants another character who can activate her Radiance: Stellar Glimmer buffs; however, she can still be used purely for her sustain and EM buff if needed.
SandroneCryo Main DPS Radiance: Stellar-GlimmerRelative team damage chart. Best listed team is treated as 100%.
Sandrone ComparisonsTeam DPS compared solely within this team group116 ER100 ER100 ER201 ER Yae Miko
 OdetteDionaDiona
 Sandrone
 Sandrone108 ER100 ER100 ER
 100 ERYae MikoOdette
 QiqiSandroneSandrone
 Cyno ComparisonsTeam DPS compared solely within this team group
 109 ER100 ER100 ER244 ERYae MikoOdetteDionaDiona
 Cyno
Cyno Cyno
Cyno CynoCynoCyno104 ER100 ER100 ER100 ERYae MikoOdetteQiqiCynoCynoCynoCynoCyno