


Introduction
If you haven’t checked our other guide(s) about Anomaly Interception, make sure to drop a view


Mirror Container in Anomaly Interception is a Water Boss weak to Electric Nikkes. It is farmed for Glove T9M gear. This guide will go over:
- Boss HP and Rewards
- Best Nikkes and Teams
- Bossfight Breakdown and Tips
- Gameplay Videos
Boss Rewards
Rewards scale with how much damage you do, with significant improvements at Stages 3 and 6 and reaching their max at Stage 7. At 200 shards, Manufacturer Arms can be used to guarantee a T9M piece.
| Stage | Reward |
|---|---|
| Stage 1 | 0 ~ 120,000,000 Damage |
|
| Stage 2 | 120,000,001 ~ 200,000,000 Damage |
|
| Stage 3 | 200,000,001 ~ 600,000,000 Damage |
|
| Stage 4 | 600,000,001 ~ 1,200,000,000 Damage |
|
| Stage 5 | 1,200,000,001 ~ 2,300,000,000 Damage |
|
| Stage 6 | 2,300,000,001 ~ 3,500,000,000 Damage |
|
| Stage 7 | 3,500,000,001 ~ 4,600,000,000 Damage |
|
| Stage 8 | 4,600,000,001 ~ 5,800,000,000 Damage |
|
| Stage 9 | 5,800,000,001+ Damage |
|
Best Nikkes
Mirror Container is a more complex boss when it comes to team building, requiring a Charge unit and a high one-shot damage to break its Glass Slippers. Otherwise, its high DEF will make your team continuously deal less damage.
Against Mirror Container, Electric Nikkes will have their damage boosted a lot if they have Elemental Damage bonuses (from OL & other sources), so investing in Top-Tier Electric DPS is the best option for this fight.
Mirror Container is a very beginner-unfriendly boss fight. Should you need Gloves but don't have any of the teams below, just run 1 Electric unit with your main team.
- Cinderella: The best Electric Code DPS against bosses.
![Cinderella]()
- Maiden: Ice Rose: An off-burst unit who uses Burst in the final moments of the battle. Buffs the ATK & Elemental DMG of Electric Nikkes. Her Burst works in a way that allows the team to have a 3rd Burst 3.
![Maiden: Ice Rose]()
- Anis: Sparkling Summer: One of the best Electric buffers. Her personal damage is great against Water enemies.
![Anis: Sparkling Summer]()
- Ein: Electric DPS with lots of Charge Damage and ATK buffs. She has the easiest time dealing with Glass Slippers on lower Synchro levels.
![Ein]()
- Ada Wong: Mainly buffs the ATK and True DMG of B3 Nikkes using Burst, along with good personal damage.
![Ada Wong]()
- Rouge: Best B1 buffer for Cinderella and Maiden: Ice Rose and provides CDR too. While buffed, her Charged shot can break Mirror Container’s slippers (only in Interception, as the deficit is too high in Campaign).
![Rouge]()

Best Teams
Here are some example teams you can try:
Classic MC killer
Mode: Anomaly - Mirror Container || Element: Electric
Characters
About the team
The classic electric team, buffs Cinderella a lot while Anis:Sparkling Summer and Maiden:Ice Rose have good damage output. Will need to manually use Rouge for burst regen (quick-shooting after 8 full charges for her CDR) and for breaking Glass Slippers. Maiden:Ice Rose should burst at 12th and 14th burst instead of Anis:Sparkling Summer.
Substitutions
Maiden:Ice Rose may be replaced with Mast:Romantic Maid (bursting with Cinderella) or Helm Treasure or Ada Wong. Crown may be replaced with Nayuta.
Cindy Hypercarry
Mode: Anomaly - Mirror Container || Element: Electric
Characters


About the team
Every Nikke here buffs the strongest Electric DPS Cinderella. Manually full charging Helm Treasure allows for the most burst regen, and she will be the one to take down Glass Slippers. Mast:Romantic Maid should burst with Cinderella if possible.
Substitutions
Siren may be replaced with Rouge. Helm Treasure may be replaced with Ada Wong. Mast: Romantic Maid may be replaced with Redhood (as a b1 buffer for Cinderella). Crown may be replaced with Nayuta.
MC Cindyless
Mode: Anomaly - Mirror Container || Element: Electric
Characters
About the team
Not having Cinderella is rough, this team is about as good as you can get without her. Ein will take care of the Glass Slippers and deal solid damage while the team supports her and does damage too.
Substitutions
Siren may be replaced with Rapi: Red Hood (might be hard to keep alive) or Rouge or Liter. Maiden:Ice Rose may be replaced by Mast:Romantic Maid (Bursts at 3 stacks) or Helm Treasure or Ada Wong. Crown may be replaced with Nayuta.
Real True Damage
Mode: Anomaly - Mirror Container || Element: Electric
Characters

About the team
A team that can actually do well completely ignoring the main boss gimmick (Glass Slippers). Everything is concentrated into buffing Ein while Rapi:Red hood benefits from Ada S1 buff too. Mast:Romantic Maid should burst with Ein.
Substitutions
Rapi:Red Hood may be replaced with Siren or Rouge or Liter. Mast:Romantic Maid may be replaced with Maiden:Ice Rose (bursting at 12th and 14th burst) or Anis:Sparkling Summer or Helm Treasure. Crown may be replaced with Nayuta.
Boss Fight Breakdown
Mirror Container is one of the more complex bosses in the game. In short:
- The parts in Phases 1 and 2 are called Glass Slippers and only take damage from the first attack that hits them, so bring a Nikke that can do high enough damage in one shot.
- Bring an Electric Nikke for QTE (red circles).
- In Phase 2, when Glass Slippers are alive, Mirror Container gets a massive DEF boost for each non-destroyed slipper. Ensure that all of them are destroyed when the opportunity strikes for maximum damage.
If you are looking for the full breakdown, Mirror Container’s ATK increases pretty steadily from Stage 4 to Stage 8, whereas its DEF remains the same.
Mirror Container deals increased damage to Fire Nikkes:
- 300% at Stages 1~3
- 400% at Stages 4~6
- 500% at Stages 7~9
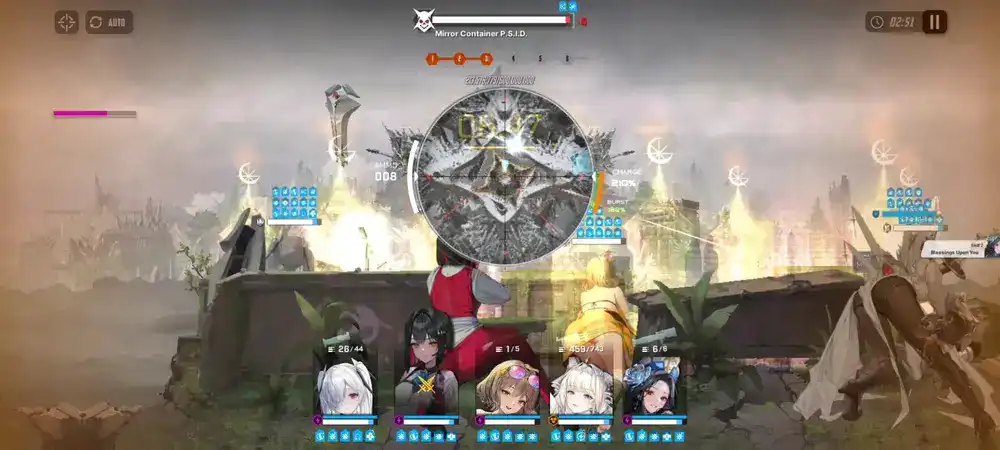
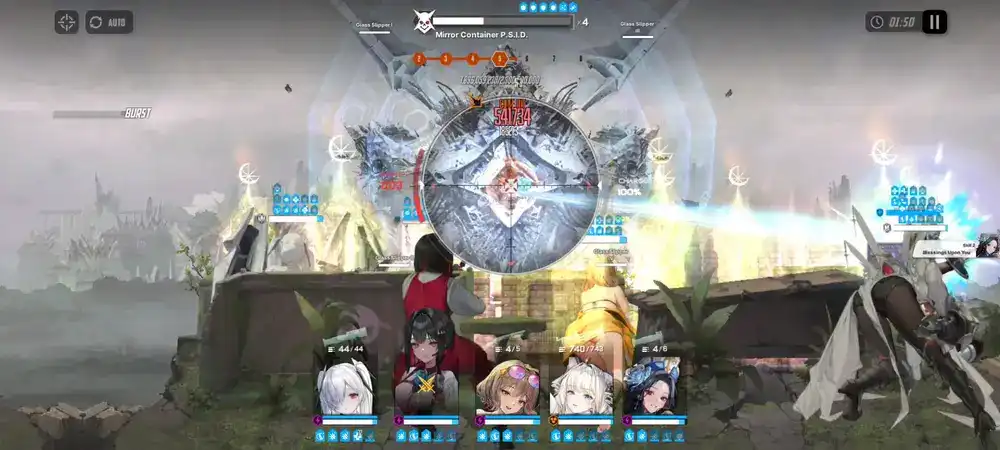
Phase I

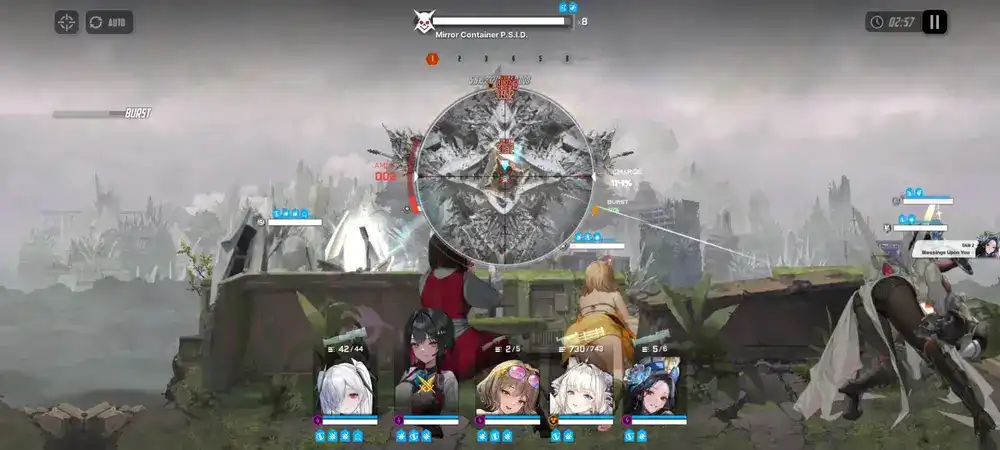
Mirror Container maintains a permanently exposed core, giving you an easy way to deal more damage by hitting it.
At the start, Mirror Container fires missiles at random. These can be i-framed or destroyed.
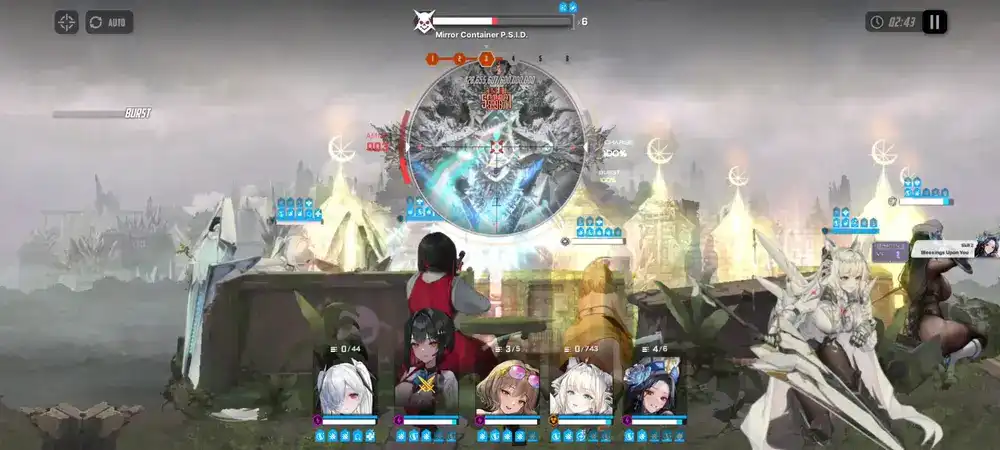
After they land, a Glass Slipper spawns and shoots a laser at the highest attack Nikke. The attack can be blocked by a cover or shield and can be taunted. It can be stopped entirely by destroying the Slipper.
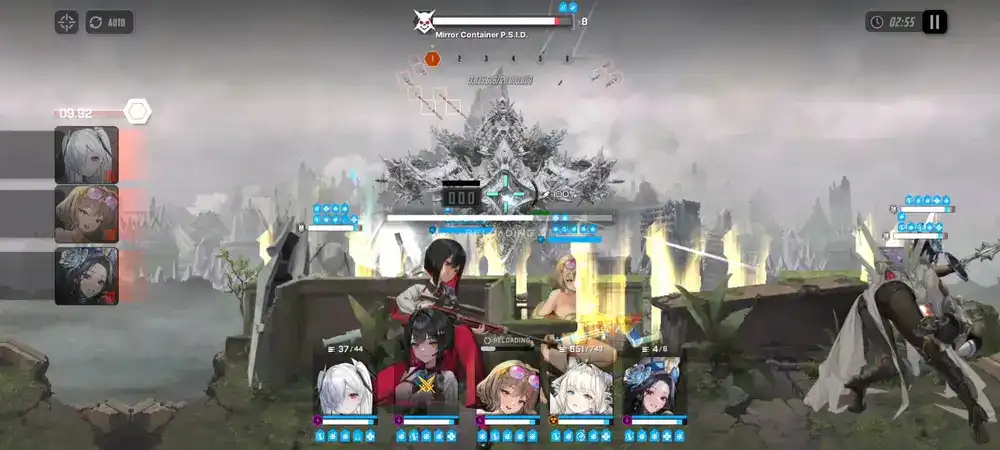
To destroy them, since it only takes damage from the first hit, you should cover the entire team while in Full Burst and fire 1 strong shot from a Sniper or Rocket Launcher at it (or use pause tech).
Next, Mirror Container shoots guns targeting the highest final ATK Nikke twice. They can be blocked by cover and taunted.
For the rest of Phase 1, attacks repeat in the following order: Slipper → 2× Guns → Missiles
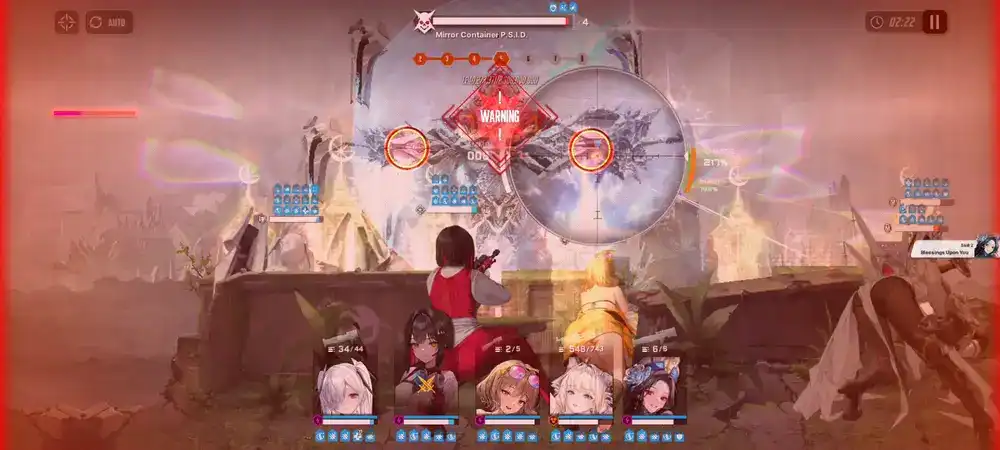
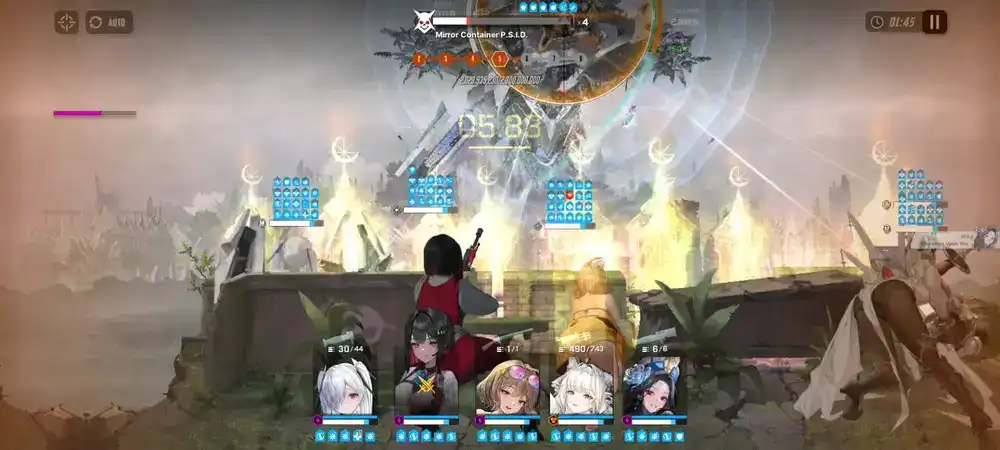
Then, it puts up the first QTE (red circles) of the fight. They can only be destroyed by Electric Nikkes, and failing results in a team wipe.
Interim
After successfully destroying the QTE, the Mirror Container vanishes and starts the 2nd QTE (red and grey circles). 4 versions are very similar. Avoid using weapons with AoE or spread to avoid accidentally hitting grey circles.
Failure to destroy red circles in time or destroying a grey circle results in a team wipe.
Patterns:
Succeeding the QTE starts Phase 2.
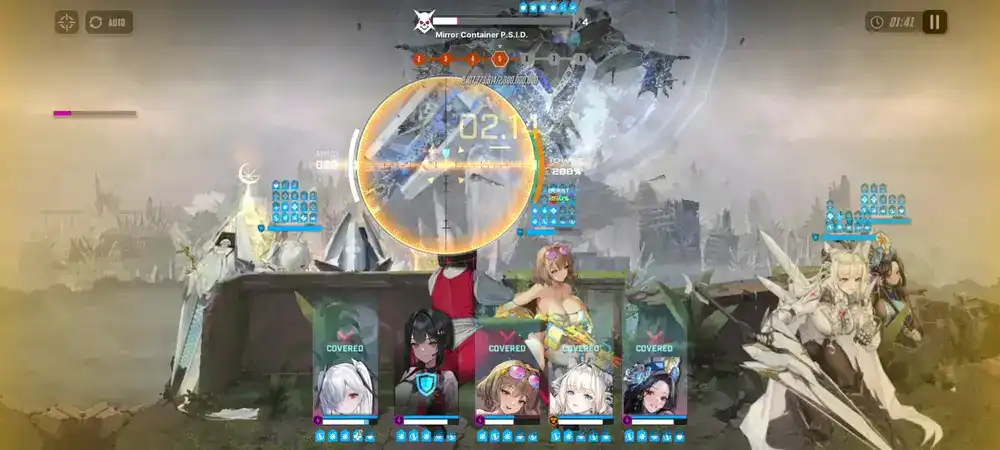
Phase 2
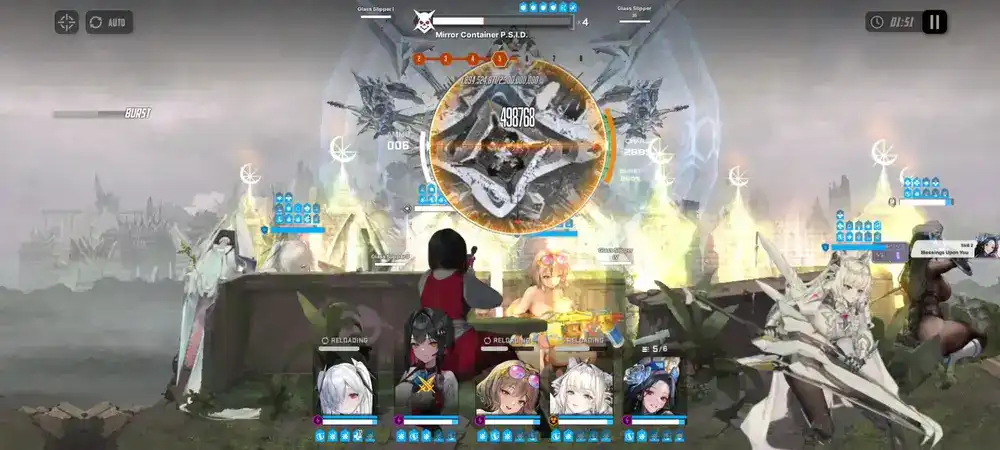
QTE Mirror Container idles for a moment before putting on 4 Shields, each increasing its DEF. The only way to remove it is by destroying all 4 Glass Slippers, removing 1 Shield each time, but they can only be destroyed at a certain time.
Next, the following sequence is repeated 4 times:
- Fires lasers at the highest final ATK Nikke. Can be blocked by cover or taunted.
- Fires a missile that can be destroyed or taunted but can't be i-framed (the missile seems to be affected by the boss’s DEF stat). The missile splashes on hit, hitting multiple Nikkes.
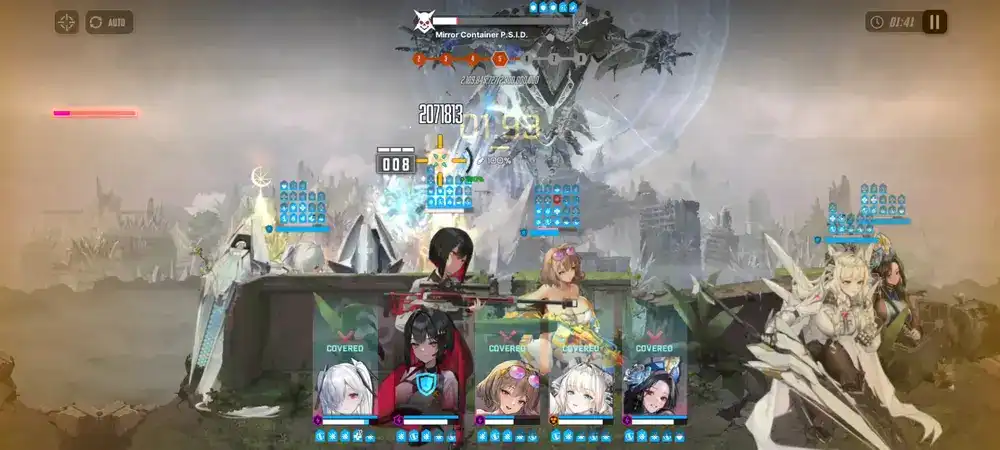
- Then prepares a Glass Slipper to attack. When charged, it will start shooting bullets at random Nikkes. They can be i-framed. Attacks stop once the Glass Slipper is hit.
- When charged, the Glass Slipper will be exposed to attacks. This is the only time it can be destroyed. It will only take damage from the first attack that hits it. Therefore, to destroy them, you should cover your entire team, then fire 1 very strong shot using a Sniper or a Rocket Launcher (or use pause tech).
- Destroying the Slipper dispels 1 shield.
Tip
For a demonstration on how to break Slippers efficiently without sacrificing damage, watch one of the demo videos at the bottom.

After repeating the sequence 4 times, Mirror Container fires lasers, then shoots a missile before putting the 3rd QTE (red circles) of the fight. They can only be destroyed by Electric Nikkes, and failing results in a team wipe.
After the QTE, if all Shields were dispelled, Mirror Container will alternate between lasers and missiles for the rest of the fight. If all Shields are not dispelled, it will repeat the same sequence as before ( Laser → Missile → Charge Slipper) till all Shields are dispelled.
Tips
- There is absolutely no need to destroy Phase 1 Glass Slippers other than to time Bursts.
- Stalling the first QTE is worth it if it allows you to get another Burst off.
- Destroying all 4 Glass Slippers in Phase 2 is a top priority when possible.
- For maximum damage when destroying Glass Slippers, make sure all buffs are up during Full Burst, and make sure the entire team is covered as you charge a powerful shot with your Sniper or Rocket Launcher to destroy it (or use pause tech).
- There is a method to destroy Glass Slippers without covering the team by pausing:
- Turn off the “Sync Cursor to Crosshair” setting.
- Burst and Full Charge with a Sniper Nikke (hold the mouse on PC).
- Pause the game without firing the charged shot.
- Without unpausing, move the crosshair to the location of the Slipper.
- Fire the shot while the game is paused (release the mouse on PC).
- Unpause.
- Reducing the game’s FPS to 30 slows down the boss, which might help you get an extra Burst off.
Gameplay Videos
For visual learners, a pretty fast way to understand what to do is to watch a walkthrough/successful run:
Full credit goes to the original creators.