
Foreword
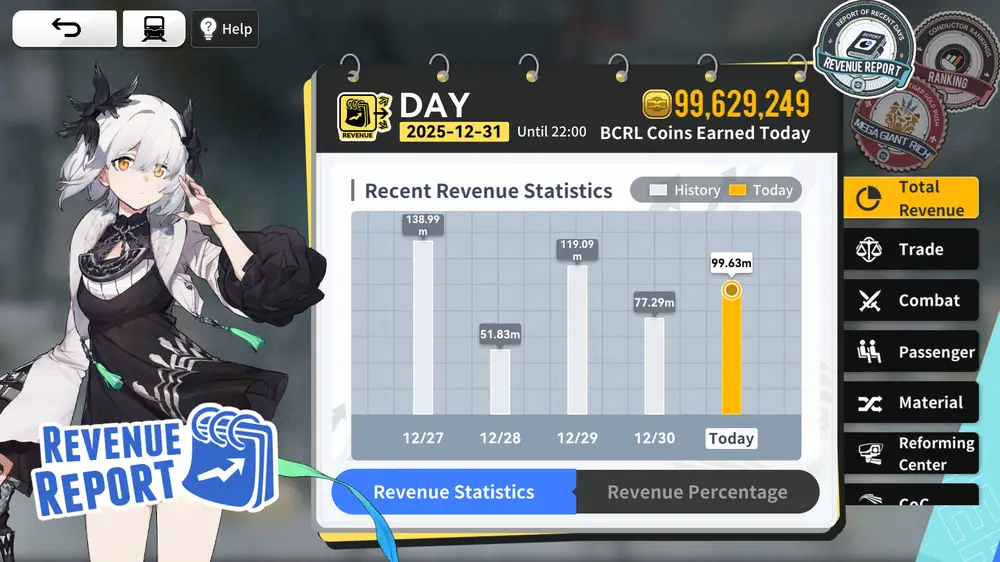
Making BCRL coins can be as straightforward as it gets: trading, crafting for trade or delivery (via Group Orders or Material Retrieve), ferrying passengers, and investing in other revenue ventures. But are you truly making the most of your fatigue, time, and resources? This is a brief guide that is specifically designed to maximize your daily profits; the way you proceed will directly affect your revenue.
Prerequisites
To get the most out of this guide, ensure you meet the following requirements:
- You are at a high enough level to comfortably clear most content.
- You already know the basics of Trading and other revenue ventures.
- You have all crafting benches and have upgraded them to LVL 3.
- Your account has aged for 14 days.
- You have access to all cities and stations.
- You have at least Level 55 Power. (Optional)
- Most importantly, you can commit hours of playtime.
If you haven't read the Basics, consider checking out:


Roundtrip Trading vs Crafted Trading
So, you're ready to stop playing small and start seeing some big numbers in your daily revenue? Let's talk about one of the "big leagues" of money-making: Roundtrip Trading.
Roundtrip Trading
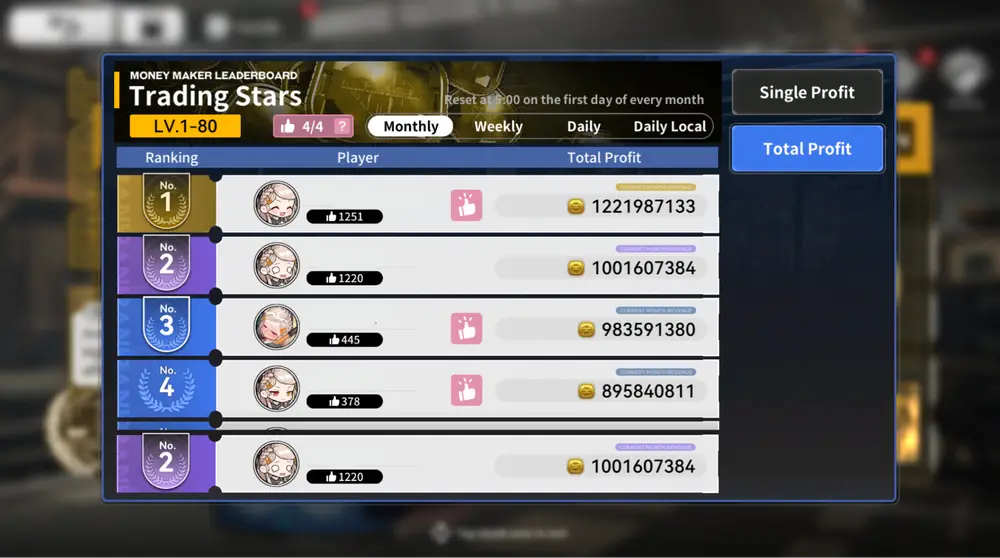
While others are busy with small-scale deliveries (Group Order and Material Retrieve), Columba Orders or still trading with Black Teas, hardcore players are busy maximizing their profits by running long-distance routes for high bargain trades or short-distance routes with high profit per fatigue ratio. This is the bread and butter for those who want to squeeze every bit of value out of their fatigue. It's definitely a commitment you'll be spending a lot of time traveling back and forth between cities, but when you're looking at potentially pulling in 600 million BCRL a month, the grind starts to look a lot more like a gold mine.
Before switching to round-trip trading to maximize your profit per point of fatigue, ensure you meet the following criteria:
- Cargo Capacity: You should have at least 600–800+ cargo capacity. If yours is lower, consider crafting Cargo Racks (Auxiliary) first.
- City Reputation: You have maximized reputations in each city along your intended trade route.
- Purchase Applications: You have a steady supply of Purchase Applications; you will need an average of 6 per round-trip to maximize your cargo with valuable goods.
- Route Planning: You have identified high-value long routes, such as Ranshin City ↔ Cape City, to maximize bargain efficiency.
- Time Commitment: You are prepared for the active playstyle required to travel back and forth between cities.
Profit Expectations
- Potential earnings range from 150 million to 600 million BCRL monthly.
- This method yields a higher profit per fatigue used compared to other methods.
- Final revenue depends on your refresh frequency and the number of Purchase Applications used per trip.
Methods vary by player preference: some prioritize Profit per Purchase Application, while others prioritize Profit per Fatigue. Some players balance both by waiting for the perfect market window. On average, 6 Purchase Applications are used per round-trip to maximize the cargo load with valuable goods.
| Priority | Routing | Refreshes Fatigue | Surplus of Purchase Application (300+) Using 2-3+ per trip. |
|---|---|---|---|
| Balanced | Mid and Long Routes | ✓ | ✓ |
| Profit per Purchase Applications | Long Routes | ✓ | ✗ |
| Profit per Fatigue | Short and Mid Routes | ✗ | ✓ |
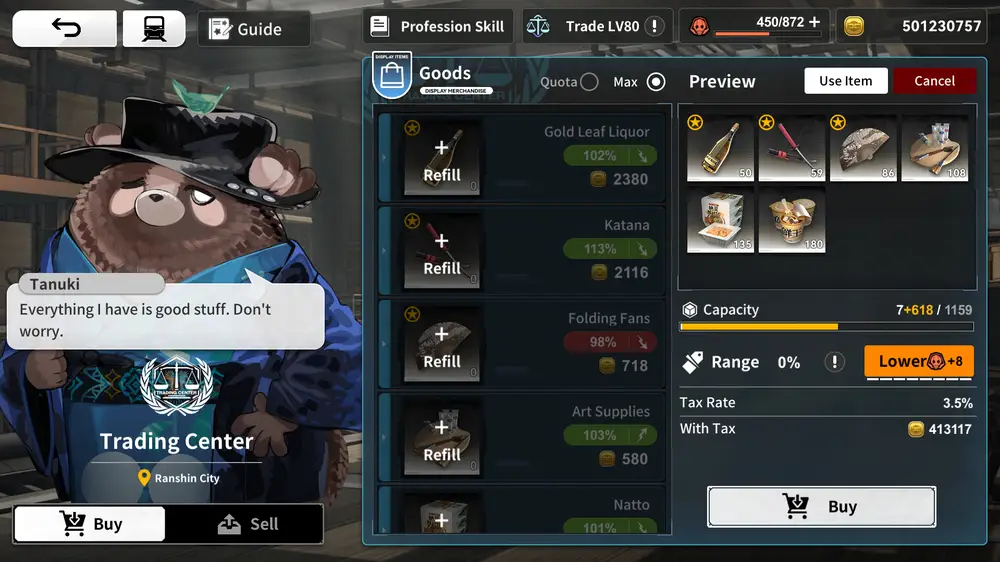
Crafted Trading
If Roundtrip Trading is simply about looking for a good window then Crafted Trading is mostly about timing for one specific moment. This is for the players who enjoy watching market tickers as prices go up and down, and making a killing when the numbers hit that 120% peak (Sometimes higher with Weekly News). A large cargo capacity is also ideal.
Whether you want to be a steady "Gold Hoarder" or a "Money Tree Dumper" you're about to enter a market where a 10-minute window can make or break your monthly revenue.
There is an "all-out war" that occurs during 10-minute peak windows.
- Once prices hit their peak, players will dump their entire loads at once.
- Expect prices to drop immediately after this 10-minute window.
- While prices typically change every 10 to 50 minutes, you'll be lucky if a peak window stays open for more than 20 minutes once the dumping begins.
- Always Bargain to ensure you are squeezing every possible BCRL coin out of the peak.
Monitor Prices here:

EARLY GAME
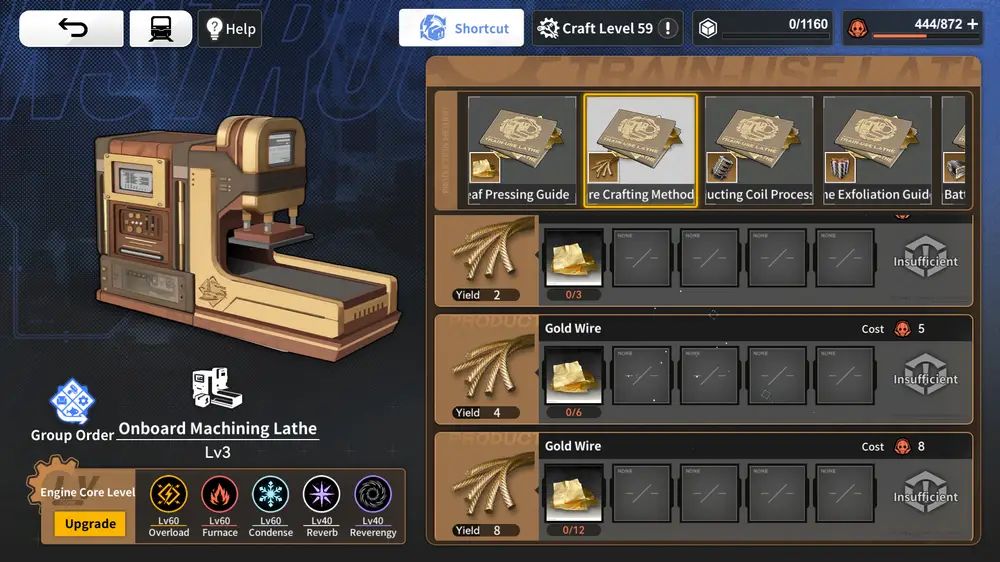
“Gold Hoarders” craft and sell Gold Products, this is a very straight forward method as you only need to buy half cargo of Gold Sand and you begin crafting them into Gold Leafs and into Gold Wires or even Gold Train Artwares. Materials are sustainable as there is a surplus of gold sand or other materials always available to purchase, make sure to buy it at their lowest to maximize your profit.
- Gold Sand can be unlocked through Mander Mine Investment,
- Gold Wire Crafting Method can be exchanged from Ms. Gold in ONEderland,
- Train Artwares Crafting Guide can be exchanged in Calculation Recording.
Ideally selling them in Ranshin City, Sumihane Station, Anita Launch Center, Freeport VII, Anita Energy Institute or Cape City at peak prices.
It is fairly common for players to graduate from a “Gold Hoarder” once they finish the achievement “Plain Sailing” (5 Million BCRL Coins Profit in one trade). This achievement unlocks the construction of Heavy Freight which gives an extra 20 cargo capacity compared to the Standard Freight. This is great if you want to transition to Roundtrip Tradings.
LATE GAME
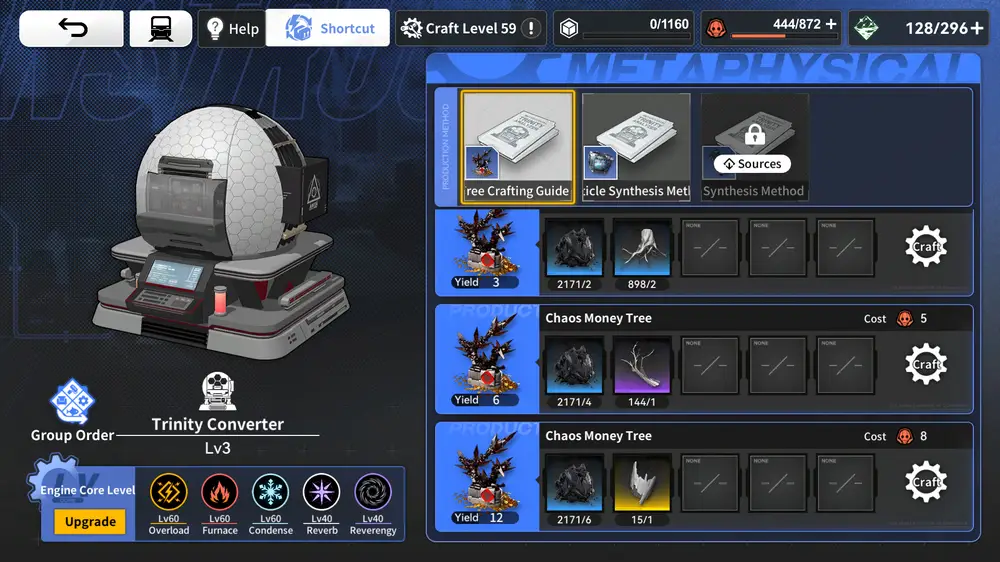
“Money Tree Dumpers” craft and sell Chaos Money Trees, this has the highest profit over fatigue used in comparison to all other craftable goods. However, this requires rare materials mainly found in Deep Sleeper enemies (Sleeper: Wood, Branch and Root), there is also Chaos Residues which can be obtained from Lost Cargos, NC Shop, and Ambushes.
Metaphysical Converter and Chaos Money Tree Crafting Method can be exchanged from Elliade in Freeport VII. (Unlocked after clearing Main Story Chapter 5)
Some players tend to dump their load even at 110% in Sumihane Station or in Ranshin City which makes it hard to find the perfect window which is 120%, as 8/10 chance the market will drop as soon as someone dumps.
Material Farming: Deep Sleeper Drops (T3)
You'll need Sleeper: Wood, Branch, and Root materials from Deep Sleeper enemies:
- Event Stages: Look for T3 Deep Sleeper drops.
- 4-Star Bounties: Target Deep Sleeper specific bounties.
- Eviction Quests:
- Cape City: Causality (Deadly LVL 58).
- Anita Launch Center: Danger! Chain Man! (Deadly LVL 73).
- Ranshin City: Spec Annihilation (Deadly LVL 78).
- Battle Plans
- BCRL Outpost: Threat Level 14-16 Deadly LVL 44-46.
- Anita Weapon Factory: Threat Level 15-16 Deadly LVL 65-66.
Chaos Residue is a precious resource. You should only craft Chaos Money Trees if you have a surplus and do not need the residue for your Power System or Towing Upgrades (Heavy Chaos Stones).
As a Summary: Gold Crafting is sustainable but is significantly less profitable per fatigue used. On the other hand Chaos Money Tree Crafting offers the highest profit per fatigue used but is less sustainable on the materials used.
| Process | Profit per Fatigue Efficiency | Resource Efficiency | Time Efficiency |
|---|---|---|---|
| Roundtrip Trading (With Purchase Appl.) | ★★★★★ | ★★ | ★ |
| Crafted Trading (Gold Wire) | ★★ | ★★★★ | ★★★ |
| Crafted Trading (Chaos Money Tree) | ★★★★ | ★★ | ★★★ |
Reforming Center vs Passengers vs Mirage Island Investment
Here's a table with brief approximations:
| Item | Maximum Investment Cost | Days needed to Maximize Upgrades (Assuming you have the BCRL Coins) | Average Daily Revenue at Maximum Investment | Return of Investment (ROI) |
|---|---|---|---|---|
| Passengers | 150-200m BCRL Coins | 1 Day | 4m BCRL Coins (From Ferrying) | Approx. 50 Days |
| Mirage Island | 150-200m BCRL Coins | 14-40 Days | 1m BCRL Coins (From Ticket Price) | Approx. 200 Days |
| Reforming Center | 600m+ BCRL Coins | 28-56 Days | 20-60m BCRL Coins (From Trading) | Unknown |
The Reforming Center will be your main profiteering venture along with Trading. These go hand in hand because crafted goods from the center are sold to Cape City or Confluence Towerfor maximum profit. However, this content hasn't been released yet; we will update this guide once it is available. For now, let's talk about the other two options.
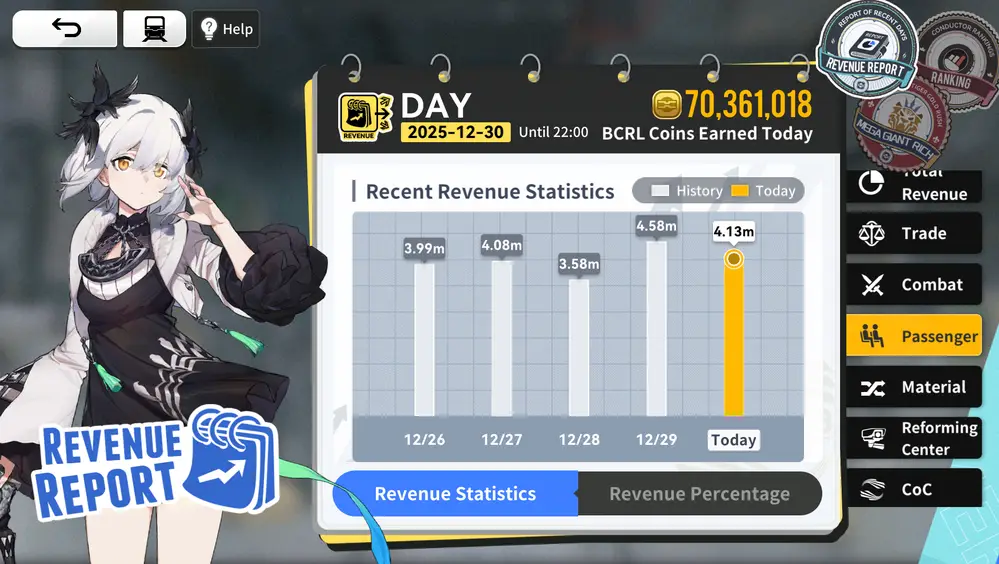
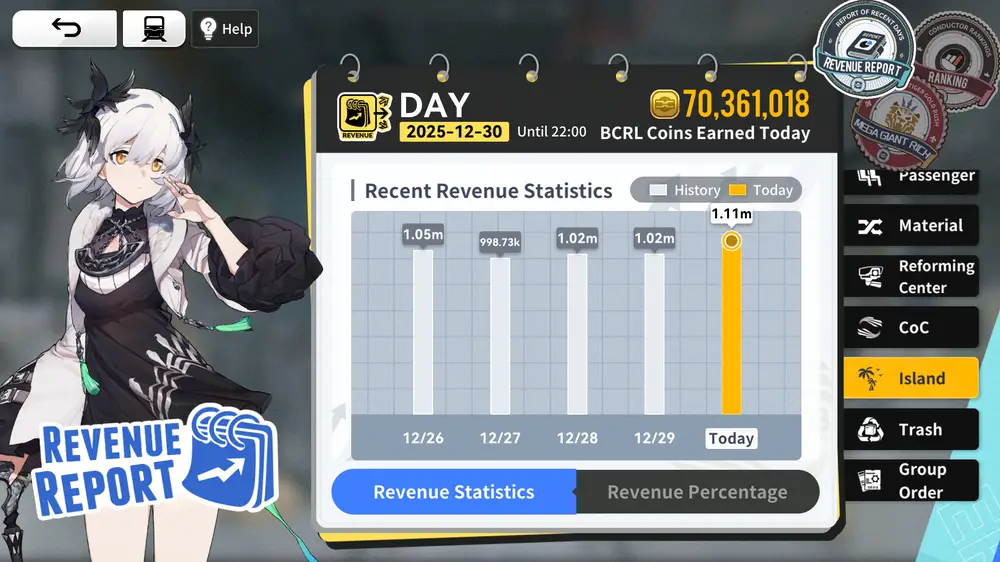
Ferrying Passengers and Mirage Island are your secondary revenue sources; both require a similar investment ranging from 150m to 200m BCRL Coins.
In this regard, Passengers has the fastest Return of Investment, generating an average of 4m BCRL Coins per day, while Mirage Island only generates 1m. This makes it more sensible to start with Passengers for a steady daily revenue. Furthermore, unlike the Island investment, you can easily reach the maximum level as long as you have the capital; you are not gated by Material Vouchers for decorations, as is the case with Mirage Island. Considering how long the ROI for Mirage Islandtakes, it should be considered a lower priority than the other two—perhaps even skippable.
Investment Priority: Reforming Center (Once Available) -> Passengers -> Mirage Island
You can check out Sample Layouts for maximum rating setup: