Character stats
Level Stats
Base HP11,962
Base ATK266
Base DEF703
Energy Recharge26.7%

Best Alyosha build, teams, weapons, artifacts, combos, rotations, and gameplay notes for Genshin Impact.
 4-star
 Electro
 Polearm
Last updated: August 13, 2026

Talent text and per-level multipliers, straight from the character data.


Passive talents are shown in full as kit cards.




All constellation names and descriptions in full for quick reference.






Keyword and ability definitions referenced across this character's kit.
Fantastic buffs at C6 overall
Can work decently for Yae-less Sandrone players
Doggo
Only buffs active character, likewise with heals until C4.
Constellation 6 merchant, replaceable by Qiqi.
Alyosha is a 4-star Electro Polearm character who is most commonly played as a Stellar-Conduct support and sustain for the active character. While this limits his use due to the presence of powerful off-field damage dealers in the archetype, his buff volume - doubled at C6 - allows him to nonetheless serve as a great and simple option, setting up his buffs with Skill and activating them and providing Electro application with Burst.
Stellar-Conduct is a reaction that replaces Superconduct when certain characters are on the team. It deals no damage when triggered, instead spawning a Polestar Field around it. This applies the 40% Physical RES Shred from the base reaction while also activating Radiance: Stellar-Conduct effects in kit - many of which allow characters to deal direct Stellar-Conduct damage. It additionally provides a DMG Bonus for the Electro and Cryo DMG and a Base Reaction Coefficient for direct Stellar-Conduct damage based on a tally which counts whenever these elements are applied; this starts at 29% and 1.45 at one stack, and increase by 1% and 0.05 to a maximum of 40% and 2 respectively. These bonuses are granted every 4 seconds, with the tally beginning anew each time. Note that if both Stellar-Conduct and Stellar-Swirl are triggered by the team, Radiance: Stellar-Conduct will take priority.
Similar to damaging reactions, direct Stellar-Conduct damage scales with EM, reaction damage bonuses, ignores DEF, and does not benefit from standard DMG% - unlike typical reaction damage, it can also CRIT. Direct Stellar-Conduct damage is considered to be of the element of the unit dealing it and is based on the multiplier and the scaling stat listed in the ability instead of level, with Stellar-Conduct damage additionally being multiplied by the Base Reaction Coefficient.
As previously mentioned, Alyosha’s Skill and Burst are tied together to fully enable his kit. His Skill has a Tap and Hold version, with the latter allowing for manual aim; however, both of them achieve their core role of applying a “Hunter’s Mark” on the enemy. Hunter’s Mark has no effect on its own, but can be activated when reapplied to grant an 21.2% ATK buff to the active character for 15 seconds at talent level 10. When Alyosha has Radiance: Stellar-Conduct, he additionally grants 20% Stellar-Conduct DMG.
However, Alyosha is not reliant on waiting out his Skill’s 15 second cooldown merely to activate his buffs. His Burst summons his hound Tarquin, and creates a Fulgurite Hunting Field which can taunt enemies. Both deal Electro damage to enemies every 2 seconds; enemies that take damage also have their Hunter’s Mark activated, forgoing the need to reapply it in order to activate it. His first Ascension Passive additionally allows Tarquin to heal the active character when it attacks.
The rest of his base kit goes relatively unused.
His second Ascension Passive grants him DMG% based on his Energy Recharge, but his damage is negligible and so this is rarely relevant. His Normal Attacks are substandard, only used to trigger weapon Passives such as Favonius Lance.
Finally, as a 4* character, his Constellations are "relatively" accessible. His C1 till C4 are relatively unremarkable: C1 reduces his Energy requirements significantly and C2 extends his Burst duration by 6 seconds and allows Tugarin to apply Hunter’s Marks to improve his already good uptime; his C3 meanwhile improves his ATK% buff scaling to 25%, and C4 also allows him to heal off-field characters. His C6, however, is the real deal. It not only doubles his buff volume to a great 50% ATK and 40% Stellar-Conduct DMG, but also allows him to provide an additional 100 Elemental Mastery to the active character! This allows the sheer volume of his buff to compensate for his inability to buff off-field damage dealers.
Alyosha follows a long line of Genshin supports who use their Skill followed by their Burst before swapping out. At C2, he can also opt to use his Burst followed by his Skill to funnel his particles to a teammate.
Because his buffs last 15 seconds each time a mark is activated, at C2+, Alyosha can afford to use his Burst every other rotation in teams with shorter rotations that might not fit his 18 second Burst cooldown requirement since he can have full buff uptime for up to 33 seconds from the initial Burst cast.
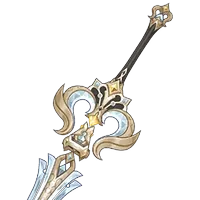
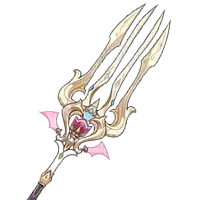 Symphonist of ScentsR1A good option if his Energy Requirements can be otherwise met thanks to its team buff.
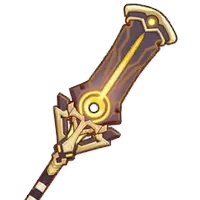
 FrostbreathR5The new Battle Pass weapon, and a great choice for Alyosha thanks to the teamwide Energy generation.
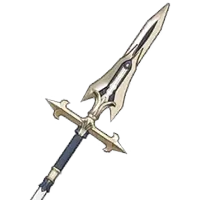 Favonius LanceR5Provides teamwide Energy generation similarly to the above, but requires Alyosha to CRIT. A high refinement Favonius Lance is similar to a low refinement Frostbreath.
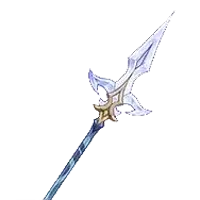 Song of the VigilR5An unnoteworthy F2P option that provides Energy for Alyosha.
 Noblesse ObligeGenerally his strongest option, due to Alyosha typically Bursting every rotation.
 Heart of the FurnaceAn option if Odette is not on the team or if she is a significant enough portion of damage that running Disenchantment in Deep Shadow on her is stronger; Furnace provides a potent 50% Stellar DMG team buff.
 Sands
Sands Goblet
 Circlet
 ER
ER CRIT Rate
 CRIT DMG
 ATK%
ATK% EMSkillBurst
| C0 | C1+ | |
|---|---|---|
| Solo Electro | 260-280% | 200-220% |
| Double Electro | 175-195% | 135-155% |
| Triple Electro | 140-150% | 100-110% |
 Sandrone
 Yae Miko
 Odette
 Alyosha
Usage rates are gathered from player profiles connected to Enka and refreshed periodically. They describe what people are running, not what performs best.
Last statistics update: 04/September/2026
Based on Enka-connected profiles matching this character. Usage rate describes observed profile popularity, not optimality. Characters may have multiple viable builds, and guide recommendations can differ from popularity.
Sample: 73,868Favonius Lance54.3% Skyward Spine7.0%
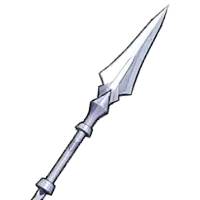 Beginner's Protector5.9%Frostbreath3.7%Noblesse Oblige44.9%Heart of the Furnace22.1%Noblesse Oblige [2PC] + Rainbow1.9%Heart of the Furnace [2PC] + Rainbow1.9%C010.1%C113.2%C218.7%C314.2%C411.4%C57.0%C625.5%
Alyosha is only really played in Stellar-Conduct teams. This means he requires a unit that can enable it: currently, these include Odette, Cryo Traveler, or Sandrone. Beyond this, his team is typically filled with other Stellar-Conduct characters, or units to buff the Main DPS he is supporting.
Sandrone Cryo Main DPSRadiance: Stellar-Glimmer
 CynoElectro Main DPSRadiance: Stellar-Conduct
 Traveler CryoCryo DPS, SupportRadiance: Stellar-Glimmer
Relative team damage chart. Best listed team is treated as 100%.
Sandrone ComparisonsTeam DPS compared solely within this team group136 ER100 ER100 ER116 ER Odette
 Yae MikoAlyoshaAlyosha
 Sandrone
 Sandrone127 ER100 ER100 ER
 100 EROdetteYae Miko
 EscoffierSandroneSandrone