Character stats
Level Stats
Base HP13,103
Base ATK342
Base DEF765
CRIT DMG38.4%

Best Arlecchino build, teams, weapons, artifacts, combos, rotations, and gameplay notes for Genshin Impact.
 5-star
 Pyro
Pyro Polearm
Last updated: August 20, 2026
Talent text and per-level multipliers, straight from the character data.



Passive talents are shown in full as kit cards.



All constellation names and descriptions in full for quick reference.






Good DPS, with improving performance in longer fights.
Has multiple synergistic teams that perform similarly to one another
Great ceiling potential thanks to her combo and rotational flexibility.
Has good vertical investment.
DPS does not compare favourably to newer characters.
Her Melt and Vaporize teams are difficult to play.
Only has a few synergistic sustain options.
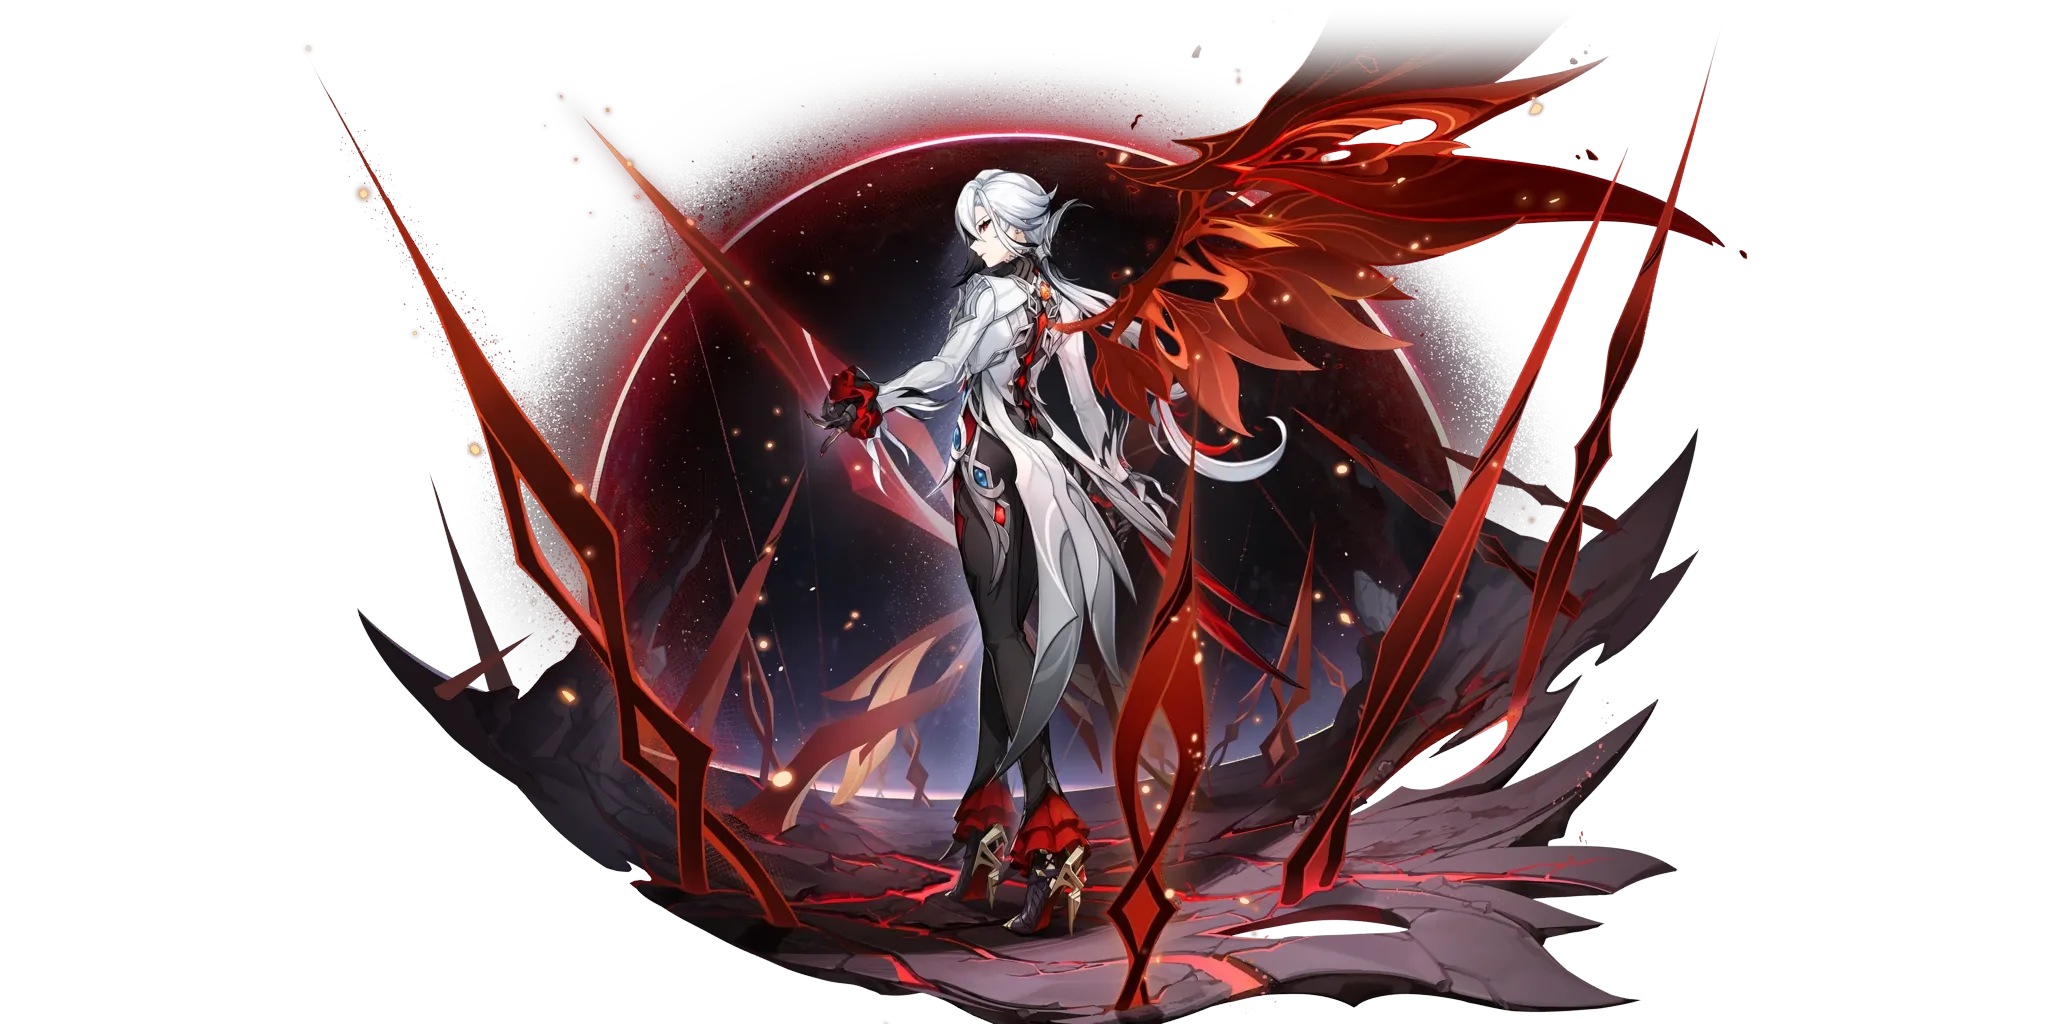
Arlecchino is a 5-star Pyro Polearm user who is most commonly played as an on-field main DPS. Her gameplay revolves around the Bond of Life mechanic, gained when using her Charged Attack on enemies marked by her Skill, then consuming it to unleash enhanced Pyro-converted Normal Attacks and reduce her Skill cooldown.
Bond of Life is a mechanic that absorbs any healing in place of the unit receiving it to reduce its own value when present. It appears as a red outline over the HP bar of the character possessing it and is worth double the portion of HP outlined, with a maximum value of 200% of a character’s max HP when fully encompassing their HP bar. While it has no inherent benefits, most sources of Bond of Life come associated with positive effects for either possessing or clearing it.
Arlecchino goes one step further with this, being one of the few characters with a Utility Passive that is impactful in combat; in exchange for providing Arlecchino a 40% Pyro DMG Bonus buff, it prevents her from being healed by any source outside of her Burst.
This is due to Arlecchino using her Bond of Life as a resource revolving around her Normal Attacks. When she has a Bond of Life worth at least 30% of her Max HP, her Normal Attacks are converted to Pyro; just as crucially, each hit consumes 7.5% of her current Bond of Life to increase its damage with an extra ATK-scaling multiplier, which is itself further increased by the ratio of her Bond of Life and HP! This is where most of Arlecchino’s damage comes from, and encourages Arlecchino to stack as high a Bond of Life value as she can.
She accomplishes that through her Elemental Skill, which applies a “Blood-Debt Directive” mark on enemies hit by it that deals some negligible persistent damage. Its real value is in how Arlecchino can use her Burst or Charged Attack - the latter of which is uniquely executable without a preceding Normal - to generate a Bond of Life worth 65% of her max HP. Her Ascension 1 Passive additionally plays into this, upgrading the mark into a “Blood-Debt Due” after it has remained on an enemy for 5 seconds and doubling the Bond of Life it grants. It also provides some extra quality of life by granting Arlecchino a Bond of Life worth 130% of her Max HP if an enemy with her unenhanced mark dies. This Bond of Life accumulation is kept in check by Arlecchino only being able to gain up to 145% of her Max HP as a Bond of Life through her marks per Skill use; thankfully, consuming Bond of Life with her Normal Attacks lowers her Skill’s lengthy 30 second cooldown by 0.8 seconds each time.
Thus, Arlecchino’s gameplan becomes clear: she sets up her Skill, then allows it to upgrade while her supports use their abilities before absorbing it with her Charged attack, proceeding to unleash high-power Normal Attacks after. Her Skill comes back online well before her Bond of Life is cleared, allowing her to repeat the process; in fact, any conserved Bond of Life serves to buff her subsequent rotations, with Arlecchino only reaching her maximum potential when starting her DPS window at the Bond of Life cap!
Her Ascension 4 Passive and Burst serve as survival mechanisms to offset the healing restriction imposed by her Utility Passive. The former allows any ATK Arlecchino has in excess of 1000 to increase her RES, gaining up to 20% RES at 3000 ATK. Her Burst is a more radical option, dealing subpar damage but also healing herself based on her ATK and Bond of Life - consequently also resetting any Bond of Life she accumulated. This means that, while she does also reset her Skill cooldown so she can restart her core gameplay loop, her Burst is only ever used as an emergency button due to it undoing Arlecchino’s aforementioned ability to keep powering herself up through rotations.
As briefly mentioned above, Arlecchino’s core gameplay loop consists of the following:
Use her Skill at the start of the rotation to mark enemies
Allow her mark to upgrade for 5s, casting teammate abilities in the meantime
Swap back to Arlecchino, absorbing her mark with a Charged Attack
Use Normal Attacks until her Skill cooldown ends
If sufficiently relevant, (re)cast ally abilities as needed
Only use Burst as a last resort emergency button
Due to Arlecchino’s damage and conversion being permanently tied to her Bond of Life, she can flexibly be swapped during her field time if required; that being said, since Arlecchino is almost always doing most of the damage on a team, doing so should be done with caution as to whether losing additional Arlecchino Normal Attacks is worth the swap.
Arlecchino’s combos are a good damage gain, and - primarily in the case of Melt - occasionally a requirement for the team to be functional! Thankfully, her baseline combos are easily accessible, provide a strong damage floor, and often will make her more fluid to play. Still, Arlecchino has a very high ceiling for optimization both in terms of rotation adjustment and combos; experimenting with her various options is a good idea to figure out how far you can take her.
This also applies to adjusting Arlecchino’s rotations or combos flexibly in combat to best deal with a combat situation. Simple examples of this include extending Arlecchino’s field time before the end of a DPS window or the battle end to squeeze in a little bit of extra damage, or swapping to a combo with increased Pyro application to fulfil element checks.
The notation used to refer to combat inputs in this section will be as follows:
Arlecchino has 4 means of performing her animation cancels: Dash, Walk, Swap, and Jump. For all of these, in theory, the cancel is as simple as executing the cancelling action after the attack connects with the enemy - though the timing for this can require practice.
Dashes are Arlecchino’s primary means of executing her cancels, and typically the easiest. Swap Cancels are similarly easy, but more specific as they should only be used if Arlecchino was intending to swap out to begin with.
Walk and Jump cancels are relatively niche. The former requires specific timing, requiring the player to single Tap or double Tap with precise timing on their Forward directional key to cancel and reset the attack string. While it can be performed as an optimal option for most of her abilities, it is only worth using over her Dash when cancelling N1 or N2 for specific combos. Jump cancels are only used as a niche option to cancel her Charged Attack or when out of stamina.
The following strings serve as the building block of Arlecchino’s combos. Note that her full combos always open with a Charged Attack to absorb her Blood-Debt Due.
N5 → Dash/Swap: Arlecchino’s easiest combo and the recommended baseline; Arlecchino’s N5 is easy to cancel, and doing so is highly recommended due to its lengthy ending animation.
N3 → Dash/Swap: Arlecchino’s N3 is both relatively simple to cancel, and is often the optimal attack to perform her cancel on. These can be used for Arlecchino’s Melt or Vaporize compositions, either waiting or quickswapping to ensure a Cryo or Hydro aura is established before performing the next N3.
N1/N2 → Walk: An option performed during Vape/Melt combos to set up Arlecchino’s Pyro application to react more favourably.
N2C → Repeatable Attack String against enemies with an infinite Hydro/Cryo aura or to maximize Pyro application.
Overload Example:
Arlecchino Charged Attack → (N3D) x6 → N3 → Swap
Vape Example:
Mona Q N1 → Arlecchino C N3 → Mona E N1 → Arlecchino N2W (N3D) x2 N3 → Mona N2 → Arlecchino N3
Melt Example:
Citlali Skill → Burst → Arlecchino C (N2W) x2 N3D N3 → Citlali N1 → Arlecchino (N2W) x2 N3
An Alternative Rotation:
Citlali Skill → Burst → Arlecchino C N1W (N3D) x2 N3 → Citlali N1 → Arlecchino N1W N3D N3
 Fragment of Harmonic WhimsyAlmost always Arlecchino’s best option, working unconditionally with her playstyle.
 Gladiator's FinaleA reasonable option which can outdo Fragment of Harmonic Whimsy with better Substats.
 Sands
Sands Goblet
 Circlet
 CRIT Rate
 CRIT DMG
 ATK%
ATK% EMNormal AttackBurstSkill
 Arlecchino
 Mona
Mona Bennett
 Sucrose
Usage rates are gathered from player profiles connected to Enka and refreshed periodically. They describe what people are running, not what performs best.
Last statistics update: 04/September/2026
Based on Enka-connected profiles matching this character. Usage rate describes observed profile popularity, not optimality. Characters may have multiple viable builds, and guide recommendations can differ from popularity.
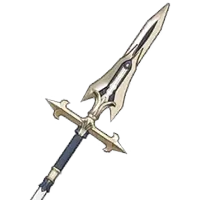
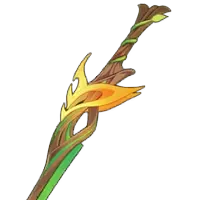
Sample: 637,380 White Tassel12.1%
 Deathmatch7.7%
 Staff of Homa4.0%Fragment of Harmonic Whimsy [2PC] + Rainbow2.4%Gladiator's Finale [2PC] + Rainbow0.8%C061.1%C120.4%C210.1%C32.9%C40.6%C50.3%C64.7%Mona
 Hydro SupportHexerei
 Citlali
 Cryo Support, SustainNightsoul
 NicolePyro Support, SustainHexereiSucrose
 Anemo SupportHexerei
Relative team damage chart. Best listed team is treated as 100%.
Arlecchino Teams100 ER246 ER100 ER229 ERArlecchino Bennett
 Bennett
 Sucrose
 Mona
Mona Mona
Mona ArlecchinoArlecchinoArlecchinoArlecchinoMonaArlecchinoArlecchinoArlecchino100 ER195 ER220 ER204 ERArlecchinoBennettBennettSucrose
 Citlali
 CitlaliArlecchinoArlecchinoArlecchinoArlecchinoArlecchinoCitlaliArlecchinoArlecchinoArlecchino
 164 ER
 100 ER100 ERArlecchino
 Nicole
 Fischl
 Chevreuse
 ChevreuseArlecchinoArlecchino



















 Electro Sub-DPS, Support