Character stats
Level Stats
Base HP12,397
Base ATK191
Base DEF771
Energy Recharge26.7%

Best Bennett build, teams, weapons, artifacts, combos, rotations, and gameplay notes for Genshin Impact.
 4-star
 Pyro
Pyro Sword
SwordLast updated: August 12, 2026
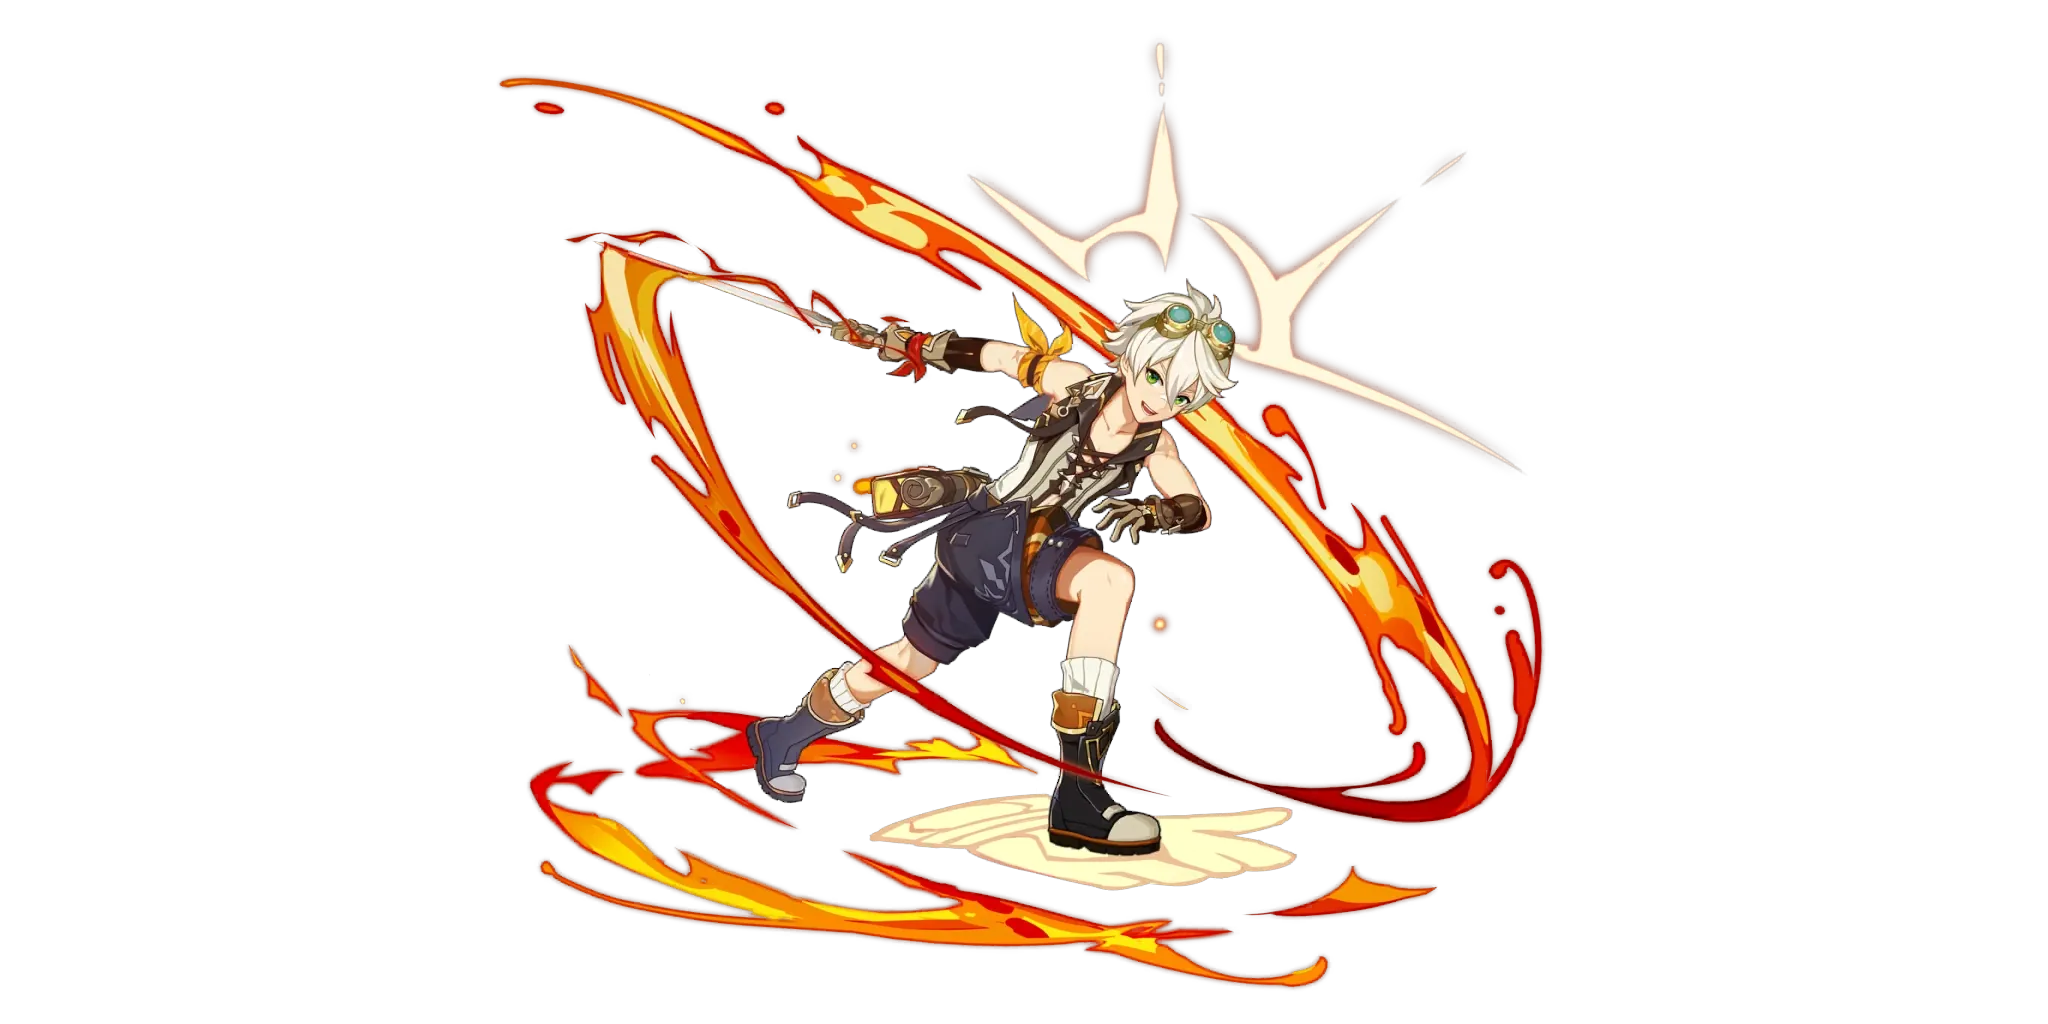
Bennett is a 4-star character from the Pyro element who wields the Sword weapon. Bennett was added to the game with the 1.0 patch.
A good-natured adventurer from Mondstadt who's unfortunately extremely unlucky.
Talent text and per-level multipliers, straight from the character data.



Passive talents are shown in full as kit cards.



All constellation names and descriptions in full for quick reference.






Simple to build and play.
Gigantic ATK buff to on-field character.
Strong healing for the active character.
Enables certain playstyles at C6 by letting them use Pyro-infused Normal Attacks.
High Energy Recharge requirements.
Circle Impact.
Might accidentally kill you with self-Pyro application.
Bennett is a 4-star Pyro Sword user most commonly played as a support and sustain for ATK-scaling teams.
His use in this regard is summed up neatly by his Burst, which creates a field lasting for 12 seconds when used. Every second, it checks if the active character’s HP is below or above 70%; it then subsequently provides healing in the former case, or applies an ATK buff lasting 2.1 seconds in the latter. This ATK buff is scaled on the Burst’s Talent Level and his Base ATK, which is the sum of his character and weapon’s base ATK stats; his actual ATK state itself is irrelevant for the buff calculation. Since the buff is not directly tied to the field’s existence but instead applied for a duration at fixed intervals by the field, it means that the buff can “linger” off-field or after field expiry - but also that a character may not receive the buff the very instant they step onto his field.
Furthermore, when this check is performed, it also applies a Pyro aura to the active character in the field. This is a double-edged sword; it can be used to cleanse harmful stage auras or enable beneficial reactions, such as Swirls that can damage enemies and apply Pyro when combined with Jean’s Burst applying Anemo to the active character. At the same time, it also allows enemies to trigger reactions on the active character to potentially deadly effect.
His Elemental Skill has three charge levels based on the input, allowing his Skill to deal 1 additional instance of damage: the “Press” variant is cast when the Skill is simply Tapped, “Level 1” is cast when Holding the Skill momentarily, while “Level 2” is cast after fully charging up after Holding his Skill. Typically, only the first is used thanks to its quick execution, short cooldown, and reliable particle generation; however, the Pyro application from the extra hits on the latter two is useful in certain reaction setups.
His Ascension Passives both feature improvements to his Skill; the first reduces its cooldown by 20%, while the latter reduces the Skill’s cooldown by a separate 50% if used within 2.1 seconds of Bennett receiving the benefits of his Burst. It also removes the knockback on the final stage of Benny’s Skill that he experiences when using it without this Passive. These cooldown reductions reduce his Tap Skill’s cooldowns to 4 seconds and 2 seconds respectively, allowing Bennett to serve as an excellent Pyro battery if he can take field time.
Finally, as a 4-star character available since the launch of the game, Bennett’s Constellations are relatively accessible. His C1 is by far his most important: it both increases his ATK buff scaling substantially, while also allowing it to apply when his Burst ticks even if characters are below 70% HP. C2 offers him Energy Recharge if at below 70% HP, which has some niche value but is impractical to use consistently. C4 allows him to perform an additional Pyro hit when using a Normal Attack after his Level 1 Skill, essentially circumventing any use for his Level 2 Skill even in extremely niche scenarios. The Burst Talent Levels from his C5 are valuable and comparable to the increase provided by his C1. Finally, his capstone C6 provides the on-field character with a 15% Pyro DMG Bonus, with Claymore, Polearm, and Sword characters additionally infusing their weapons with Pyro; this is a small boost to Pyro carries, but can also be nice to enable certain reaction setups or unique playstyles using the Pyro-infused attacks.
Bennett is simple: most of the time, he uses his Skill, then uses his Burst.
He can swap the order of these abilities if he has sufficient Energy and is looking to battery another unit; in such cases, he typically also casts his Skill an additional 1-3 times in the rotation by making use of his Burst’s cooldown reduction. He can also use his Skill twice a rotation purely for his own ER needs if time permits, which can be useful in Energy-starved teams to allow him to use a higher Base ATK weapon.
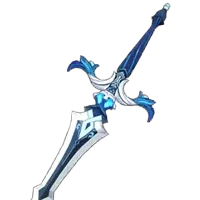
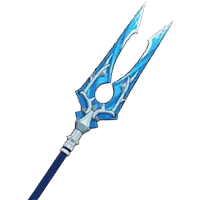
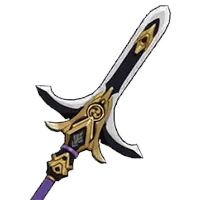
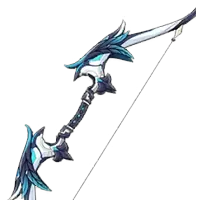
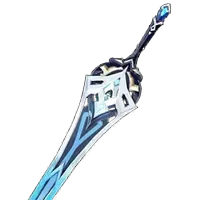
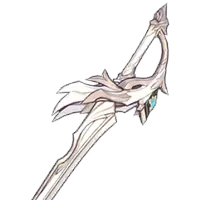 Aquila FavoniaR1The highest Base ATK possible on a Sword in Genshin Impact as of this guide’s release is 674, and thus will give Bennett the highest raw Base ATK stat for his Burst’s ATK buff conversion.
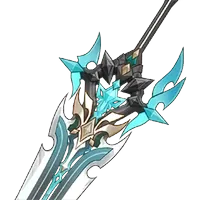
It shares this property with Mistsplitter Reforged, Azurelight, and Absolution; however, these Weapons typically have use on other characters.
Aquila FavoniaR1The highest Base ATK possible on a Sword in Genshin Impact as of this guide’s release is 674, and thus will give Bennett the highest raw Base ATK stat for his Burst’s ATK buff conversion.
It shares this property with Mistsplitter Reforged, Azurelight, and Absolution; however, these Weapons typically have use on other characters.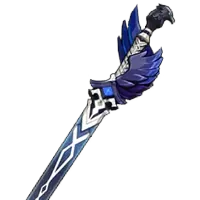 The Alley FlashR5A 4-star Weapon with a higher than average Base ATK of 620, again utilized for maximizing Bennett’s ATK buff.
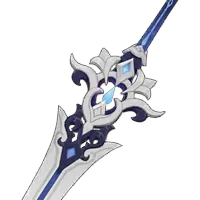
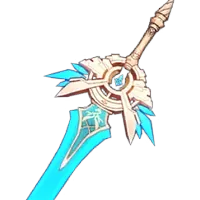 Skyward BladeR1This weapon boasts a high Base ATK and Energy Recharge stat line but at the cost of having a negligible passive effect and not being as accessible.
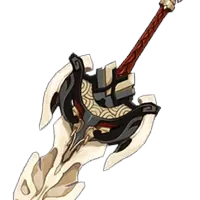
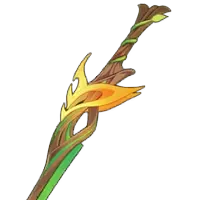 Sapwood BladeR5Despite only having 565 Base ATK, this Weapon provides additional benefits the other Swords may not, such as an Energy Recharge Secondary Attribute as well as a passive that can provide 120 Elemental Mastery to a party member. It is also completely free to play as a craftable from Sumeru.
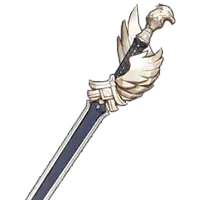 Favonius SwordR5While the low base ATK cuts down on Bennett’s buff volume, the massive dose of Energy Recharge% and extra particles it provides can make it a requirement on certain Energy-starved teams.
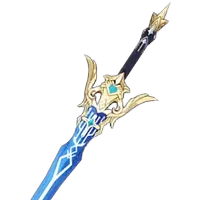 Freedom-SwornR1Freedom Sworn can beat out the above options for buff strength in teams where its Passive can be reliably triggered, though this can prove more difficult a task than it sounds.
 Noblesse ObligeBennett is an excellent Noblesse Oblige holder as every rotation will include his Burst and he can’t make great use of other supportive Artifact Sets. Provides even more ATK% - and this time teamwide.
 InstructorThis Set can provide a more desired 120 Elemental Mastery buff to certain teams, but requires triggering an Elemental Reaction, this time ideally as close as possible to the start of your carry’s combos due to its fleeting 8s duration.
 Scroll of the Hero of Cinder CityOffers a more universal buff through DMG Bonus rather than the ATK% from Noblesse Oblige, but again requires triggering an Elemental Reaction - more importantly, there are often better holders for this Set.
 Sands
Sands Goblet
 Circlet
 ER
ER HP%Burst
| ER | |
|---|---|
| Solo Pyro | 270-300% |
| Double Pyro | 180-230% |
| Triple Pyro | 160-180% |
| Reduction per team Favonius trigger | -20% |
Usage rates are gathered from player profiles connected to Enka and refreshed periodically. They describe what people are running, not what performs best.
Last statistics update: 04/September/2026
Based on Enka-connected profiles matching this character. Usage rate describes observed profile popularity, not optimality. Characters may have multiple viable builds, and guide recommendations can differ from popularity.
Sample: 270,300Favonius Sword22.3%Skyward Blade22.1%Sapwood Blade17.0%Aquila Favonia15.4%Noblesse Oblige76.4%Noblesse Oblige [2PC] + Rainbow4.6% Emblem of Severed Fate [2PC] + Rainbow0.8%
 C04.9%C16.7%C27.4%C37.4%C46.9%C511.2%C655.4%
 Razor
Razor Electro Main DPSHexerei
Relative team damage chart. Best listed team is treated as 100%.
Mavuika Melt ComparisonsTeam DPS compared solely within this team group 100 ER
 237 ER
 164 ER214 ER
 MavuikaBennett
 Iansan
 IansanBennett
 Citlali
 CitlaliMavuika
 Mavuika100 ER190 ER184 ER
 100 ER
 NicoleIansanIansanCitlaliCitlaliMavuikaMavuikaMavuikaMavuikaMavuika Overload ComparisonsTeam DPS compared solely within this team group100 ER
 100 ER154 ER
 100 ER
 Ororon
 OroronChevreuse
 ChevreuseIansanIansanMavuikaMavuika100 ER182 ER181 ER100 ERChevreuseChevreuseBennettIansanIansan
 MavuikaMavuika100 ER182 ER181 ER100 ERChevreuseChevreuseBennettIansanIansanMavuikaMavuika
 Varka ComparisonsTeam DPS compared solely within this team group
 100 ER171 ER
 118 ER
 136 ER
 Durin
Durin Durin
Durin Prune
Prune PruneNicole
 Nicole
 VarkaVarkaVarkaVarkaVarkaVarka100 ER224 ER138 ER141 ERDurinDurinPrunePruneBennettBennettVarkaVarkaVarkaVarkaVarkaVarka
 Lohen ComparisonsTeam DPS compared solely within this team group
 100 ER134 ER167 ER100 ERNicoleCitlaliCitlaliDurinDurin
 LohenLohenLohenLohen
 LohenLohenLohen100 ER158 ER176 ER263 ERBennettBennettCitlaliCitlaliDurinDurinLohenLohenLohenLohenLohenLohenLohen