Character stats
Level Stats
Base HP11,962
Base ATK193
Base DEF605
HP24.0%

Best Chevreuse build, teams, weapons, artifacts, combos, rotations, and gameplay notes for Genshin Impact.
 4-star
 Pyro
Pyro Polearm
Last updated: August 23, 2026
Talent text and per-level multipliers, straight from the character data.



Passive talents are shown in full as kit cards.



All constellation names and descriptions in full for quick reference.






Extremely short field time.
Powerful RES Shred that can be applied even if not on-field, allowing for flexible rotations.
Provides some healing for on-fielders.
Restrictive team building for her best use case.
C6 is a considerable boost and necessary for use outside Overload teams.
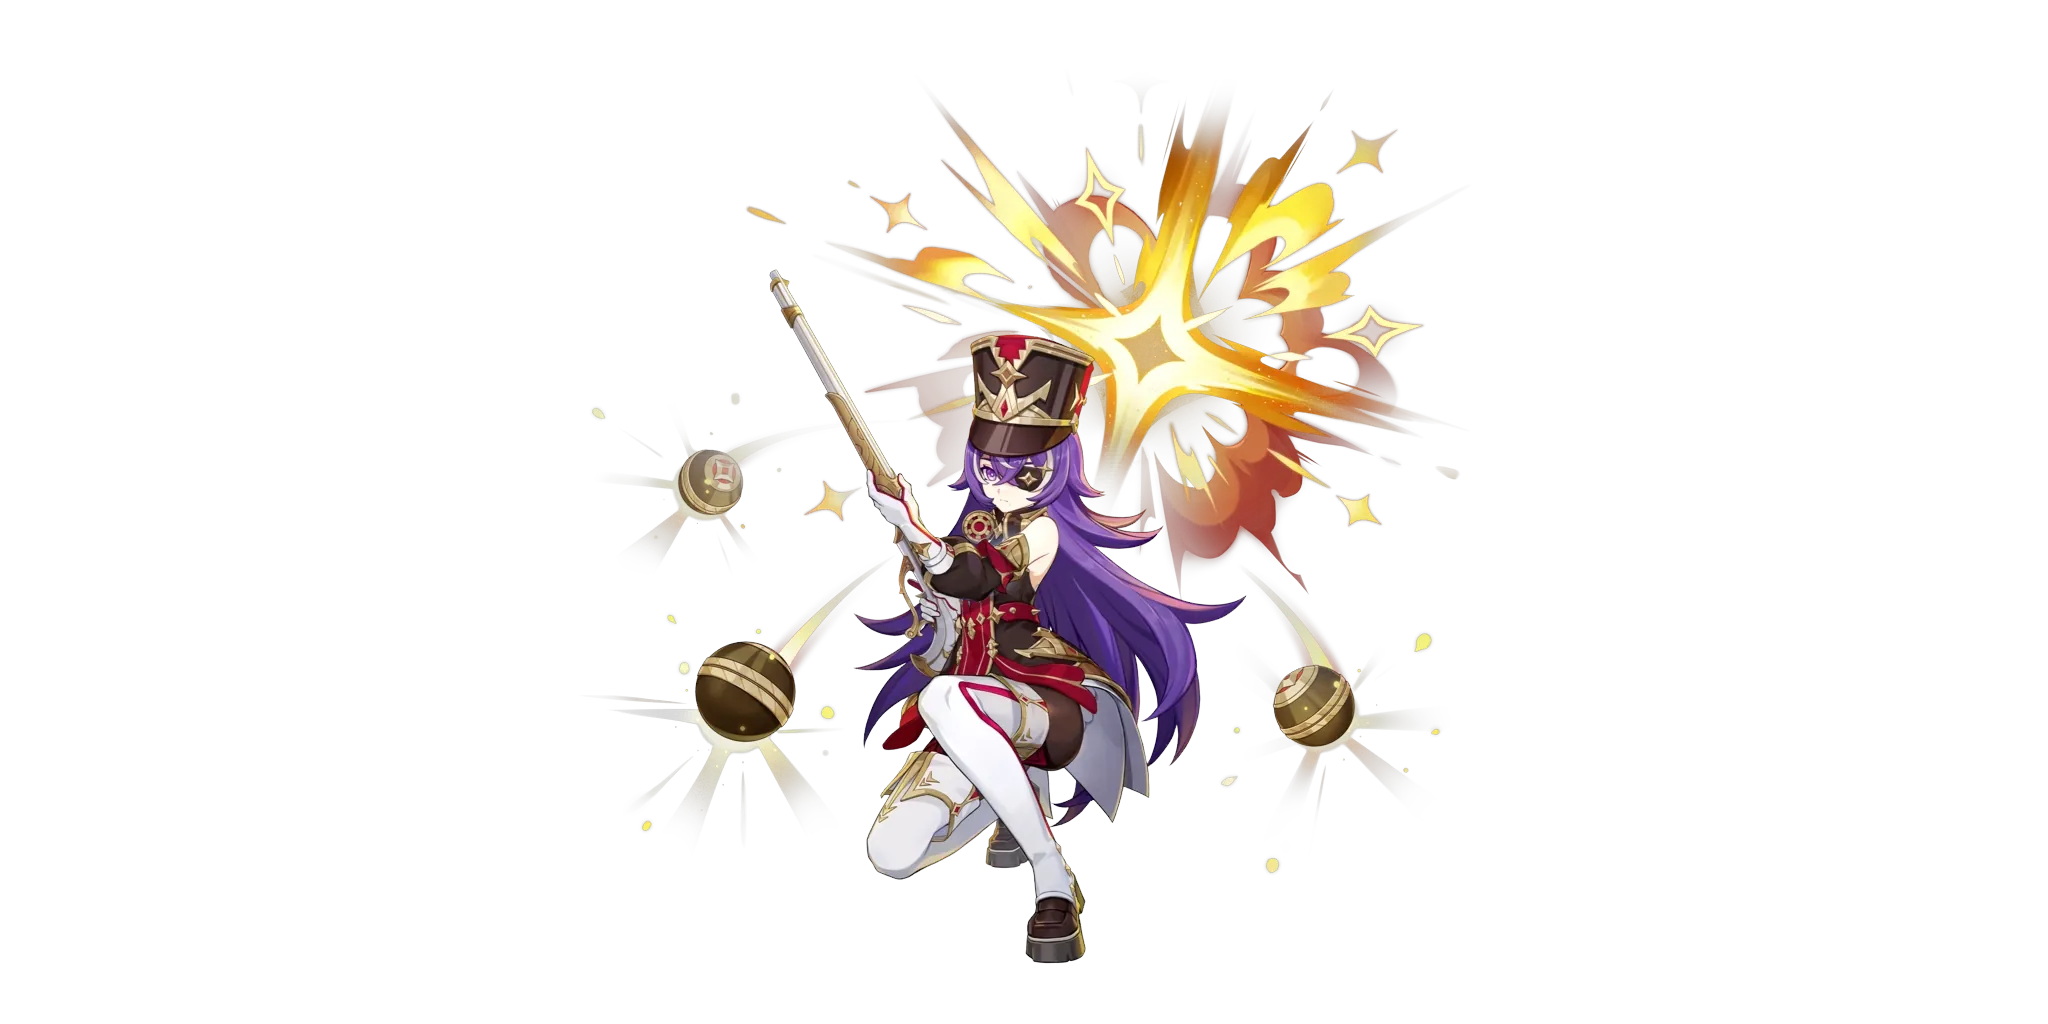
Chevreuse is a 4-star Pyro Polearm user most commonly played as a support for Overloaded teams.
Chevreuse’s role is most clearly defined by her first Ascension Passive: when there are only Pyro and Electro characters on the team, whenever Overloaded is triggered, Chevreuse provides a potent 40% Pyro and Electro RES Shred for 6 seconds. Most notably, Chevreuse does not need to be on-field or be the reaction trigger for this; while the debuff can wear off on teams without consistent Pyro and Electro application, it also allows for great rotation flexibility.
Triggering Overload reactions with any character also grants Chevreuse an “Overcharged Ball”, which is fired when her Hold Skill is used. However, both her Tap and Hold Skill generate Energy and allow Chevreuse to provide healing to the active character, while the extra damage and AoE of the Hold Skill are relatively inconsequential; rather, its main use is instead enabling her second Ascension Passive, which further improves her ability to further buff the team. When firing an Overcharged Ball providing the team an ATK% buff which scales based off of her Max HP, capping at 40000 HP to provide 40% ATK. While Chevreuse herself has ATK scalings, her poor personal damage means building towards this is often optimal - though the Passive does not need to be maximized to be good.
The rest of her base kit is relatively unremarkable. Her Burst only deals damage, so is often skipped if not needed either to trigger effects such as Noblesse Oblige or for its multiple damage instances and Pyro application; her Normal Attacks are entirely standard and are similarly only used for reasons not related to Chevreuse’s kit.
Finally, as a 4* Chevreuse's Constellations are relatively accessible and worth discussion. For the most part, they are nice but superfluous add-ons: her C1 allows Chevreuse to grant another character 6 Energy when they trigger Overloaded while on-field once every 10 seconds. Note that since the active character has to trigger Overloaded, it can be difficult to manage who gains the energy restoration despite the good value when it can be effectively utilized. Her C2 allows Chevreuse's Hold Skill to deal 2 additional hits of Pyro damage every 10 seconds, which is useful for hitcount and Pyro application. Her C4 makes it so her Hold Skill does not cause her Skill to go on Cooldown when cast within 6 seconds of her Burst, triggering up to two times; note that Chevreuse’s Skill has a 10 second cooldown on its particle generation and thus no extra energy is generated. This can potentially improve Chevreuse's damage to non-negligible levels, but the time it takes to execute 3 Hold Skills is often not worthwhile.
Her capstone Constellation, though, is far more noteworthy. It grants her a teamwide heal when the ticks of her Skill healing ends; more crucially, it allows Chevreuse to grant a 20% Pyro and Electro DMG Bonus buff to a target that she heals, lasting 8 seconds and with up to 3 stacks. Being able to grant the active character a 60% DMG Bonus is incredible - while her already potent buff volume meant she functions well without her C6, it is nonetheless a notable increase. The teamwide healing also means her party as a whole can enjoy one stack of the buff for a brief time.
Chevreuse’s field time typically consists of using a quick Hold Skill. If needed for its Pyro application, hitcount, or to activate 4 Noblesse Oblige, she also uses her Burst. Whether it is used before or after her Skill varies: casting it before lowers her field time and lets Chevreuse absorb her own Energy, while casting it after allows Chevreuse to funnel the particles to the incoming character while remaining on-field during the numerous secondary hits for effects such as Favonius Lance.
If there is spare time in the rotation and no better option to fill it, Chevreuse can cast up to 3 instances of her Hold Skill after Burst.
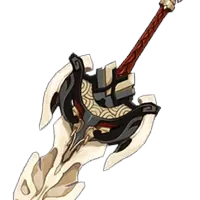
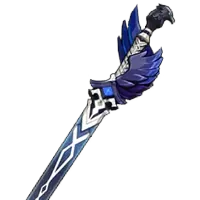
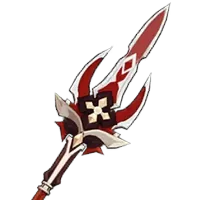
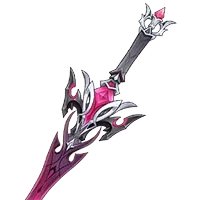
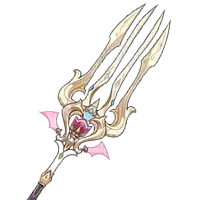 Symphonist of ScentsR1Generally Chevreuse’s best option if available; while the offensive stats for Chevreuse are not especially valuable, the ATK% buff it can provide to the active character is.
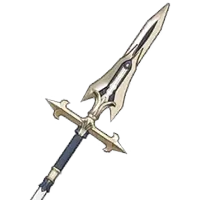 Favonius LanceR5Chevreuse’s go-to option in many teams, helping with her own Energy Recharge requirements if applicable while providing the team additional Energy. Easily triggered at C2+ thanks to her Hold Skill having 4 hits. Using Burst before Hold Skill adds another 9 hits if necessary.
 Dialogues of the Desert SagesR5If the team does not require the Energy provided by Favonius Lance, Dialogues of the Desert Sages helps significantly with her own Energy Recharge while helping easily maximize her second Ascension Passive and healing.
 Noblesse ObligeGenerally Chevreuse’s best supportive Set in her teams provided there is not a better user, but only when she is using Burst every rotation. Provides teamwide ATK% rather than a single target buff.
 Song of Days PastSong of Days Past works unconditionally, requires no Burst, and has very few better holders especially at C6 Chevreuse, though it only buffs the active character. Chevreuse almost always forgoes Energy Recharge to maximize HP when using this Set.
 Scroll of the Hero of Cinder CityA final alternative if there are no better holders, which is unlikely, and Chevreuse must also trigger a reaction using it.
 Sands
Sands Goblet
 Circlet
 HP%
HP% ER
ER LevelSkill
| Catches own Particles | Funnels Particles to Ally | |
|---|---|---|
| Double Pyro | 180-210% | 240-260% |
| Triple Pyro | 170-180% | 130-140% |
| Reduction from own Favonius Lance | -30% | -30% |
| Reduction from Dialogues of Desert Sages | -40% | -70% |
| Reduction per extra Team Favonius Trigger | -15% | -20% |
Usage rates are gathered from player profiles connected to Enka and refreshed periodically. They describe what people are running, not what performs best.
Last statistics update: 04/September/2026
Based on Enka-connected profiles matching this character. Usage rate describes observed profile popularity, not optimality. Characters may have multiple viable builds, and guide recommendations can differ from popularity.
Sample: 44,012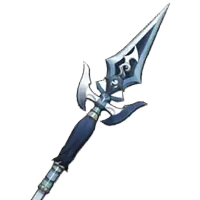 Black Tassel30.6%Favonius Lance18.3%
 Rightful Reward10.3%
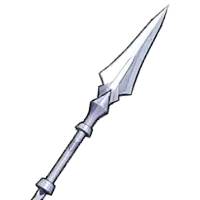 Beginner's Protector4.8%Song of Days Past38.6%Noblesse Oblige22.3%
 C011.0%C19.4%C28.7%C37.9%C46.9%C55.9%C650.1%
Chevreuse’s teams will typically contain only Pyro and Electro characters, with at least one of each; in most cases, the team can apply both elements consistently throughout the rotation. At C6, Chevreuse can see some niche use as a buffer outside of dedicated Overloaded teams.
 Iansan
 SupportNightsoul
 NicolePyro Support, SustainHexerei
Relative team damage chart. Best listed team is treated as 100%.
Mavuka Comparisons (Simpler)Team DPS compared solely within this team group 100 ER
 237 ER164 ER
 214 ER
 Mavuika
 Bennett
 Iansan
 Iansan
 Bennett
 Citlali
 Citlali
 Mavuika
 Mavuika100 ER182 ER181 ER100 ERChevreuseChevreuseBennettIansanIansanMavuikaMavuikaMavuika Comparisons (Extreme)Team DPS compared solely within this team group100 ER237 ER164 ER214 ERMavuikaBennettIansanIansanBennettCitlaliCitlaliMavuikaMavuika100 ER182 ER181 ER100 ERChevreuseChevreuseBennettIansanIansanMavuikaMavuikaVaresa TeamsTeam DPS compared solely within this team group
 110 ER100 ER125 ER100 ERChevreuseChevreuseIansanIansanMavuikaMavuikaVaresa125 ER
 100 ER125 ER100 ERChevreuseChevreuseIansanIansan
 Durin
Durin DurinDurinVaresaArlecchino TeamNo DPS Comparisons
 164 ER
 100 ER100 ER
 Arlecchino
 Nicole
 FischlChevreuseChevreuseArlecchinoArlecchino







 Cryo
Cryo