Character stats
Level Stats
Base HP10,409
Base ATK287
Base DEF653
Energy Recharge32.0%

Best Mona build, teams, weapons, artifacts, combos, rotations, and gameplay notes for Genshin Impact.
 5-star
 Hydro
Hydro Catalyst
Last updated: August 23, 2026
Talent text and per-level multipliers, straight from the character data.




Passive talents are shown in full as kit cards.




All constellation names and descriptions in full for quick reference.






A myriad of extremely potent buffs.
Strong Constellations that are relatively accessible as a Standard Character.
Competent DPS at C6.
Often suboptimal relative to premium options without Constellations.
Cursed gameplay.
Either suffers from long field time or short durations.
Poor Hydro application if she cannot swap on-field.
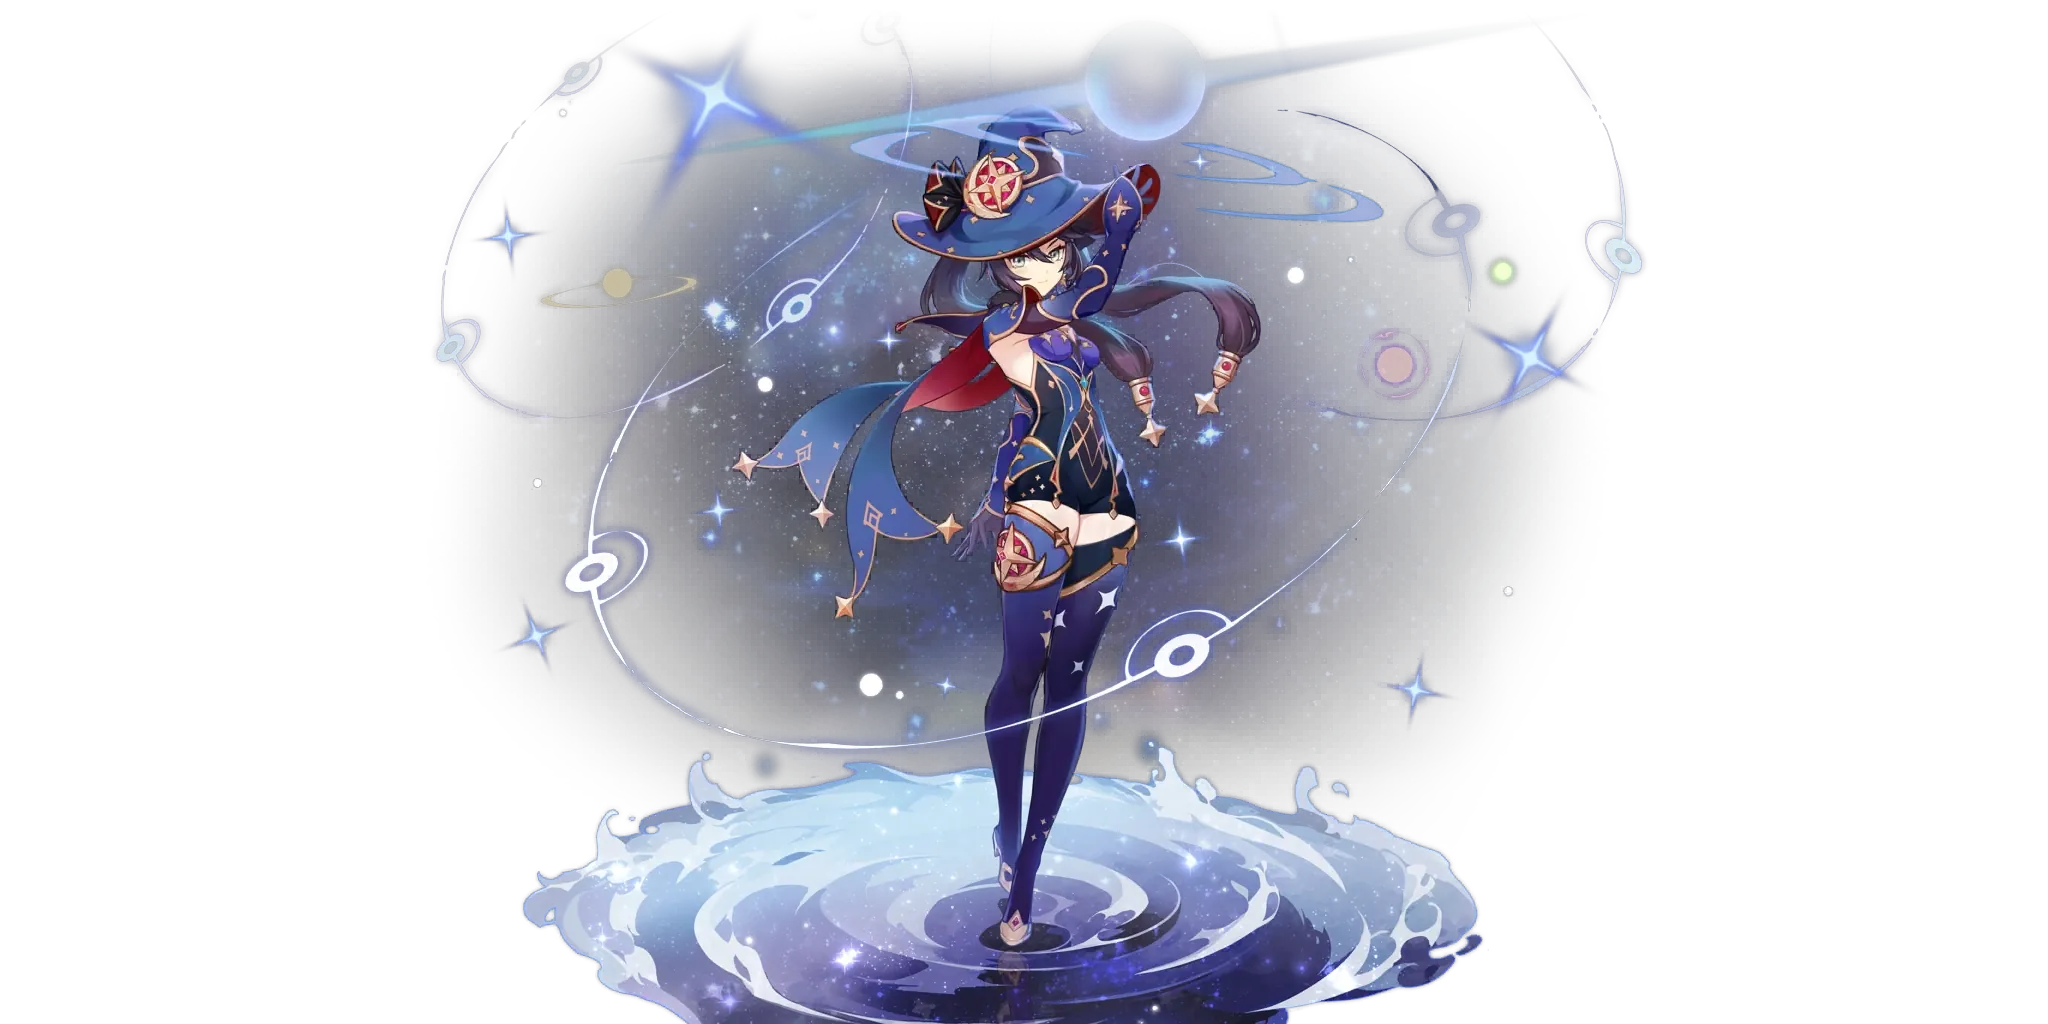
Mona is a 5-star Hydro Catalyst user who is most commonly played as a support, with a specialty in Vaporize teams. She provides immensely potent buffs with her Burst, whose limited duration can be extended via Mona’s Normal Attacks. As a Hexerei unit, she also features important synergies with other characters in the faction.
As mentioned, Mona’s kit revolves around her Burst. When looking at it, its most eye-catching feature is the fantastic DMG% buff it offers against enemies affected by its “Omen” debuff - up to a whopping 60% DMG Bonus at Talent Level 10. The second is its measly 5-second duration, which threatens to render the first aspect useless.
Thankfully, the listed duration is deceptive on its own merits and thanks to her Hexerei Passive can also be played around. When used, Mona’s Burst applies its Omen debuff alongside encasing the enemy in a “Bubble” - with the Omen debuff timer not ticking down until the Bubble is “popped”. In most cases, this happens after any attack to deal a large instance of Hydro damage; however, what actually pops the bubble is the Poise damage it receives from the attack. The simplest implication of this is that using abilities with no attack or attacks that do not deal Poise damage like Hu Tao’s Skill allow the bubble, and thus the Omen debuff, to exist longer. A less obvious interaction is that Frozen enemies do not sustain poise damage. This means that if an enemy remains Frozen, the Bubble will last its full lifespan of 8 seconds before popping, allowing for an Omen debuff that lasts 13 seconds against Freezable enemies.
Nonetheless, this can be inconsistent and matchup-reliant, and a more reliable solution can be found on her Hexerei Passive. This allows her Normal and Charged Attacks to grant her an “Astral Glow of Mercury” stack; more crucially, it extends the duration of an existing Omen debuff on an enemy by 2 seconds to a maximum of 8, meaning Mona can access a 13-second duration Omen as long as she is spared some field time. The Astral Glow of Mercury stacks themselves simply offer a 5% Reaction DMG Bonus to the next instance of Vaporize damage, stacking up to 3 times - acting as a further incentive for Mona to take field time.
The rest of her base kit is relatively unremarkable. Her Skill spawns a “Phantom” which lasts 5 seconds, taunting enemies and dealing Hydro damage every second before a final “explosion”. Since the particle generation of the Skill is tied to the explosion, Mona can sometimes struggle to catch her own particles which can prove problematic for her ER requirements.
Her Normal and Charged Attacks are fairly standard, but unlike most supports, Mona has good incentive to use them. Her first two Normal Attacks are fairly quick, subsequently featuring a brief teleport for her third attack before ending things with her similarly rapid fourth. Her Charged Attack, meanwhile, notably lacks an internal cooldown - meaning that it can apply Hydro whenever it is used. Mona’s Charged Attack becomes more relevant when using her as a DPS, though she is often a poor choice for one at C0. Her second Ascension Passive is similarly tied to her role as a DPS, increasing Mona’s Hydro DMG Bonus% by 20% of her Energy Recharge%.
Mona has an alternate Sprint that lets her apply Hydro to nearby enemies, with her first Ascension Passive additionally allowing her to create a short-lived Phantom after Dashing for 2 seconds. Their extra effects are rarely helpful, with her Dash typically only being used for its core functionality.
Finally, as a Standard character, Mona’s Constellations are relatively accessible and remarkably powerful - especially with the buffs from her Hexerei Passive. Her C1 increases the effectiveness of Hydro reactions, though the Freeze duration extension is bugged and does not work; with her Hexerei Passive, this boost is 60% more effective when triggered by off-field characters. In practice, this simply serves as a nice bonus to her Vaporize teams. C2’s base effect is disappointing, offering her Normal Attacks a 20% chance to trigger a Charged Attack without interrupting Mona - at its worst, this can even disrupt reaction setups! Her Hexerei Passive thankfully gives it a significant buff, allowing her to guarantee the effect once when using a Normal Attack within 5 seconds of her Burst and additionally allowing Mona’s Charged Attacks to provide a significant 80 Elemental Mastery to the team. This makes extending her Omen duration easier, while providing another boost to her Vaporize compositions. C4 tends to be around the point where Mona begins to outshine her premium competition in a significant number of teams. It allows Mona’s Omen to provide a rare 15% CRIT Rate buff to allies, with Hexerei characters additionally receiving 15% CRIT DMG.
Her C6 is yet another Constellation with a mediocre base effect, granting a 60% DMG Bonus to her Charged Attacks for every second she wastes using her Alternate Dash for a maximum 180% DMG Bonus. Its Hexerei buff takes this concept of benefitting her personal damage, then dials it up several notches: it allows her Charged Attacks to gain the aforementioned DMG Bonus passively when a nearby enemy with the Omen debuff exists, while additionally doubling the total damage it deals to them. With these bonuses, Mona can use her own buffs to shine as a competent DPS by Vaporizing her Charged Attacks.

Characters part of the Hexerei faction, after completing their Witch’s Rite Story Quest, unlock special Passive abilities in combat. These are activated when there are 2 Hexerei characters on the team, with Mona themselves counting as one.
Mona’s game plan primarily consists of maximizing her Burst uptime for the team’s DPS without compromising the rotation length or other ally buffs too significantly. This is typically done through the following steps:
If there is time and it would not interfere with planned reaction setups, cast Mona Skill earlier into the rotation so she can catch her particles later.
After setting up long duration buffs, cast Mona’s Burst followed by 2-4 Normal Attacks (at C2+, 2 is typically sufficient) while the Omen debuff is active.
If supporting a Pyro DPS, Mona often casts her Skill later on in the setup to help enable Vaporizes.
If supporting a Pyro DPS with flexible field time, quickswap Mona as necessary to establish a Hydro Aura.
The notation used to refer to combat inputs in this section will be as follows:
Note that in the below Combos, the listed abilities do not necessarily need to be cast in a single field time; The only strict rule is that the Normal Attacks should be cast while Omen is active. However, casting in a single field time lowers the time it takes for Mona to set up her buffs.
EQN2
Mona’s typical combo at C2+ or if acting immediately before the team’s DPS to ensure Burst uptime.
EQN4
Mona’s combo at C0 if not acting immediately before the team’s DPS.
(E)Q
Mona’s combo in Freeze or Burst DPS teams, or when her Hexerei Passive is not active.
CA Spam: Mona’s on-field DPS combo at C6; a small wait or swaps between Charge Attacks may be needed to maintain a Pyro aura.
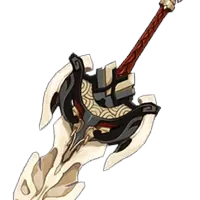
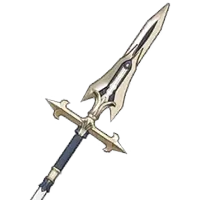
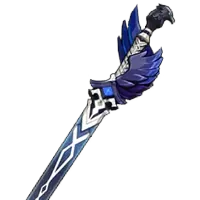
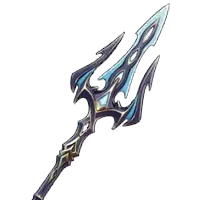
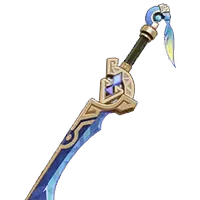
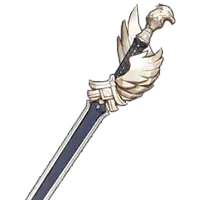
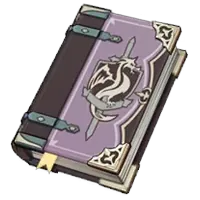 Thrilling Tales of Dragon SlayersR5If you can reach your Energy requirements without Favonius Codex, Thrilling Tales of Dragon Slayers becomes a very desirable pick for any team with an ATK scaling carry.
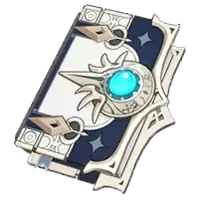 Favonius CodexR5With her exorbitant Energy Recharge needs, Favonius’ Secondary Attribute and Elemental Particle generation are perfect for Mona whilst also helping out the team.
Especially strong if Mona can stay On-Field or Quick-Swap during the rotation. Often even used on DPS Mona at C6 due to her Energy Recharge needs.
Favonius CodexR5With her exorbitant Energy Recharge needs, Favonius’ Secondary Attribute and Elemental Particle generation are perfect for Mona whilst also helping out the team.
Especially strong if Mona can stay On-Field or Quick-Swap during the rotation. Often even used on DPS Mona at C6 due to her Energy Recharge needs. Prototype AmberR5If Favonius Codex’s teamwide Energy is not needed, Prototype Amber can help Mona meet her own Energy Recharge needs while providing some sustain for the team.
 Celestial GiftMona’s best Supportive Set with a large DMG% buff and very useful Energy Recharge 2-piece effect that supports her extreme requirements. She is usually the best holder in her team compositions.
 Noblesse ObligeA slightly weaker Set when comparing at maximum power but solid nonetheless, and Mona can always make use of its effects with her Burst reliance. Useful if a better Celestial Gift holder is present in the team or if in a non Hexerei composition like Skirk.
 Sands
Sands Goblet
 Circlet
 ERBurst
| Holding Favonius Codex/Prototype Amber | Other Weapons | |
|---|---|---|
| On-Field | 150-180% | 250-270% |
| Off-Field, Catches own particles | 230-240% | >300% |
| Off-field, does not catch own particles | 280-300% | >350% |
| Double Hydro teams | 180-200% | 220-240% |
| Reduction per Team Favonius Trigger | -20-30% | -30-40% |
Usage rates are gathered from player profiles connected to Enka and refreshed periodically. They describe what people are running, not what performs best.
Last statistics update: 04/September/2026
Based on Enka-connected profiles matching this character. Usage rate describes observed profile popularity, not optimality. Characters may have multiple viable builds, and guide recommendations can differ from popularity.
Sample: 171,388Favonius Codex13.1% Apprentice's Notes10.0%
 The Widsith6.9%Prototype Amber3.7%Noblesse Oblige33.9%Celestial Gift5.4%Noblesse Oblige [2PC] + Rainbow4.6%
 C023.7%C126.2%C217.5%C310.1%C47.4%C54.3%C610.8%
Relative team damage chart. Best listed team is treated as 100%.
 Mavuika ComparisonsTeam DPS compared solely within this team group
 100 ER
 237 ER
 164 ER
 214 ER
 Mavuika
 Bennett
 Iansan
 Iansan
 Bennett
 Citlali
 CitlaliMavuika
 Mavuika286 ER158 ER
 150 ERMavuikaMavuikaIansanIansanMona
 SucroseSucroseMona
 MavuikaMavuikaArlecchino ComparisonsTeam DPS compared solely within this team group
 100 ER246 ER100 ER229 ER
 ArlecchinoBennettBennettSucroseMonaMonaArlecchinoArlecchinoArlecchinoArlecchinoMonaArlecchinoArlecchinoArlecchino100 ER195 ER220 ER204 ERArlecchinoBennettBennettSucroseCitlaliCitlaliArlecchinoArlecchinoArlecchinoArlecchinoArlecchinoCitlaliArlecchinoArlecchinoArlecchino
 Skirk TeamNo DPS Comparisons
 100 ER
 145 ER257 ER
 117 ER
 SkirkSkirk
 Escoffier
 Escoffier
 Layla
Layla LaylaMonaMonaSkirkSkirk
 SkirkSkirkSkirk
 Varka TeamNo DPS Comparisons
 100 ER
 200 ER190 ER
 125 ER
 Xingqiu
 Xingqiu
 Prune
Prune PruneMonaMonaMona
 VarkaVarkaVarkaVarkaVarka


 Electro