
Intro

Chaos Zero Nightmare is a Roguelike deck-building game. This is a genre of hybrid games that mix elements of procedurally generated randomness in its stages with the mechanics of building a deck and playing cards. In other words, no two runs in CZN will be the same, as the genre offers great replayability and build customization.
While CZN has many different game modes, all of the battles follow the same turn-based structure. Each turn, you have several Action Points (AP) that you can use to play cards, as well as Ego Points (EP) for Ego Skills. The main roguelike game mode, and where you likely will spend most of your time, is Chaos: a procedurally-generated map where you have to traverse nodes to reach the final boss. Once you clear a Chaos run, you will be awarded with a chip of Save Data, which contains the cards, Epiphany upgrades, and equipment you collected during that run. You can then use that chip of Save Data in other game modes.
What else is in the game?
Chaos Zero Nightmare offers a unique approach to the psychology and background of its characters. One of the highlights is the Stress and Mental Breakdown system. Combatants have a Stress gauge that fills up when they take damage from enemies; if they accrue a critical amount of Stress, they suffer a Mental Breakdown, which they have to play Breakdown Cards to recover from. If they remain in a Mental Breakdown at the end of a Chaos run, you have to give them therapy or delete their memories in the Epione Center. If you’ve heard of any other gacha game where having to do counseling and therapy sessions with your characters is part of the gameplay, do let me know. Jokes aside, the psychology and background aspects are explored outside the realm of combat as well, through comics and the Trauma Code game mode.
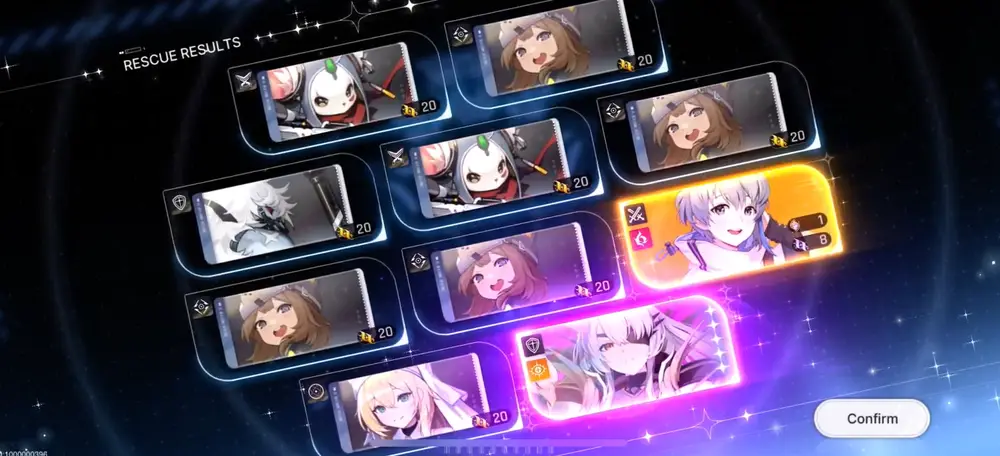
Like any Gacha, it’s recommended that you ignore the Standard Banner and focus on the Rate-up banner. At first, though, you should definitely go for the Beginner Banner. It costs only 50 Rescue Anchors and guarantees you at least one 5 ★ Combatant; it’s possible to get more 5 ★ Combatants before you reach guaranteed 5 ★.
For more information about gacha and starting strong, check our dedicated guides:


Once you’re set with your initial roster, it’s time to shift your attention to your Account Progression!
Your account
Here is a step-by-step guide to maximize your early account progression:
- Complete the tutorial.
- The gacha unlocks after Chapter 1 03#: Threads of Deception.
- This is where you can reroll if you feel like it. You’ll be relying mainly on launch rewards at this point, because you only get a little over 1 pull’s worth of Crystals from clearing the 5 tutorial stages.
- Complete Main Story stages first.
- You will be able to spend your Aether (Stamina) after completing #06: A Captain’s Burden, so you might want to consider skipping the Battle Missions and Sub Stories (#03-1, #04-1, #04-2, and #05-1) until you’re no longer capped on Aether.
- The game forces you into the first Battle Mission after #04: A Promise Renewed, but you should go back and clear #05 and #06 after you clear it.
- Spend 60 Aether on a Growth Stage (Units/Battle Memory/Support Data).
- After clearing all of Chapter 1’s Story and Battle Missions, Dailies, and 7 out of 8 Growth Guide missions, you need to earn 1100 EXP to reach Level 10 to Promote.
- 1 Aether = 20 EXP so you need to spend 55 Aether, but there’s no way to do that cleanly.
- We don’t recommend spending more Aether on Difficulty 1 stages because they have lower drops.
- Reach Level 10 and Promote.
- Go back and clear the Sub-Story and Battle Missions, if you skipped them earlier.
- Claim your Dailies.
- Complete 7 Growth Guide missions (all except the Promotion mission).
- Complete the Promotion Mission to unlock Chapter 2 and uncap your Captain Level.
- Push the Main Story until you unlock Ark City.
- Do your Ark City daily tasks.
- Approve all Policies immediately. Remember to pick the option the character likes, so you can increase Affinity faster. Note that there’s a battle mission locked behind a Policy choice at some point.
- Spend all Policy Points on Research Notes in Nono’s Shop.
- Increase the maximum cap of policies first (unless you can 24-hour no-life the game) to avoid overcapping on Policies while you are away from the game.
- Spend all 3 Communication Passes on Excursions, as completing Excursions are required for Growth Guide progression.
- Restore 80 Aether at the Café when you are low.
Here are some other tips to keep in mind as you progress your account:
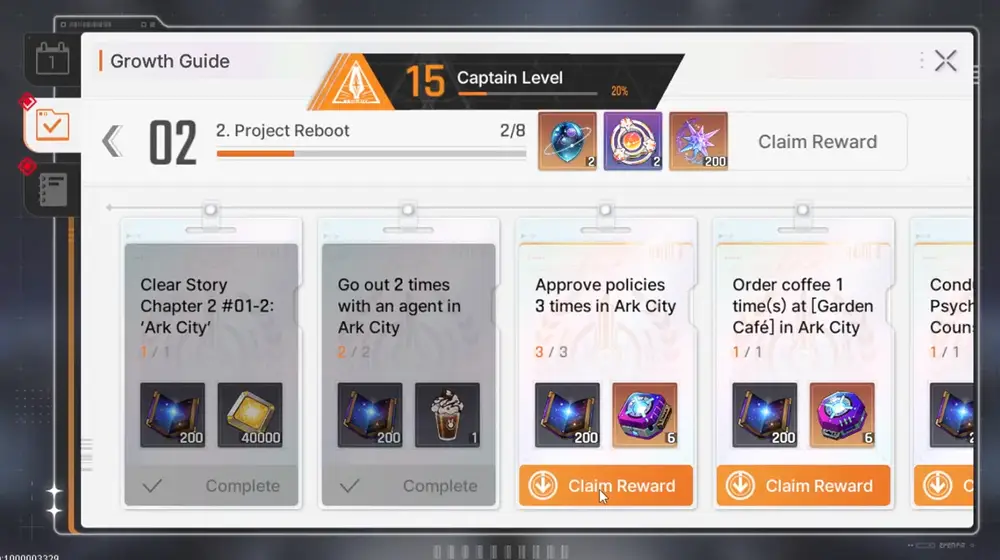
- Do the Growth Guide asap. It’s a little book icon in the same menu where you check dailies and achievements. By doing this, you can easily advance your Account level without any roadblocks, up to level 20 on Day 1 (or Day 2, if you don’t want to push too much).
- Get to Main Story 1-6 and Level 10 to unlock all your dailies and essential game modes.
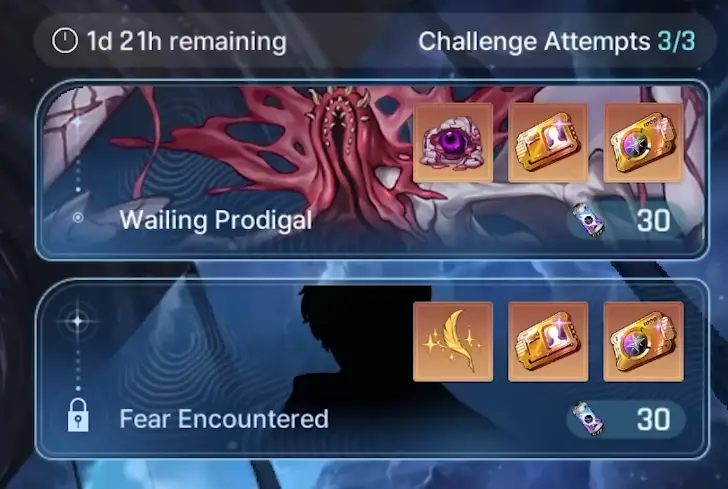
- Challenge the Weekly Boss (unlocks after the Level 20 Promotion Mission), but save the Weekly Boss drops because they’re scarce-you can only run these stages 3 times per week. These materials are used to unlock advanced nodes in the Character Potentials. Advanced nodes unlock after Level 30.
- From early to mid-game, focus on only one or two teams. Upgrading characters can become quite costly, but most characters can fill more than one purpose with different builds.
- Keep up with Ark City. The Ark can give you precious resources, Aether (Stamina) refills, increase the Affinity of your combatants (which then gives them extra stats and unlocks animated wallpapers and other goodies) and additional items or materials once you finish a Crisis.
- Speaking of Ark City, remember to always eat before going out. It costs almost nothing and the buffs are valuable.

For more information about Ark City, check our dedicated guide:

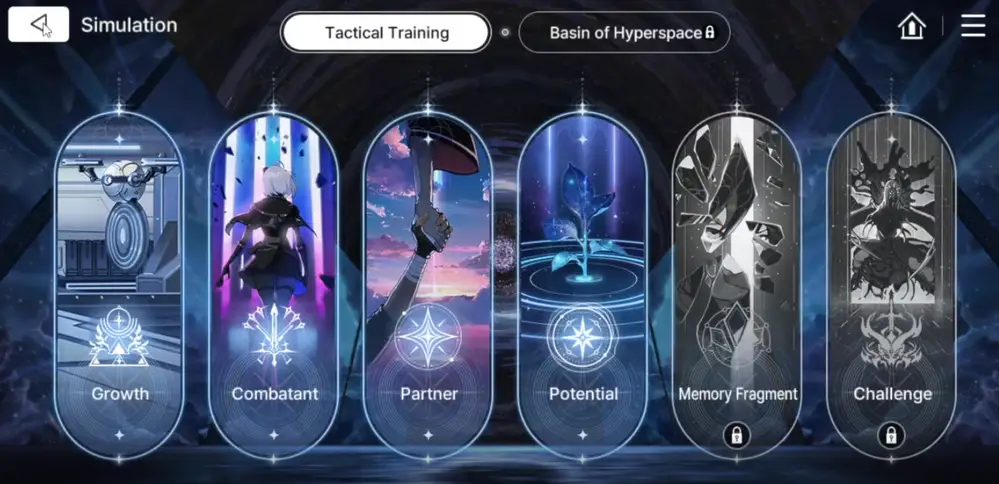
- The most cost-efficient way to spend your Aether (Stamina) early on is to spam the Simulation stages for farming Potential materials. It costs a lot to upgrade a Combatant Potential, but reaching certain nodes unlocks passives that can completely change a character’s damage output or gameplay.
Characters
Character progression in CZN is pretty straightforward, but there are numerous currencies and smaller aspects to keep track of.
- Unlock the first Potential Node for all characters you’re planning to use. It allows you to select your first Epiphany instead of the game selecting for you, making sure you get a combatant’s more impactful cards earlier. This is also very cheap to do.

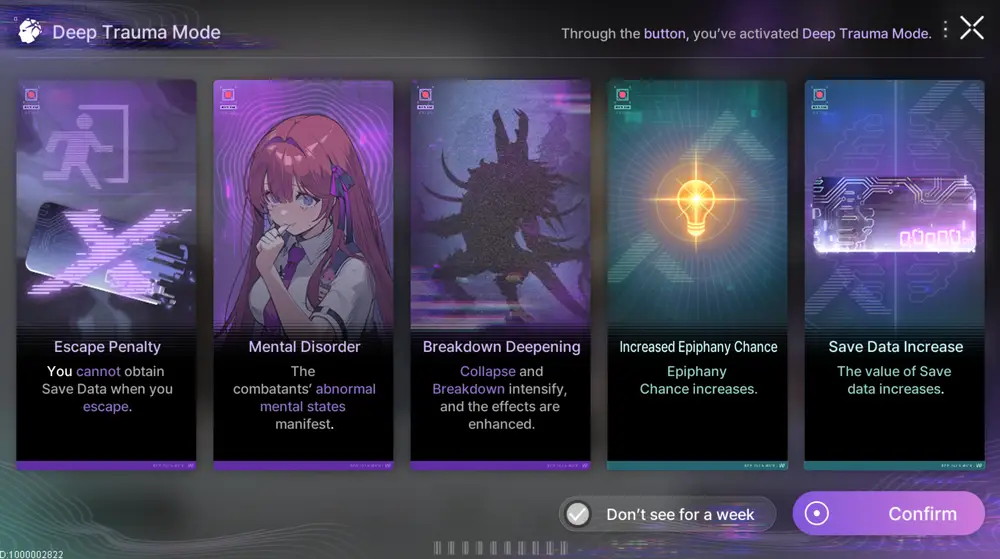
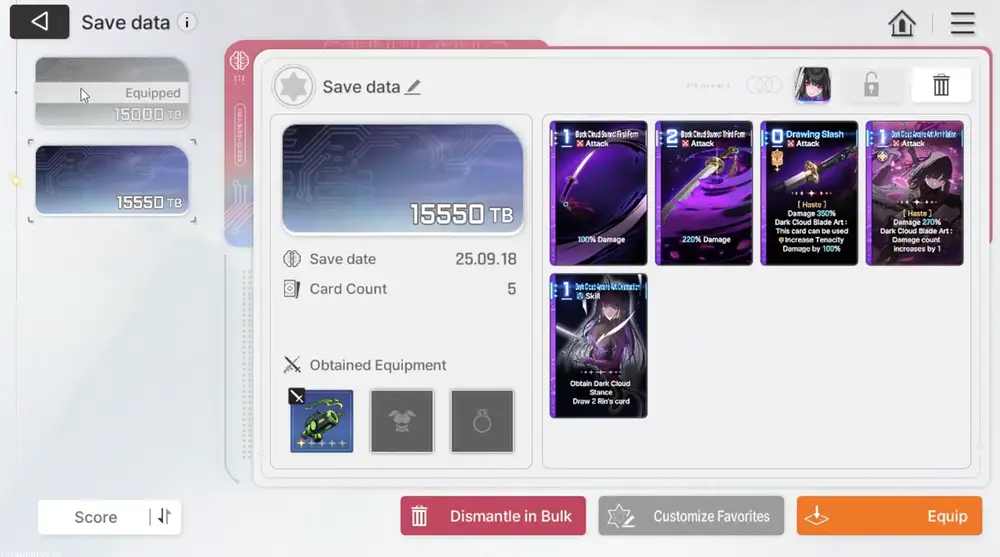
- During your CZN playthrough, you will get a chip of Save Data every time you finish a Chaos Run (main roguelike mode). This Save function has a Data Cap, which means that some cards and upgrades you’ve picked during your run won’t be saved. It’s actually recommended that you make your Chaos runs in the “Deep Trauma” mode, as it has a higher Data Cap. This mode is unlocked after at least one character in the team has undergone a Mental Breakdown. It may seem daunting at first, but it becomes easier in practice due to the higher number of buffs and Epiphanies. The higher Data Cap also results in a stronger saved build.
- If you end a run with a character under the “Mental Breakdown” state, their Save Data will be corrupted. To deal with that, you have to go to the Epione Center. There, you can either spend one Communication Pass to perform a therapy session with the Combatant and “cleanse” their Breakdown state and save data, or you can spend Units to erase their memory. This will cleanse the Breakdown state but will delete the chip of Save Data. Note that you only get 3 Passes per day (and they’re used to hanging out with your Combatants as well), while erasing memories has no cap.
For more information about characters, check our dedicated guide:

Partners
Focus on a few Partners at first, one for each of the classes you use regularly. They’re costly to upgrade, and you can slowly branch out to more specialized partners later on, when you have extra resources and after reaching the endgame.
- Upgrading 3 ★ Partners is actually worthwhile early on if you’re a F2P, since they get max dupes very quickly, and at max dupes they are on par (or even stronger) than some 4 ★. Adjust your investment accordingly based on whom (and how many dupes) you got from your early pulls.
- Best (versatile) 3 ★ Partners:
- Hunter:
 Yuri - Increases Attack and damage dealt. Her Ego Skill costs 3 EP and
 - Controller:
 Yvonne - ives passive healing if the Combatant has not attacked that turn (common for most Supports) and increases Defense (which increases healing output). Her Ego skill costs only 2 EP and grants healing and Fortitude (-20% DMG taken).
 - Ranger:
 Nakia - Decent increase to damage through +8% ATK passive and stacks of [Backline Support]. Nakia’s Ego skill costs only 2 EP and can function as a good finisher or to wipe out trash mobs.
 - Best (versatile) 4 ★ Partners:
- Controller:
 Arwen - Grants DMG Taken Reduction every turn and passively increases HP and healing output. Her Ego Skill costs 3 EP but has a 200% Healing multiplier on top of adding even more DMG Taken Reduction.
 - Hunter:
 Carroty.
  Akad is more fit for Bullet-based combatants. while, Carroty works for a wider variety of characters. Carroty consistently buffs the combatant’s attack cards through her passive and her low-cost Ego skill.
 - Psionic:
 Eloise. Only option here.
 - Ranger:
 Rosaria. Her Morale gain is slightly more consistent to trigger than
  Daisy’s, and her Ego skill with Draw cards is more useful for the team overall.
 - Striker: This one really depends on which Striker you’re going to invest in first.
 Lilian benefits Strikers with low-cost cards (
 Mei Lin,
  Rin, etc.), while
  Ritochka is more suitable for heavy hitters whose cards cost 2 or more (
 Owen, etc.).
 - Vanguard:
 Rachel. Easy best choice, even outclassing some 5 ★. She gives plenty of Shields, Counter, and her Ego can Draw a card.
If you’re unsure of which Combatants or Attributes to focus on first, the list of Attributes favored in the first three zones are: Passion, Instinct and Void, respectively.
Check our Team Building guide for more information:

Combat
The first lesson in any Roguelike game (especially deck builder ones) is that everything is situational! There isn’t an absolute answer for everything. Instead, it’s advised to learn the core mechanics and common strategies that can be used as “rules of thumb” so you can more easily adapt to each situation.
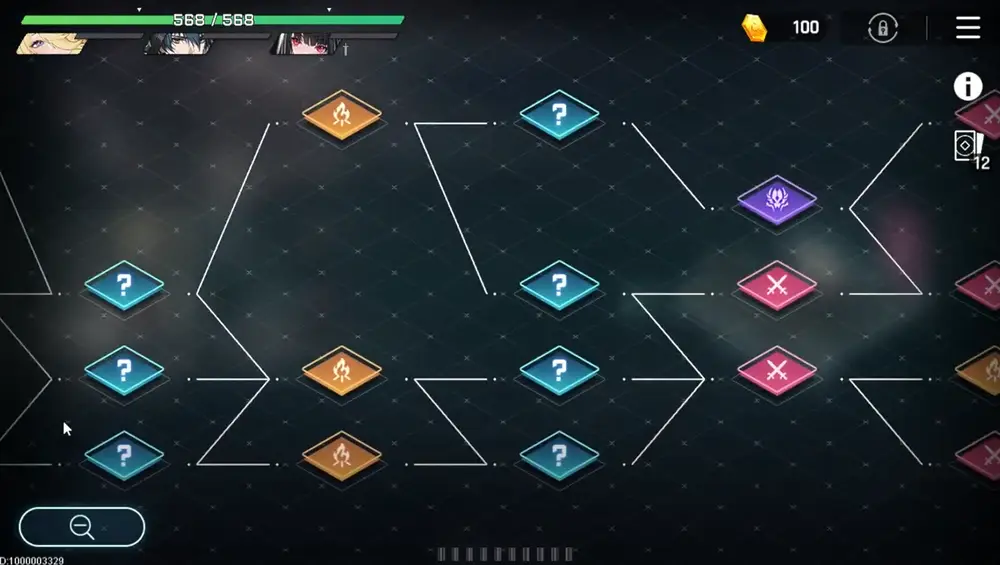
As is true in most roguelikes, you should plan out your path when you start a Chaos run. A common strategy is starting with three or four normal fights, and picking a path with two elite fights that has a campfire before at least one of them. About prioritizing Unidentified Areas: if you’re attempting a Deep Trauma Chaos run, take your Combatants’ Mental Afflictions into account. Some characters take extra Stress when you enter a non-Combat area, while others take extra Stress if the HP hasn’t changed in a Combat Area. Depending on which Mental Afflictions are active, you may want to change your strategy to avoid Stress penalties.
- Why “three or four normal fights”? This ensures that you will have enough credits to buy good equipment or delete a card from your deck at the shop.
- Why “at least two elites”? Elite fights give you double the credits of a normal fight, as well as Rare~Legendary equipment. They also have a chance to drop a Monster Card, a powerful card that can be added to any character’s deck regardless of class.
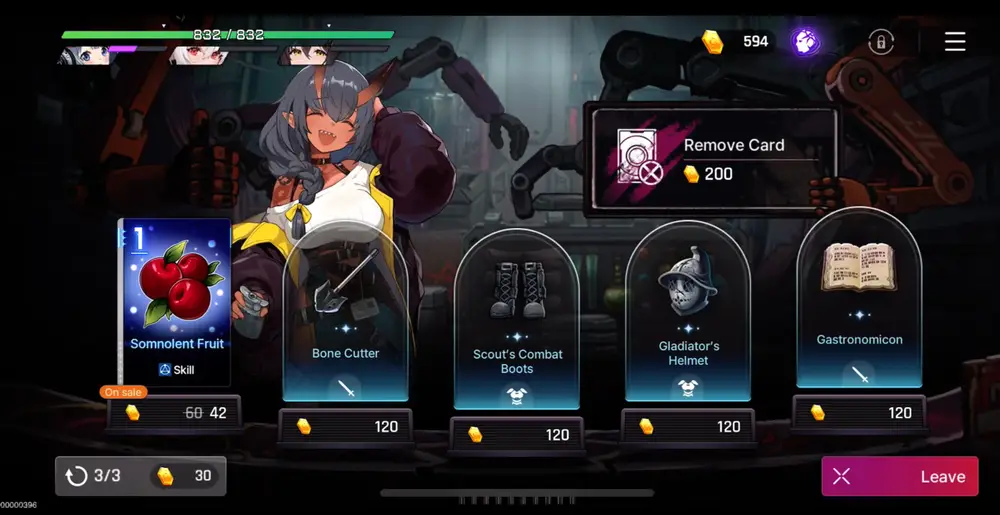
- Why “pick a campifire before elites”? Campfires (Resting Sites) allow you to save the run, buy Common Cards or equipment, restore your HP, among other things. Saving the run is important as it allows you to pause the run to access the game’s other features.
Other things to note:
- In Deep Trauma, a special monster may spawn from the corpses of the mobs you just defeated, in any combat node. You can choose to flee or fight it. The fight will be harder than an elite, but it can give you extremely powerful pieces of equipment and other rewards. Tread wisely.
- After clearing the Level 30 Promotion Mission, you gain access to Difficulty 3. This introduces a second map after the first boss, essentially doubling the length of each run. Take this into consideration by managing your resources and team for the long run.
- If your team has Attribute Advantage, you can take a more aggressive approach. In other words, if your DPS has the same color as the enemies, they will likely be able to break the enemy’s Tenacity Gauge (the bar below the enemy’s HP). This will delay the enemy’s Action Count by 1, give your team 1 AP, and recover some Stress.
- If you don’t have Attribute Advantage, invest heavily in your Shielder(s). Not taking damage at all is the easiest way to manage Stress and avoid a Mental Breakdown.
- At the end of a Chaos Run, the game draws three random cards from your entire deck and you can choose to make a copy of one. Give priority to cards that enable scaling mechanics (AP Generation, Card Draw, scaling buffs, etc.).
For more information, check our dedicated guides:


Deck Building and Management Tips
Other tips:
- Try to slim down your deck as much as possible! As a rule of thumb, the easiest cards to delete tend to be attack cards for support characters and shields/healing for DPS characters, since they won’t scale well or contribute much on those fronts. You can remove cards from your deck by paying a certain amount of credits in the Delang Shop or in certain Unknown Events. A slimmer deck also makes it more likely that you can copy an important card after each boss.
- Constantly playing impactful cards is the key to success. The tip above is the first step, but there’s more you can do to manipulate the RNG in your favor. “Draw” is one of the most useful mechanics in this sense. Always take advantage of it. Even if you don’t have enough AP to play all the cards you’ve drawn, at least you will be speeding up the deck cycling, getting past weaker cards and focusing on more impactful ones instead. “Joker” from Cassius and “Repose” from Veronica are excellent examples of efficient Draw effects. “Joker” can select a card of your choice from the Draw Pile, completely bypassing RNG. Meanwhile, “Repose” specifically draws cards of other Combatants, significantly reducing RNG.
- Set “Scaling up your deck” as your main goal. There are many approaches to this, but what it means is focusing on Epiphanies, Neutral Cards and Equipment that will enable scaling of whatever your Combatant does. This will make your run a lot smoother, and ensure success on harder fights and, endgame content. A few examples of how to scale your deck:
- Card Draw. (Already discussed)
- AP Generation and Manipulation. Having more AP to use or lowering the cost of your cards allows you to play more cards per turn.
- Mechanics that refresh or scale every turn, such as Magna’s “Crystallization,” while often not enough to replace an action entirely (in this case, shielding), help greatly in the long run, especially during long fights. Some Rangers and Hunters also have ways to set up Extra Attacks that will trigger every round or whenever another Combatant takes a certain action. This ensures that you will always be chipping away HP from enemies (or even finishing them) while giving you more room to focus on other fronts.