Character stats
Level Stats
Base HP13,050
Base ATK225
Base DEF648
Electro DMG Bonus24.0%

Best Beidou build, teams, weapons, artifacts, combos, rotations, and gameplay notes for Genshin Impact.
 4-star
 Electro
 Claymore
Last updated: September 12, 2026
Talent text and per-level multipliers, straight from the character data.



Passive talents are shown in full as kit cards.




All constellation names and descriptions in full for quick reference.






Keyword and ability definitions referenced across this character's kit.
Decent Stellar-Conduct support
Good Electro application in AoE
Can shred both Cryo and Electro
Offers solid defensive utility
Long cooldowns
Burst reliant with steep Energy requirements
Most of her supportive value is locked behind C6
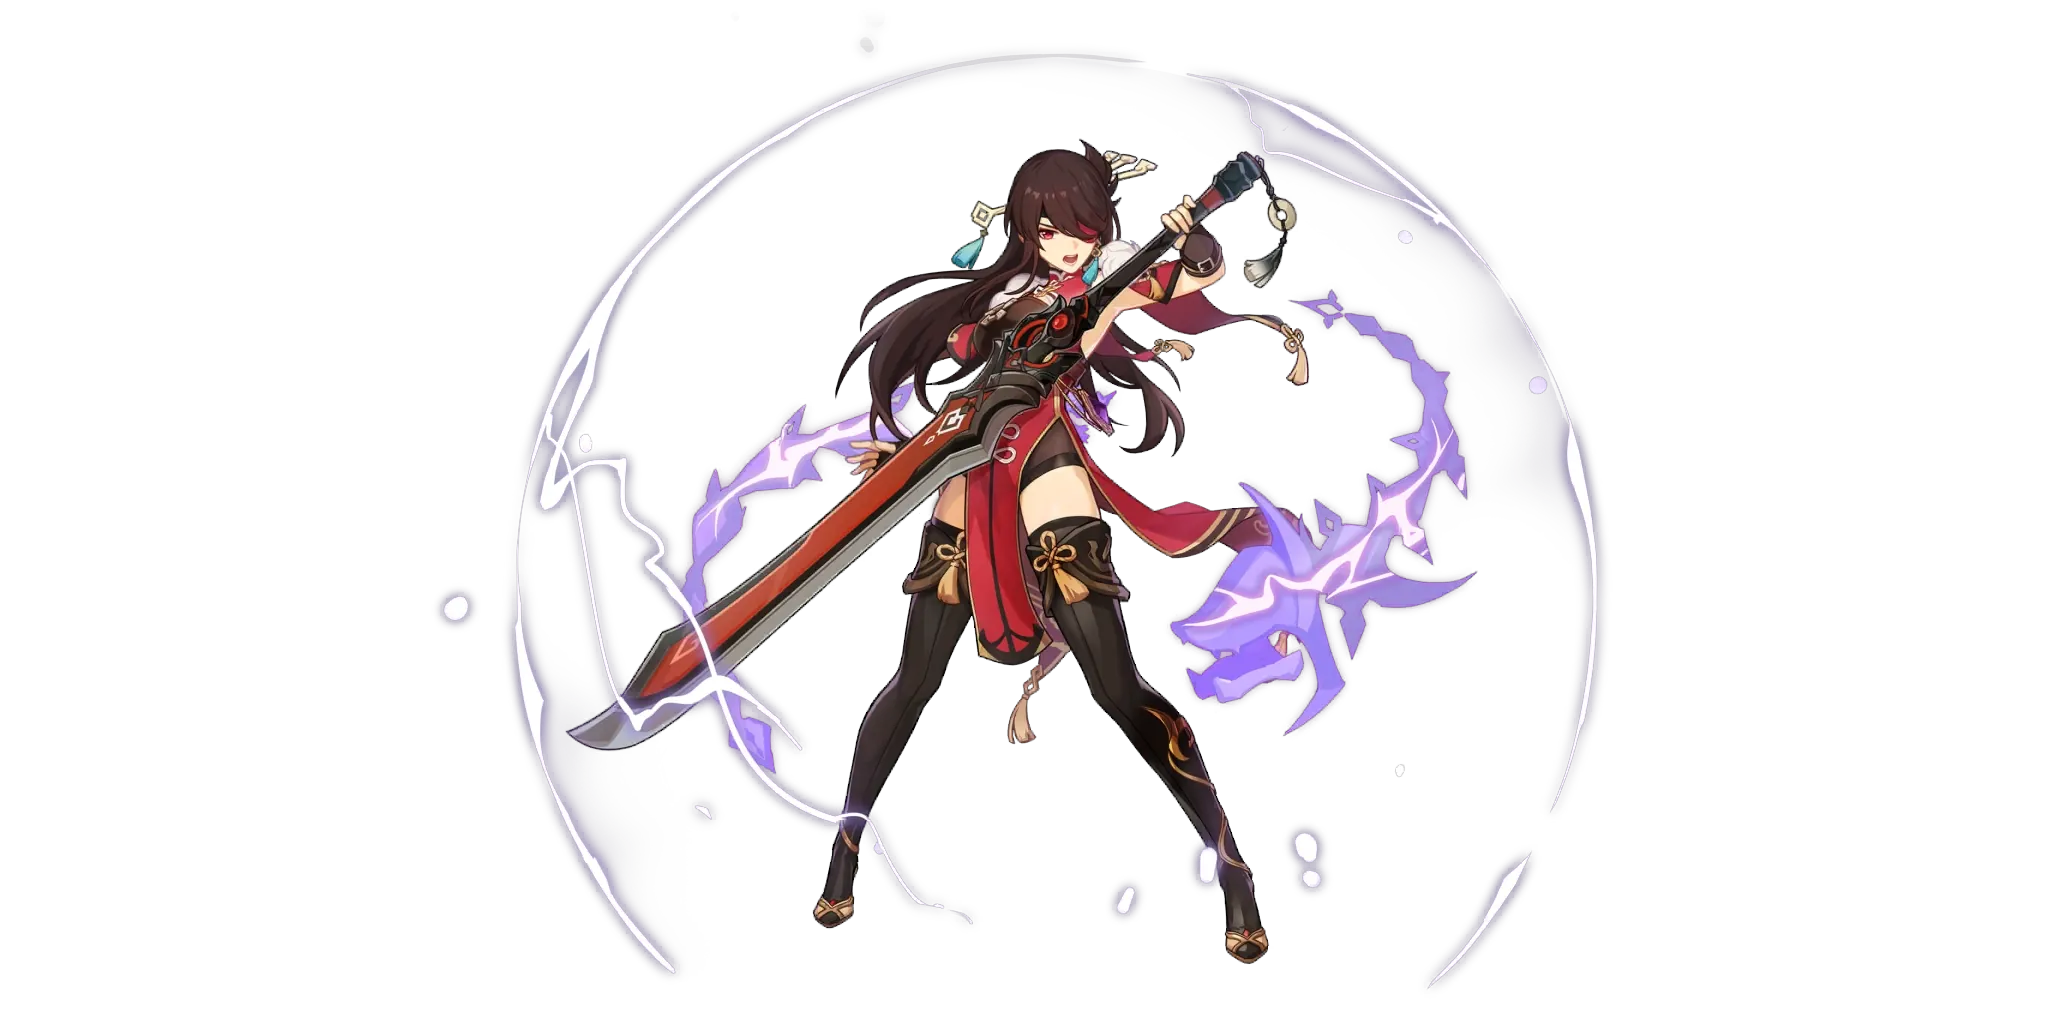
Beidou is a 4-star Electro Claymore character who is most commonly played as a support in Stellar-Glimmer teams. Her Burst fires lightning bolts that jump between enemies, significantly improving her damage and Electro application in AoE; it additionally features good defensive utility alongside powerful buffs at C6.
Stellar-Conduct is a reaction that replaces Superconduct when certain characters are on the team. It deals no damage when triggered, instead spawning a Starlight Prism which generates a Polestar Field around it. This applies the 40% Physical RES Shred from the base reaction while also activating Radiance: Stellar-Conduct effects in kit. It additionally provides a DMG Bonus for the Electro and Cryo DMG and a Base Reaction Coefficient for direct Stellar-Conduct damage based on a tally which counts whenever these elements are applied; this starts at 29% and 1.45 at one stack, and increase by 1% and 0.05 to a maximum of 40% and 2 respectively. These bonuses are granted every 4 seconds, with the tally beginning anew each time.
Similar to other damaging reactions, Stellar damage scales with EM, reaction damage bonuses, ignores DEF, and does not benefit from standard DMG% - unlike typical reactions, it can also CRIT. Stellar Swirl damage from reactions also takes into account the level and stats of all characters who contributed to triggering reaction based on their damage dealt to the enemy: 60% of the stats of the strongest participant, 30% of the second, and 5% for the third and fourth. Direct Stellar damage is considered to be of the element of the unit dealing it and is based on the multiplier and the scaling stat listed in the ability instead of level, with Stellar-Conduct damage additionally being multiplied by the Base Reaction Coefficient.
Beidou’s primary value lies in her Burst, which creates a “Thunderbeast’s Targe” around the active character for 14 seconds. This provides a valuable amount of damage reduction — up to 36% at Level 12 — but its more obvious effect are the lightning strikes it discharges when using Normal or Charged Attacks, up to once per second. Against a single target, these are quite weak; however, when at least two targets are available, each lighting discharge can “jump” between them to hit multiple times. At C0 it can jump up to twice for a total of three hits, which prioritize but do not necessarily require different targets.
The ability also has some more technical details to note: it has an “internal cooldown” on elemental application, meaning it can only apply Electro to a given enemy once every 2.5 seconds or 3 hits despite its many damage instances. The ability also “snapshots”, meaning all damage it does are based on the stats, including buffs, that Beidou has on casting the ability.
Beidou’s Burst also improves massively across her Constellations. Her C1 allows her Burst to generate a shield worth 16% of Beidou’s Max HP on cast; while this is relatively low, it benefits from her Burst’s inherent damage reduction meaning it can be surprisingly effective especially if invested into at the expense of her damage. Her C2 is especially notable for allowing her lightning to jump two additional times, for a whopping 5 damage instances as long as two enemies are available. While her damage can still prove middling by modern standards, this also improves her Electro application in multi-target matchups. Her C6, however, is what makes her truly worth using on modern Stellar-Conduct teams: its baseline effect already provides 20% Electro RES Shred, but with Radiance: Stellar Conduct it can also shred Cryo RES while providing the active character 200 Elemental Mastery - highly valuable, especially considering the archetype typically lacks RES Shred.
One glaring flaw of her Burst is its steep 80 Energy cost, though her Skill goes some distance in circumventing this. At a baseline, it deals a weak Electro hit and generates 2 particles. When Held, it can be powered up twice - either when Beidou is attacked or once every 0.8 seconds, dealing more damage and generating an additional particle; once every 15 seconds, each stack of power can also regenerate 4 energy for Beidou and cut 4 seconds of its 7.5 second cooldown. While the field time to make use of this full can be excessive, Beidou can also instantly gain maximum stacks of power if using her Skill exactly as she is being attacked thanks to her Ascension 1 Passive.
Finally, Beidou’s Normal and Charged Attacks are mostly not worth using, despite having some additional features to it: her second Ascension Passive grants her 15% Normal ATK SPD and reduces her Charged Attacks wind-up time, while her C4 allows each hit from them to deal an additional instance of Electro damage for 10 seconds after Beidou is attacked, While these can be used to trigger Beidou’s Burst and apply Electro, as a Claymore, they are generally too slow to be worth doing so.
Beidou’s primary gameplan centres around being sure to use her Burst every rotation. Ideally, she tries to achieve this with only Tap Skill; however, this is generally only feasible in dual Electro teams. In most other scenarios, she typically holds her Skill.
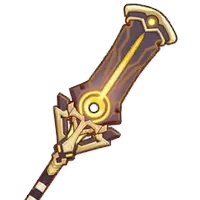
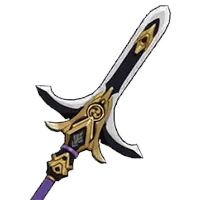
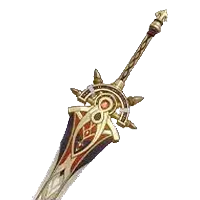
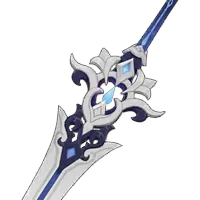
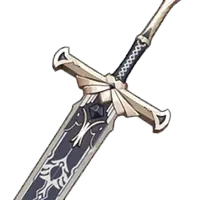 Favonius GreatswordR1Provides teamwide Energy generation alongside a huge amount of ER for Beidou, but requires Beidou to build enough CRIT Rate to reliably trigger the Passive.
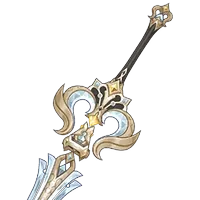
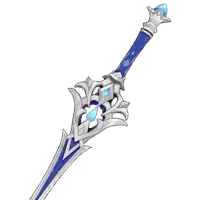
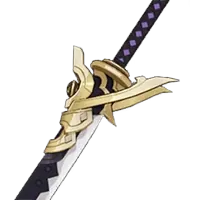 Katsuragikiri NagamasaR5Slightly increase Skill DMG, but more crucially provides Beidou 12-15 Energy after her Skill is used. Beidou enjoys using her Skill after Burst with this weapon if possible to maximize the Energy, but this can be impractical or interfere with her ability to catch her own Electro particles.
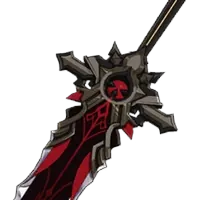
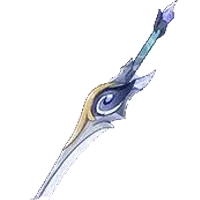
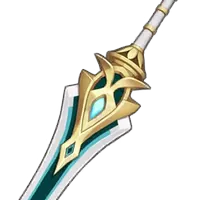 Makhaira AquamarineR1A supportive Claymore option that sacrifices Beidou’s damage for team buffs through building Elemental Mastery. Worthwhile if Beidou has low ER Requirements on Stellar-Conduct teams.
 Noblesse ObligeAlmost always Beidou’s strongest option, since her Burst is needed every rotation.
 Heart of the FurnaceHer best option on Stellar-Conduct teams if no better holders are available, though this is rarely the case. She can struggle to maintain uptime on this if paired with other Electro teammates.
 Sands
Sands Goblet
 Circlet
 ER
ER CRIT Rate
 CRIT DMG
 ATK%BurstSkill
| Favonius on Beidou | |
|---|---|
| Solo Electro | 260% (Hold E, longer rotation needed) |
| Double Electro | 210-230% |
| Triple Electro | 160-180% |
 Cyno
Cyno Yae Miko (C1)
 Odette
 Beidou
Usage rates are gathered from player profiles connected to Enka and refreshed periodically. They describe what people are running, not what performs best.
Last statistics update: 04/September/2026
Based on Enka-connected profiles matching this character. Usage rate describes observed profile popularity, not optimality. Characters may have multiple viable builds, and guide recommendations can differ from popularity.
Sample: 28,365Favonius Greatsword29.4%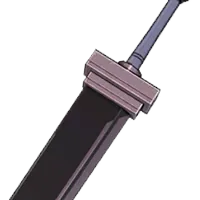 Waster Greatsword8.1%
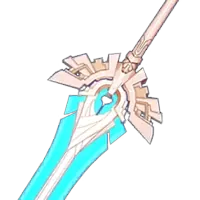 Skyward Pride7.5%
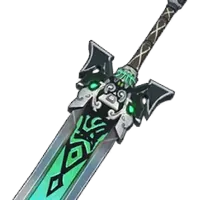 Rainslasher5.8%Noblesse Oblige13.0%
 Emblem of Severed Fate [2PC] + Rainbow3.5%
 Thundering Fury2.9%C010.3%C19.5%C28.4%C37.2%C46.0%C54.9%C653.8%
Beidou does not have any hard rules for her team, though she ideally pairs with teammates who already have rotations exceeding 20 seconds due to her own Burst cooldown.
 Sandrone
 Cryo Main DPSRadiance: Stellar-Conduct
Relative team damage chart. Best listed team is treated as 100%.
Cyno ComparisonsTeam DPS compared solely within this team group107 ER100 ER100 ER163 ER Yae Miko
 OdetteBeidouBeidou
 Cyno
Cyno Cyno
Cyno CynoCynoCyno100 ER100 ER100 ER
 100 ERYae MikoOdette
 Alyosha
 AlyoshaCynoCynoCynoCynoCynoC1 Wriothesley ComparisonsTeam DPS compared solely within this team group
 100 ER100 ER100 ER234 ERYae MikoOdetteBeidouBeidou
 WriothesleyWriothesleyWriothesley100 ER100 ER100 ER
 100 ER
 NicoleYae MikoOdetteWriothesleyWriothesleyWriothesley



 Pyro
Pyro