Loading content...
Last updated: 31/May/2026

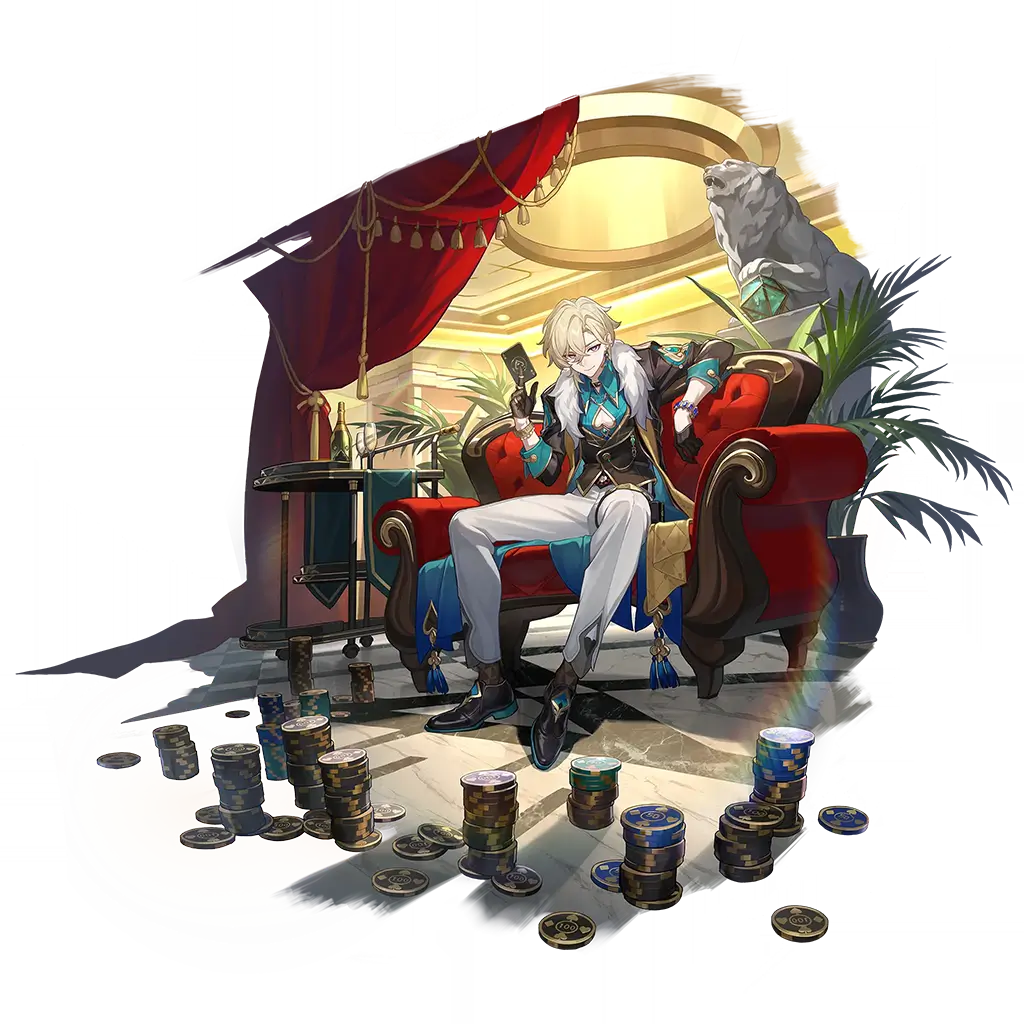
Best guide and build for Aventurine from HSR (Honkai: Star Rail). Aventurine is a 5★ character from the Imaginary element who follows the Path of Preservation.
A senior manager in the IPC Strategic Investment Department and one of the Ten Stonehearts. His Cornerstone is "Aventurine of stratagems." He possesses an air of frivolity and doesn't shy away from taking risks. His constant smile makes it difficult for people to discern his true feelings. He won his current position by wagering against fate itself. He views life as a high-stakes, high-return investment, and he plays this particular gamble with masterful ease.
Aventurine has at least one video available, so if you prefer this sort of medium to learn more about a character, check it out:
Last review update
Patch 4.0
Last major build/calcs update
Patch 4.0
Last profile update*
31/May/2026
*Profile update means smaller edits to relics, stats, synergies or teams that don't require new calculations.
To learn more about Aventurine check the sections below. Use the tabs to quickly switch to the kind of information you're looking for - kit, traces, review or build guides.
Profile
Straight Bet
Single Target
Energy gain: 20
Break: 10
Cornerstone Deluxe
Defense
Energy gain: 30
Break: -
Roulette Shark
Single Target | 110 energy cost
Energy gain: 5
Break: 30
Shot Loaded Right
Bounce
Energy gain: 1
Break: 3
The Red or the Black
Defense
Energy gain: 0
Break: -
Leverage
Hot Hand
Bingo!
Prisoner's Dilemma
Eidolon 1
Increases CRIT DMG by 20% for allies with Fortified Wager. After using the Ultimate, provides all allies with a Fortified Wager shield, whose Shield effect is equal to 100% of the one provided by the Skill, lasting for 3 turn(s).
Bounded Rationality
Eidolon 2
When using Basic ATK, reduces the target's All-Type RES by 12% for 3 turn(s).
Droprate Maxing
Eidolon 3
Ultimate Lv. +2, up to a maximum of Lv. 15. Basic ATK Lv. +1, up to a maximum of Lv. 10.
Unexpected Hanging Paradox
Eidolon 4
When triggering his Talent's follow-up attack, first increases Aventurine's DEF by 40% for 2 turn(s), and additionally increases the Hits Per Action for his talent's follow-up attack by 3.
Ambiguity Aversion
Eidolon 5
Skill Lv. +2, up to a maximum of Lv. 15. Talent Lv. +2, up to a maximum of Lv. 15.
Stag Hunt Game
Eidolon 6
For every ally with a Shield, the DMG dealt by Aventurine increases by 50%, up to a maximum of 150%.
Review
Excellent and consistent shielding.
Strong team resistance to Crowd Control and debuffs.
Very SP positive and flexible.
Obscene amounts of Toughness damage from his Ultimate and follow-up.
Best-in-slot sustain for follow-up teams.
Ultimate debuff is single-target only.
Underwhelming damage and offensive capabilities.
Relies on frequent AoE attacks from enemies (or ally follow-ups) to refresh his Shields.
Weak against enemies that focus fire on other allies.
Aventurine is a potent Preservation sustain character. He has powerful shielding available to him through both his Skill and Talent follow-up, and will grant a large amount of Effect RES to shielded allies. Having shielded allies attacked will charge his follow-up, and both the follow-up and direct Skill use will stack the shield effect up to 200%. Ally follow-up attacks will also charge his follow-up. All of Aventurine's damage scales off of DEF, and he gains a large amount of free CRIT Rate for building for DEF.
Everyone's favourite gambling enthusiast and certified lucky boy is finally here for us to take home. Aventurine boasts great survivability while also dealing good damage. He's got good synergy with follow-up teams, and since he's got a debuff that he can apply with his Ultimate, he's got some intrinsic value for teams with Acheron or Ratio as well. His kit is a little wordy, but his game plan is extremely simple — a nice change of pace from many of the other Penacony characters.
Aventurine's Skill will grant all allies a shield that can block up to 24% DEF plus 320, lasting for 3 turns. This shield is referred to as Fortified Wager, and this will be important for later. This Fortified Wager shield can be stacked on top of itself, meaning using it again will add the new shield on top of the old shield, providing even greater protection. This can be stacked up to 200% of the original shield value, and it updates dynamically in case your DEF value changes.
This is the first instance of a shield being able to stack outside of the Simulated Universe, and it's just as powerful as it sounds. An AoE shield having the value Aventurine's does is already very good since it's easily applied through a single Skill use, but more ridiculous is that a fully stacked shield will be equal to 48% DEF plus 640 — a value higher than that of Gepard's Ultimate! Since it lasts for 3 turns and can be easily reapplied and stacked on top of itself, keeping the team alive is really rather easy.
Aventurine's Talent also plays into this, turning the dial on his shield value from 'high' to 'immense'. While an ally has a Fortified Wager shield, they will gain up to 50% Effect RES, and whenever an ally with Fortified Wager is attacked, Aventurine will gain 1 point of Blind Bet, and when Aventurine himself is attacked with Fortified Wager, he will gain an additional point of Blind Bet on top. Blind Bet can stack up to 10 times, and will immediately launch a follow-up attack when it reaches 7 points, consuming 7 points in the process. This follow-up hits 7 times dealing up to 25% DEF per hit, and hits a single random enemy each time. Aventurine himself also gains a one-time Crowd Control immunity while he has Fortified Wager, and this effect has a 2 turn cooldown.
This follow-up attack is actually quite strong, dealing a total damage of 175% DEF and an impressive 70 Toughness Damage, 10 per hit. Especially against low amounts of targets, Aventurine can quite quickly shred through their Toughness gauges. The free Effect RES for allies is also extremely potent and can greatly reduce the chances of anyone ever getting inflicted with a pesky Crowd Control debuff, but equally worth mentioning is that this Effect RES will also greatly help against various non Crowd Control debuffs as well, such as DEF downs or enemy DoT effects. The follow-up also regenerates 7 Energy at base, so Aventurine's energy economy is actually better than one might expect. The condition for gaining points of Blind Bet is extremely lenient as well, since all you need is to have any ally with Fortified Wager get hit, including himself.
Aventurine's Ultimate will grant him a random number of Blind Bet points upon use, anywhere from 1 to 7. He then inflicts a single enemy with the Unnerved debuff for 3 turns. Unnerved enemies will receive up to 15% increased CRIT DMG. This is a rather nice increase to overall team damage, especially since it’s coming from a sustain unit and not a dedicated support. This attack will deal up to 270% DEF, and since it's a single-target Ultimate, will also deal 90 Toughness damage.
This is why his Blind Bet can stack up to 10, since using his Ultimate could consistently overcap you heavily otherwise. A 3 turn duration on such a debuff is very uncommon, and it's no slouch in the damage department either. Together with his Talent's follow-up, he can deal 160 Toughness damage in quick succession to a single foe, decimating their Toughness bar. Surprisingly, his Ultimate only has a meagre cost of 110 Energy, meaning he can have it up quite frequently, especially considering he's likely to be getting hit more than the rest of the team due to being a Preservation unit. Factoring in his follow-up's Energy regeneration as well, and it's well within reason to have this debuff near permanently active on all but the absolute fastest foes.
Up until this point you may have been thinking 'well, that's all great, but if I need to use SP to stay alive, why would I choose this guy over one of our other excellent sustains?', and the answer to that becomes apparent when you look at his Bonus Ability Traces. His A2 will provide a bonus to his CRIT Rate, 2% CRIT Rate for every 100 points of DEF that Aventurine has that exceeds 1600. He can gain a maximum increase of 48%, achieved at 4000 DEF. Achieving this value is actually quite easy, especially since you’re likely to be building with DEF in mind. You get a significant bump to his personal damage while still maximising the strength of his shields.
His A4 and A6 are what bump his team survivability up to extremely competitive levels. A4 will automatically grant every ally a Fortified Wager shield when entering combat, equal to 100% of the Skill's value for 3 turns. This sets up strong defences very early on at no cost. Continuing the trend, A6 will provide all allies a weaker Fortified Wager shield upon launching Aventurine's follow-up attack, blocking 7% DEF plus 96, and providing double the value to the ally with the lowest HP. Aventurine will now also get a point of Blind Bet every time an ally with Fortified Wager launches a follow-up attack, up to 3 times between Aventurine's turns.
I should remind you now that all of Aventurine's Fortified Wager shields stack, meaning it is very easy to go for long stretches of time where Aventurine doesn't have to use his Skill whatsoever to keep allies from taking damage. This immediately raises his SP efficiency to be more similar to that of Fu Xuan, only occasionally needing to use his Skill before beefy AoE hits. If you don't need to do that, then Aventurine could very well even be fully SP positive, all while still providing his strong offensive utility and follow-up synergy, putting him firmly on par with the likes of Fu Xuan — potentially even stronger.
Free stacking shields with the potential for SP flexibility to adapt to situations, coupled with fantastic no-cost offensive utility and an Ultimate that debuffs an enemy into taking more damage from your CRIT DPS. This guy has no trouble going toe-to-toe with the nastiest foes we've got, and that's unlikely to ever change, especially given that actually playing him is the simplest thing in the world. Need shield? Skill. Don't need shield? Don't Skill. You'll get a shield soon either way.
Aventurine really doesn't need his Eidolons, but I personally know at least one person who's going all-in for Best Boy™, so best of luck to her and here's the breakdown. E1 will provide a passive 20% increase to CRIT DMG for allies with Fortified Wager, and will instantly provide a full strength Fortified Wager to all allies after using his Ultimate, and E2 will have Aventurine's Basic ATK reduce his target's All-Type RES by 12% for 3 turns. Both of these first two Eidolons have tremendous value should you choose to go for them, especially E2, but again they’re not at all necessary. E4 will increase Aventurine's DEF by 40% after using his follow-up and will increase the Hits Per Action of his follow-up by 3, and E6 will grant Aventurine one of the most ridiculous DMG boosts in the game, 50% per shielded ally up to 150% maximum.
Now, I should clarify that Aventurine actually does really good damage, especially for a sustain unit. It’s not going to eclipse any actual DPS characters, but it's certainly enough to be noticeable and to have a meaningful impact on the overall combat result. To that end, I wouldn't really recommend going all-in on offensive main stat Relics. Going for DEF will improve both his shield strength and his damage, and he maxes out his A2 bonuses at the 4000 DEF mark. Beyond this any DEF will start to suffer from some diminishing returns, but more DEF is never bad. If you’re really looking to optimise his damage, you can start searching for offensive stats beyond this point, but this only really starts to matter if you’ve got his signature Light Cone.
At the end of the day, Aventurine is a sustain unit, and no matter how good his damage may or may not be, he needs to be able keep your team alive first and foremost. If you are unable to do that because you botched his build to deal 200 more damage per hit, that’s entirely on you. If you’re looking to get that much more oomph from this party slot, you’d probably be better going without a sustain unit at all, so just be careful falling into the trap of forgetting why he’s on your team, especially if you don’t have his signature Light Cone.
Having said that, Aventurine's got great Light Cone choices so you shouldn't feel pressured into getting his signature unless you really want to reach the maximum damage possible. Without his signature, his damage will fall quite considerably though, so it may not be worth fully pursuing damage on him if you’re not using at least a 5-star Light Cone. He's universally usable, and especially because he has the potential to be fully SP positive, you can really just slot him into any team and not have to worry about dying from that point on.
Thanks to his A6, Aventurine gets so many points of Blind Bet that he’s constantly dropping chips on his enemies at an expeditious rate, skyrocketing his Toughness damage to be the highest of any sustain unit in the game, even beating out Gallagher. The increased frequency of follow-ups also means he’s constantly stacking and refreshing the Fortified Wager shield, making the team damn near invincible. Under the right planets-align circumstances, the amount of Toughness damage can actually be so high that it has the potential to eclipse pretty much every other character as well, though how often one gets to experience this depends on the exact team and the enemy lineup.
While Aventurine does have specific synergies with follow-up characters and he's the primary choice for the sustain spot for this archetype, he's entirely self-sufficient and should not be regarded as only a sustain for these teams. Like I said before, he's universal, and anyone who says otherwise is... incorrect. The gambler knows what's what, and he's an excellent addition to any team. I would consider him to be quite possibly the best sustain unit we've gotten so far, so especially if you're a newer player or a meta-chaser, you should definitely look into acquiring this golden boy. He’s going to be a staple of follow-up teams for a very long time.
The only question that remains is how does he get such a crisp fingersnap while wearing gloves?
Honkai: Star Rail is a game where team building matters most and while our tier list takes the optimal setup into account, a lot of characters can work and do well - even those ranked lower - when you invest into them. Also for story or lower difficulties of Simulated Universe, you don't need to worry about ratings and tiers. You can safely clear that content even with F2P characters as long as you build your team correctly.
Character at 5★ are rated at their Eidolon 0 with level 80 best in slot 4★ or 5★ Light Cone (including limited Light Cones, but at S1).
Available ratings:
Build and teams
1
2
3
4
5
1
2
The percentage numbers showcase the relative DPS increase when you take into account the set bonus only. For some characters there's no DPS (or its equivalent) available and in that case we listed the sets in the order of priority.
1
2
3
If you can't put together a top recommended 4P set with satisfactory sub/main stats, mix and match the 2P Bonuses from the following instead:


1
1
2
3
4
1
DEF% (aim for 4k) >= SPD > CRIT DMG > CRIT Rate > Effect RES
HP: 2900-3000+
DEF: 4000+
CRIT RATE: 60-90%+ (including the Trace)
CRIT DMG: 110-170%+
SPD: 106 or 134+
Skill > Talent > Ultimate > Basic
Leverage (A2) > Bingo! (A6) > Hot Hand (A4)
Rank 51
App. rate: 0.42%
Avg. cycles: 7.89
Avg. cycles (E1+): 5.08
Rank 56
App. rate: 0.38%
Avg. cycles: 7.86
Avg. cycles (E1+): 6.09
Rank 66
App. rate: 0.3%
Avg. cycles: 7.6
Avg. cycles (E1+): 6.58
Rank 114
App. rate: 0.14%
Avg. cycles: 9
Avg. cycles (E1+): 6.81
Rank 160
App. rate: 0.09%
Avg. cycles: 10
Avg. cycles (E1+): 5.36
Rank 170
App. rate: 0.08%
Avg. cycles: 9.67
Avg. cycles (E1+): 8.4
Rank 223
App. rate: 0.05%
Avg. cycles: -
Avg. cycles (E1+): 7
Rank 258
App. rate: 0.04%
Avg. cycles: -
Avg. cycles (E1+): 8.71
Rank 313
App. rate: 0.03%
Avg. cycles: -
Avg. cycles (E1+): 6.8
Rank 313
App. rate: 0.03%
Avg. cycles: 10
Avg. cycles (E1+): 3
MoC/PF/AS Statistics