Account Progression Guide
Welcome, Conductor!
As a new player, there are essential things you need to learn before diving deep into the game. While games typically teach these through tutorials, many players choose to skip them. A reminder that everything in this game revolves around collecting BCRL Coins. Every system requires BCRL Coins, whether it's about upgrading your train, your crew or even buying Laplace Protocols (Pulls) on HQ/NC Shop. Another thing to note is the Energy Systems of this game, mainly Clarity and Fatigue. Clarity is used for combat-related situations, while Fatigue is used for Trading, Crafting, and Operating your Train. Managing both of these Energy Systems will be crucial to your daily activities in Resonance Solstice.
With this guide, we will be tackling your account progression so that you can enjoy the game to its utmost potential.
Getting Started
At the start of a gacha game, you are prompted to do your initial gacha pulls to obtain characters. These are usually scripted and will give you the same character every time you roll in an account. With that said, after the initial pulls, you can now go ahead and actually do your first 10-pull. We prepared a specific guide for rerolling, so you can check it out!

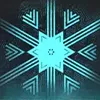
If you have already read the Reroll guide, you will have an easy time deciding who to pick. However, we recommend at least getting one of these crew members:
 Nayuta - A really strong support for beginners and doesn’t need dupes or high investment to work. His skills mainly revolve around shuffling the deck in order for him to generate his cards; these cards offer a variety of effects such as damage, debuffs, healing and defense.
  Stella - A fantastic support that can reduce the cost of all cards in your deck while providing offensive buffs and spamming low-cost attack cards. Make sure you give her gear or bring healers, since she’s a frontline but NOT a tank.
If you haven’t got any of them from your initial 20 Pulls on the Beginner Banner, don’t worry, as there is a free SSR Selector after 3 days.
Early Game (Pre-Level 35 Conductor)
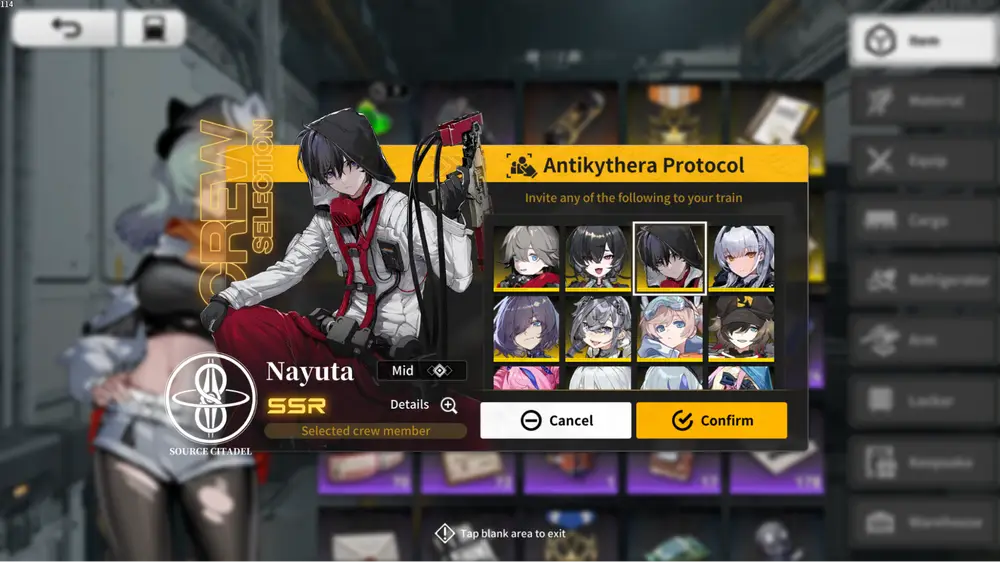
PRIORITIZE YOUR MAIN STORY QUESTS
Your first and most important task is to focus on the Main Story Quests.
By doing so, you'll immediately unlock several Cities and Stations, which are essential for expanding your network. More importantly, these quests grant you access to critical game mechanics and essential tools, such as:
- Manufacturing Furniture (Crafting Various Materials).
- Passenger Transport (Moving Passengers to Different Locations).
- And more...
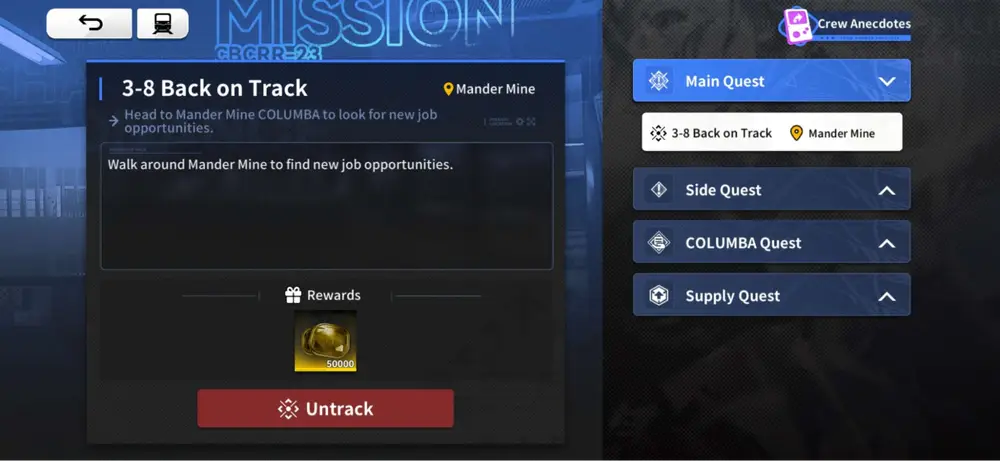
EVICTION QUEST AND BATTLE PLAN
These two activities are critically important for your early game strength as they provide the materials and currency needed for rapid progression.
- Eviction Quests are available in every City; they can be accessed by going through the BCRL Agency.
- Battle Plans are available in every Station; they can be accessed by going through the Management Center.
- Both can be easily accessed in the Events Tab once unlocked.
!!! Why They Matter !!!
- Upgrade Materials & Equipment: These are the primary sources for powering up your Crew and Train, ensuring they are strong enough to tackle harder story content.
- Premium Currency: The currency you earn is essential for making your initial Gacha pulls, which is the fastest way to acquire new, powerful crew members to expand your operation.
- Unlocking Bounties: More combat stages that allow for rarer resources and equipment.
CREATE A LONG-TERM TEAM
Your first goal is to reach level 35 to unlock Resonance 5, which unlocks powerful upgrades for your team composition.
Reminder: You can turn off Resonance 5, as some of the cards may interact better if they are off, so do an experiment to see whether the Resonance 5 helps your current composition.

You can check out our team database here for team reference. These teams will be updated as we get more Crew members available.

Routines
Columba Orders [Daily]
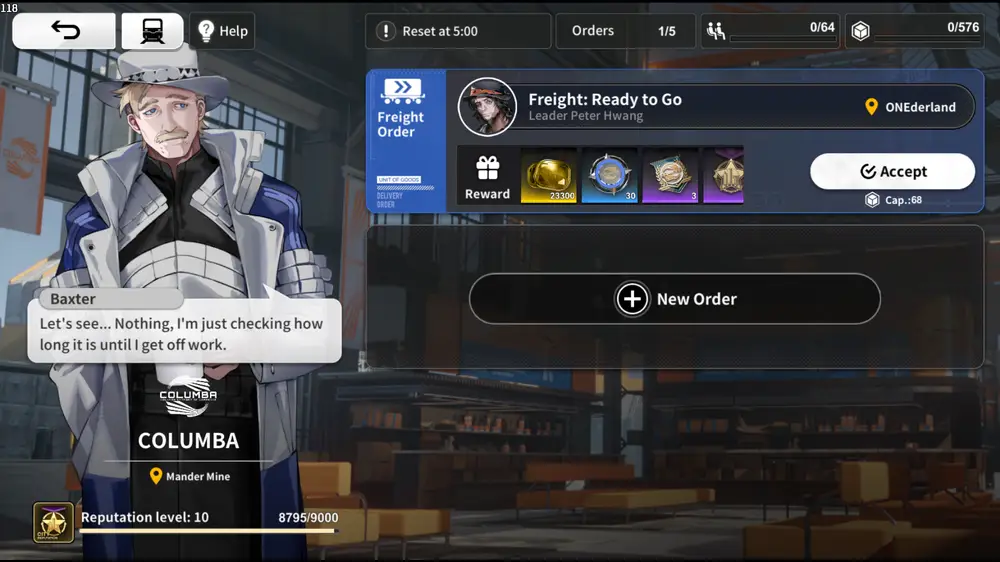
Columba Orders are missions you can take from each city; these can be either Freight Orders or Passenger Transports. By doing these missions, you earn city reputation along with Columba's Reputation, which will be important for running Group Orders.
Where to Spend Extra Clarity?
Chaos and Reverb Buoys
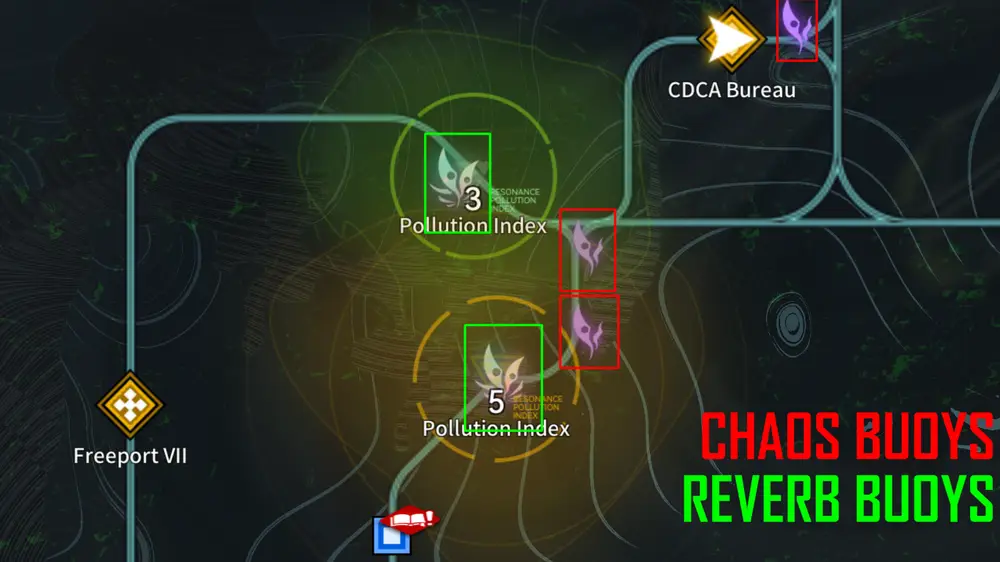
These combat areas spawn randomly on the map often. Chaos Buoys are 1-time combat this has a chance to drop SSR Equipment if you are looking for some. Reverb Buoys, on the other hand, can stay for a long time. These buoys drop Sacrifice Medals (the number of drops increases depending on the Pollution Index), which are used to exchange powerful UR Equipments. Farming them early on can be crucial as more UR equipment gets released whenever a new city is available.

You can also spend your remaining clarity in BCRL Eviction Quest, Management Center Battle Plans, or Event Battle Stages if there's an event running.
Where to Spend Your Fatigue?
Trading, Crafting and Passenger Transport will be your option to dump your fatigue.
- Trading is the way to earn more BCRL coins: simply buy goods at a low price in one location and then sell them for a high price in a different City or Station.
- Crafting is another method to earn large amounts of BCRL Coins, but it can be more resource-intensive, fatigue-intensive and requires knowledge of market chains.
Early Game Profit Strategy
New players can use this high-profit strategy to establish a strong financial base:
- Unlock ONEderland Station.
- Invest 400,000 BCRL Coins into Mander Mines (City). With this, the option to buy Gold Sand in ONEderland will be available.
- Buy Gold Sand from ONEderland. (Make sure it doesn't exceed half of your total Cargo capacity)
- Craft Gold Sand into Gold Leaf at a Station with a Workshop. Selling this Gold Leaf will yield a significant profit.
- Next Step: Later on, buy the Gold Wire recipe and craft Gold Wires using your existing Gold Leaves for even greater profit.
Maximizing Trade Runs
While you are running your trade routes, always utilize Passenger Transport services between your chosen Cities and Stations. This provides a small but steady supplementary revenue stream as you complete your main trading objectives.
To learn more, check out:

To check out the current trade prices, check out the Live Market feed.

Mirage Island
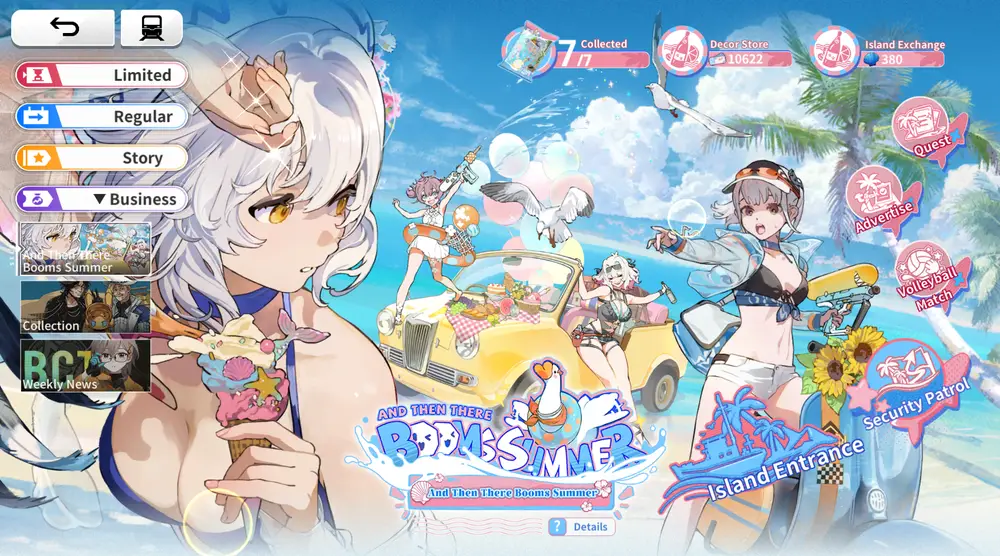
Mirage Island is an optional revenue point; this is introduced upon first entering Cape City. This content can be skipped, but it has amazing items in the store, such as UR: Grandfather Reactive Armor, which is an incredible armor to have for your DPS., There are also Card collectibles. This content is permanent and can be tackled anytime. Learn more below.

HQ Shop and NC Shop
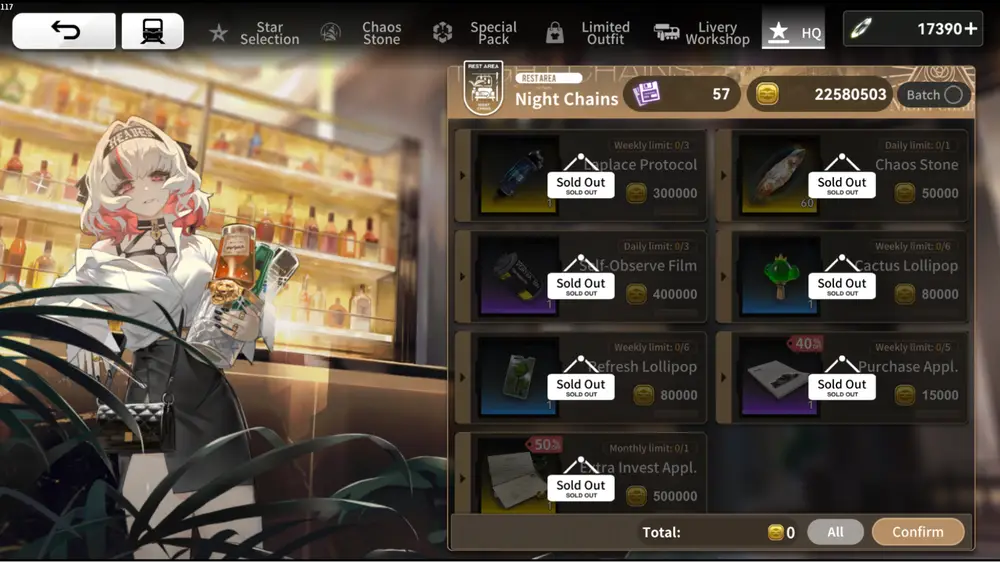
To keep it short, there are multiple items and consumables you can get in either HQ or NC shops at the cost of BCRL Coins. These shops can be accessed mainly through Arina in the main cities with items varying on each, or, in a more limited fashion, in one of the tabs of the shop menu from the main screen. As mentioned earlier, BCRL Coins are used in most systems and these shops are very important. As an example, in HQ Shop you can buy Chaos Stones and Self Observe Film daily, Cactus or Refresh Lollipops as well as Laplace Protocol and Extra Investment Application weekly.
Every week, NC Shop refreshes and they sell quite a handful of useful stuff such as SSR Equipment, more Self Observe Films and many more.
Beware! Do not spend every BCRL Coin here. Make sure that you still have enough capital to trade goods. Spending everything will slow down your progress, so keep that in mind.
Crew Progression
Upgrading your crew can be very simple. Do not spread out your resources too much and focus first on your core team.
Levels

Your crew can level up through combat or simply give them experience points directly using Combat Records.
Equipment Progression
Checking which equipment fits the most on your crew can be daunting, as there are a lot of options. However, it is a great idea to familiarize yourself with the ones that are good for general use:
SSR
- Simulated Stars - (Armor) Using [Leader Skill] restores 5% HP. This effect stacks.
- Mobius - (Accessory) Cards in your hand are replenished 0.25 seconds faster. This effect stacks.
- Ball Lightning - (Weapon) Whenever the wearer's skill card is played, it unleashes a ball of lightning that [Penetrate] enemies, dealing damage once each time it hits enemies in its path and [Electrify] them.
- External Memory Matrix - (Armor) Max damage taken per hit is 33% of Max HP.
SR
- Viscera Collector MK 0 - (Weapon) Using [Leader Skill] restores 0.4 Cost. This effect stacks.
- Magic Spring - (Accessory) Restores 0.02 Cost per second. This effect stacks.
- Resonance Fiber - (Armor) When own skill card is used, restores 2% of Max HP.
R
- Magic Wand - (Weapon) Playing a Purple card has a 20% chance to restore 1 Cost. The trigger rate stacks.
- Harrison Device - (Accessory) Playing a Yellow card restores 0.3 Cost. This effect does not stack.
- Mass Projector - (Weapon) Using [Leader Skill] increases ATK by 1.5%. This effect stacks.
Where to Farm Equipment
Special Supply (LVL 40)
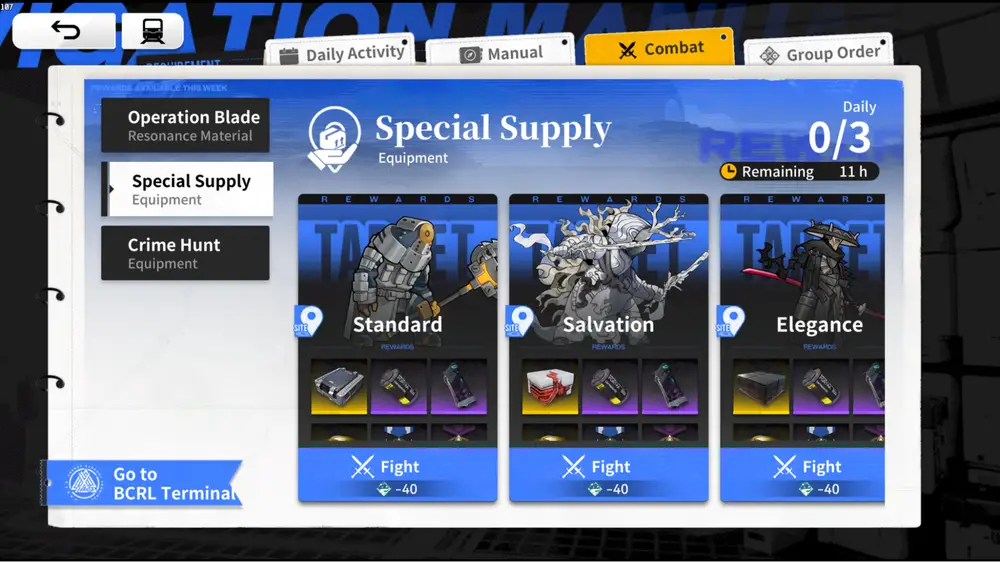
A rotating boss challenge that drops equipment from specific factions, this rotates daily and all are available on Sundays.
Crime Hunt (LVL 40)
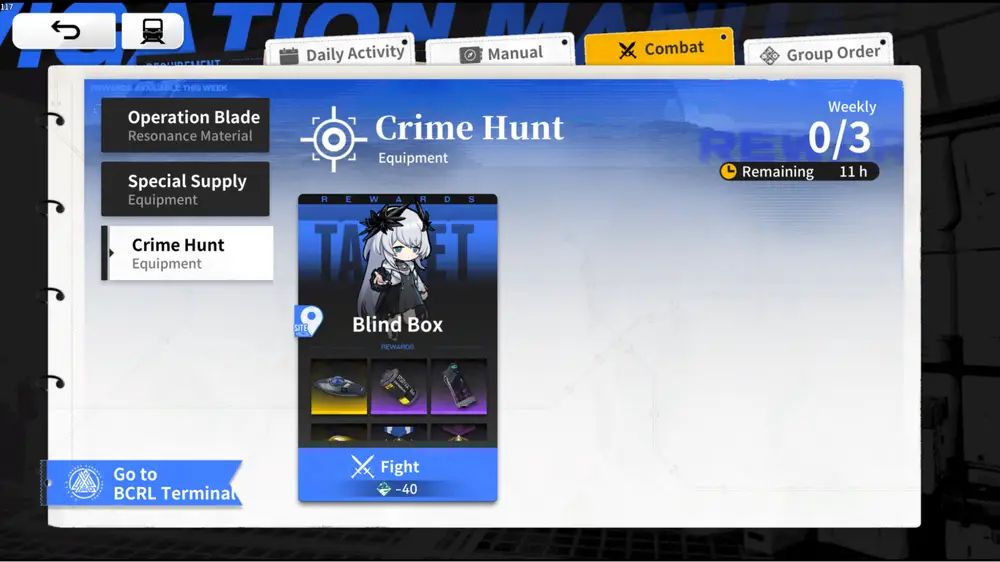
A weekly boss you have to take down to reap rewards. It guarantees 3 random SSR Equipment from each faction. Also, as mentioned earlier in Daily Routine, Bounties and Chaos Buoys can potentially drop SSR Equipment that might fit your team.
The Eternal Scuffle

The Eternal Scuffle. The Eternal Scuffle is a weekend combat content you can play during Friday, Saturday, and Sundays. This is a Rougelike game mode with 8 stages total in each attempt. You receive an entry token each day when it's open to do an attempt, however you can also spend 300,000 BCRL Coins to do extra attempts which are then limited to 3 daily.
This has an exchange store where you can trade Scuffle Points for Equipment Boxes.
To learn more about equipment, check out:

By leveling your equipment, you can add affixes to it, or you can add affixes by using a Self-Observe Film.
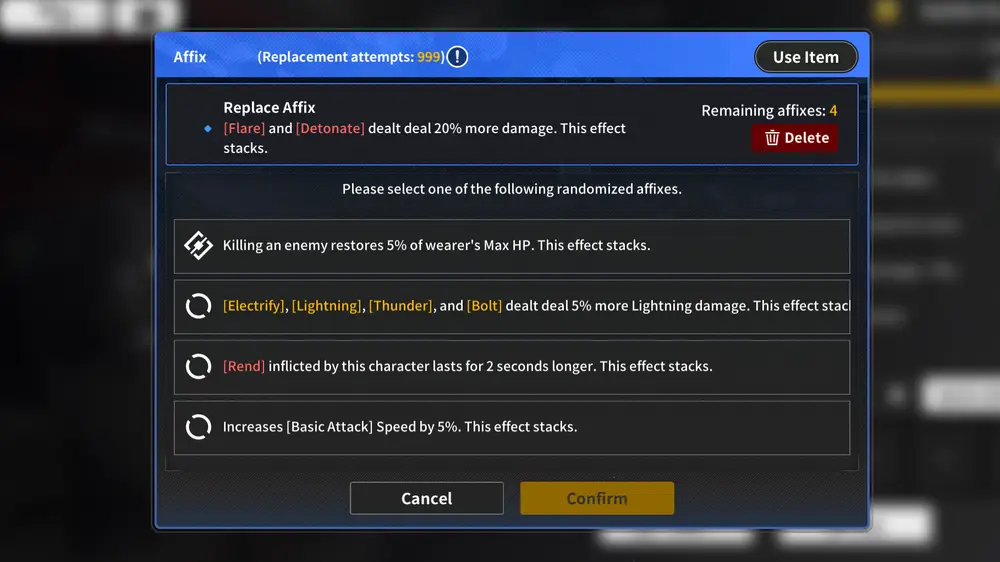
Note that there are Affixes that are Unique to specific factions. We have them filtered here:

Early Profession Skills Upgrades
Some Profession skills are unlocked as soon as they get upgraded to Resonance 1, then later on, more Profession Skills are further unlocked through Resonance 4 and 5. This section will show which Crew members are worth getting their Resonance 1. We won’t be including SSR Crew members, as they will vary per account. You can slowly invest here once you sort out your main team. There are no strict priorities here, but we recommend starting with the Fatigue Related crew members. You can skip some of these; for instance, if you don’t trade Glow sticks, you can completely skip Solum.
![]() Livia is not included as she is part of the resonance tutorial.
Livia is not included as she is part of the resonance tutorial.
Fatigue and Train Related
Train Progression
The Eternal is your lifelong partner in this life of trading and combat. By upgrading your train, you can increase the capacity of your cargo or increase the number of passengers on board. Not only that, you can be as fast as lightning, moving between stations back and forth at ease for selling goods and transporting passengers. Lastly, you can also equip armaments on your train, like having a huge drill to ram barricades and alien lifeforms, coatings to further improve the durability of your train, and many more!
In order to make these upgrades, of course, you have to upgrade your engine core as you require Power allowances. With this in mind, upgrade it along with its derivative cores [Furnace], [Overload], [Condensed], [Reverb], [Reverengy], as some armament will require certain levels for the derivative cores to be equipped. For the materials needed, you should be able to gather a couple of them if you did the Eviction Quest and Battle Plans early on.
Upgrading your Cores can also help improve your Manufacturing Furniture or Crafting Bench, as we call it.
For more information about Train Upgrades, you might want to visit:

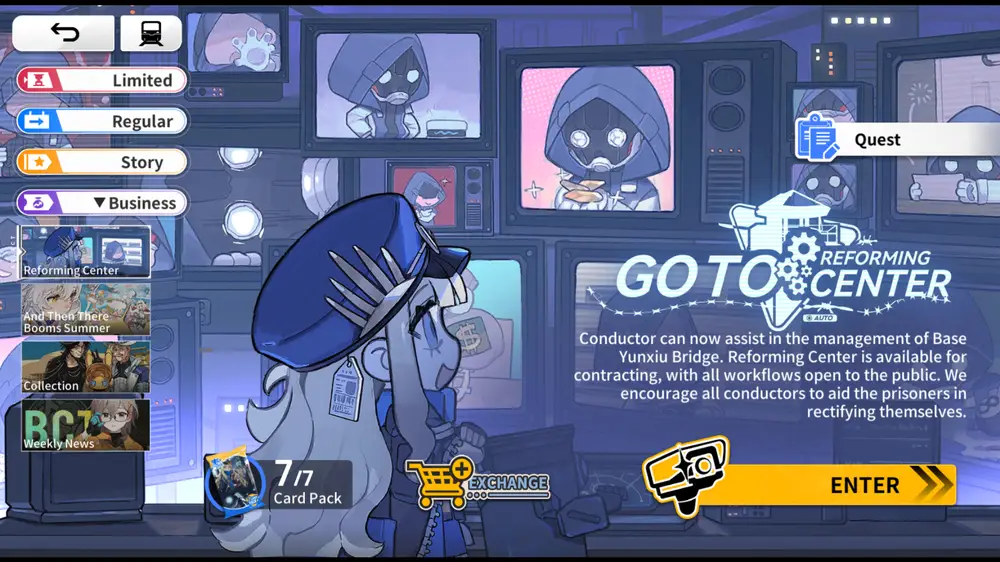
Reforming Center
Reforming Center will be your end game revenue venture, this is where all the veteran players will sink their beloved BCRL coins, in order to earn more BCRL coins. However, to start the contract in Base Yunxiu Bridge there will be a prerequisite.
Contract Prerequisites
- Conductor Level 35
- Trade Level 35
- 3,280,000 BCRL Coins
For more information about the Reforming Center and how to progress, please refer to the links below