Disk 4
CRIT Rate% >= CRIT DMG%
Disk 5
Electric DMG% > ATK%
Disk 6
Impact
Last updated: 14/June/2026
Best guide and build for Anby from ZZZ (Zenless Zone Zero). Anby is an![]() rank character with the Electric attribute who belongs to the
rank character with the Electric attribute who belongs to the![]() Stun Specialty and who is part of the
Stun Specialty and who is part of the![]() Cunning Hares faction.
Cunning Hares faction.
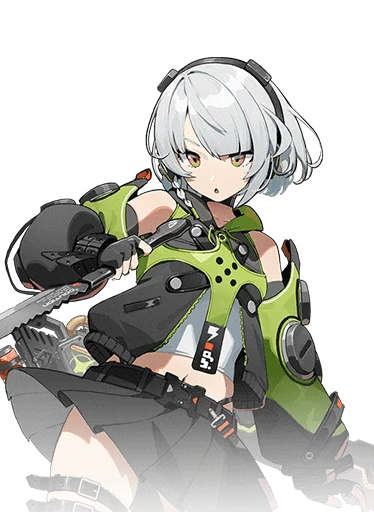
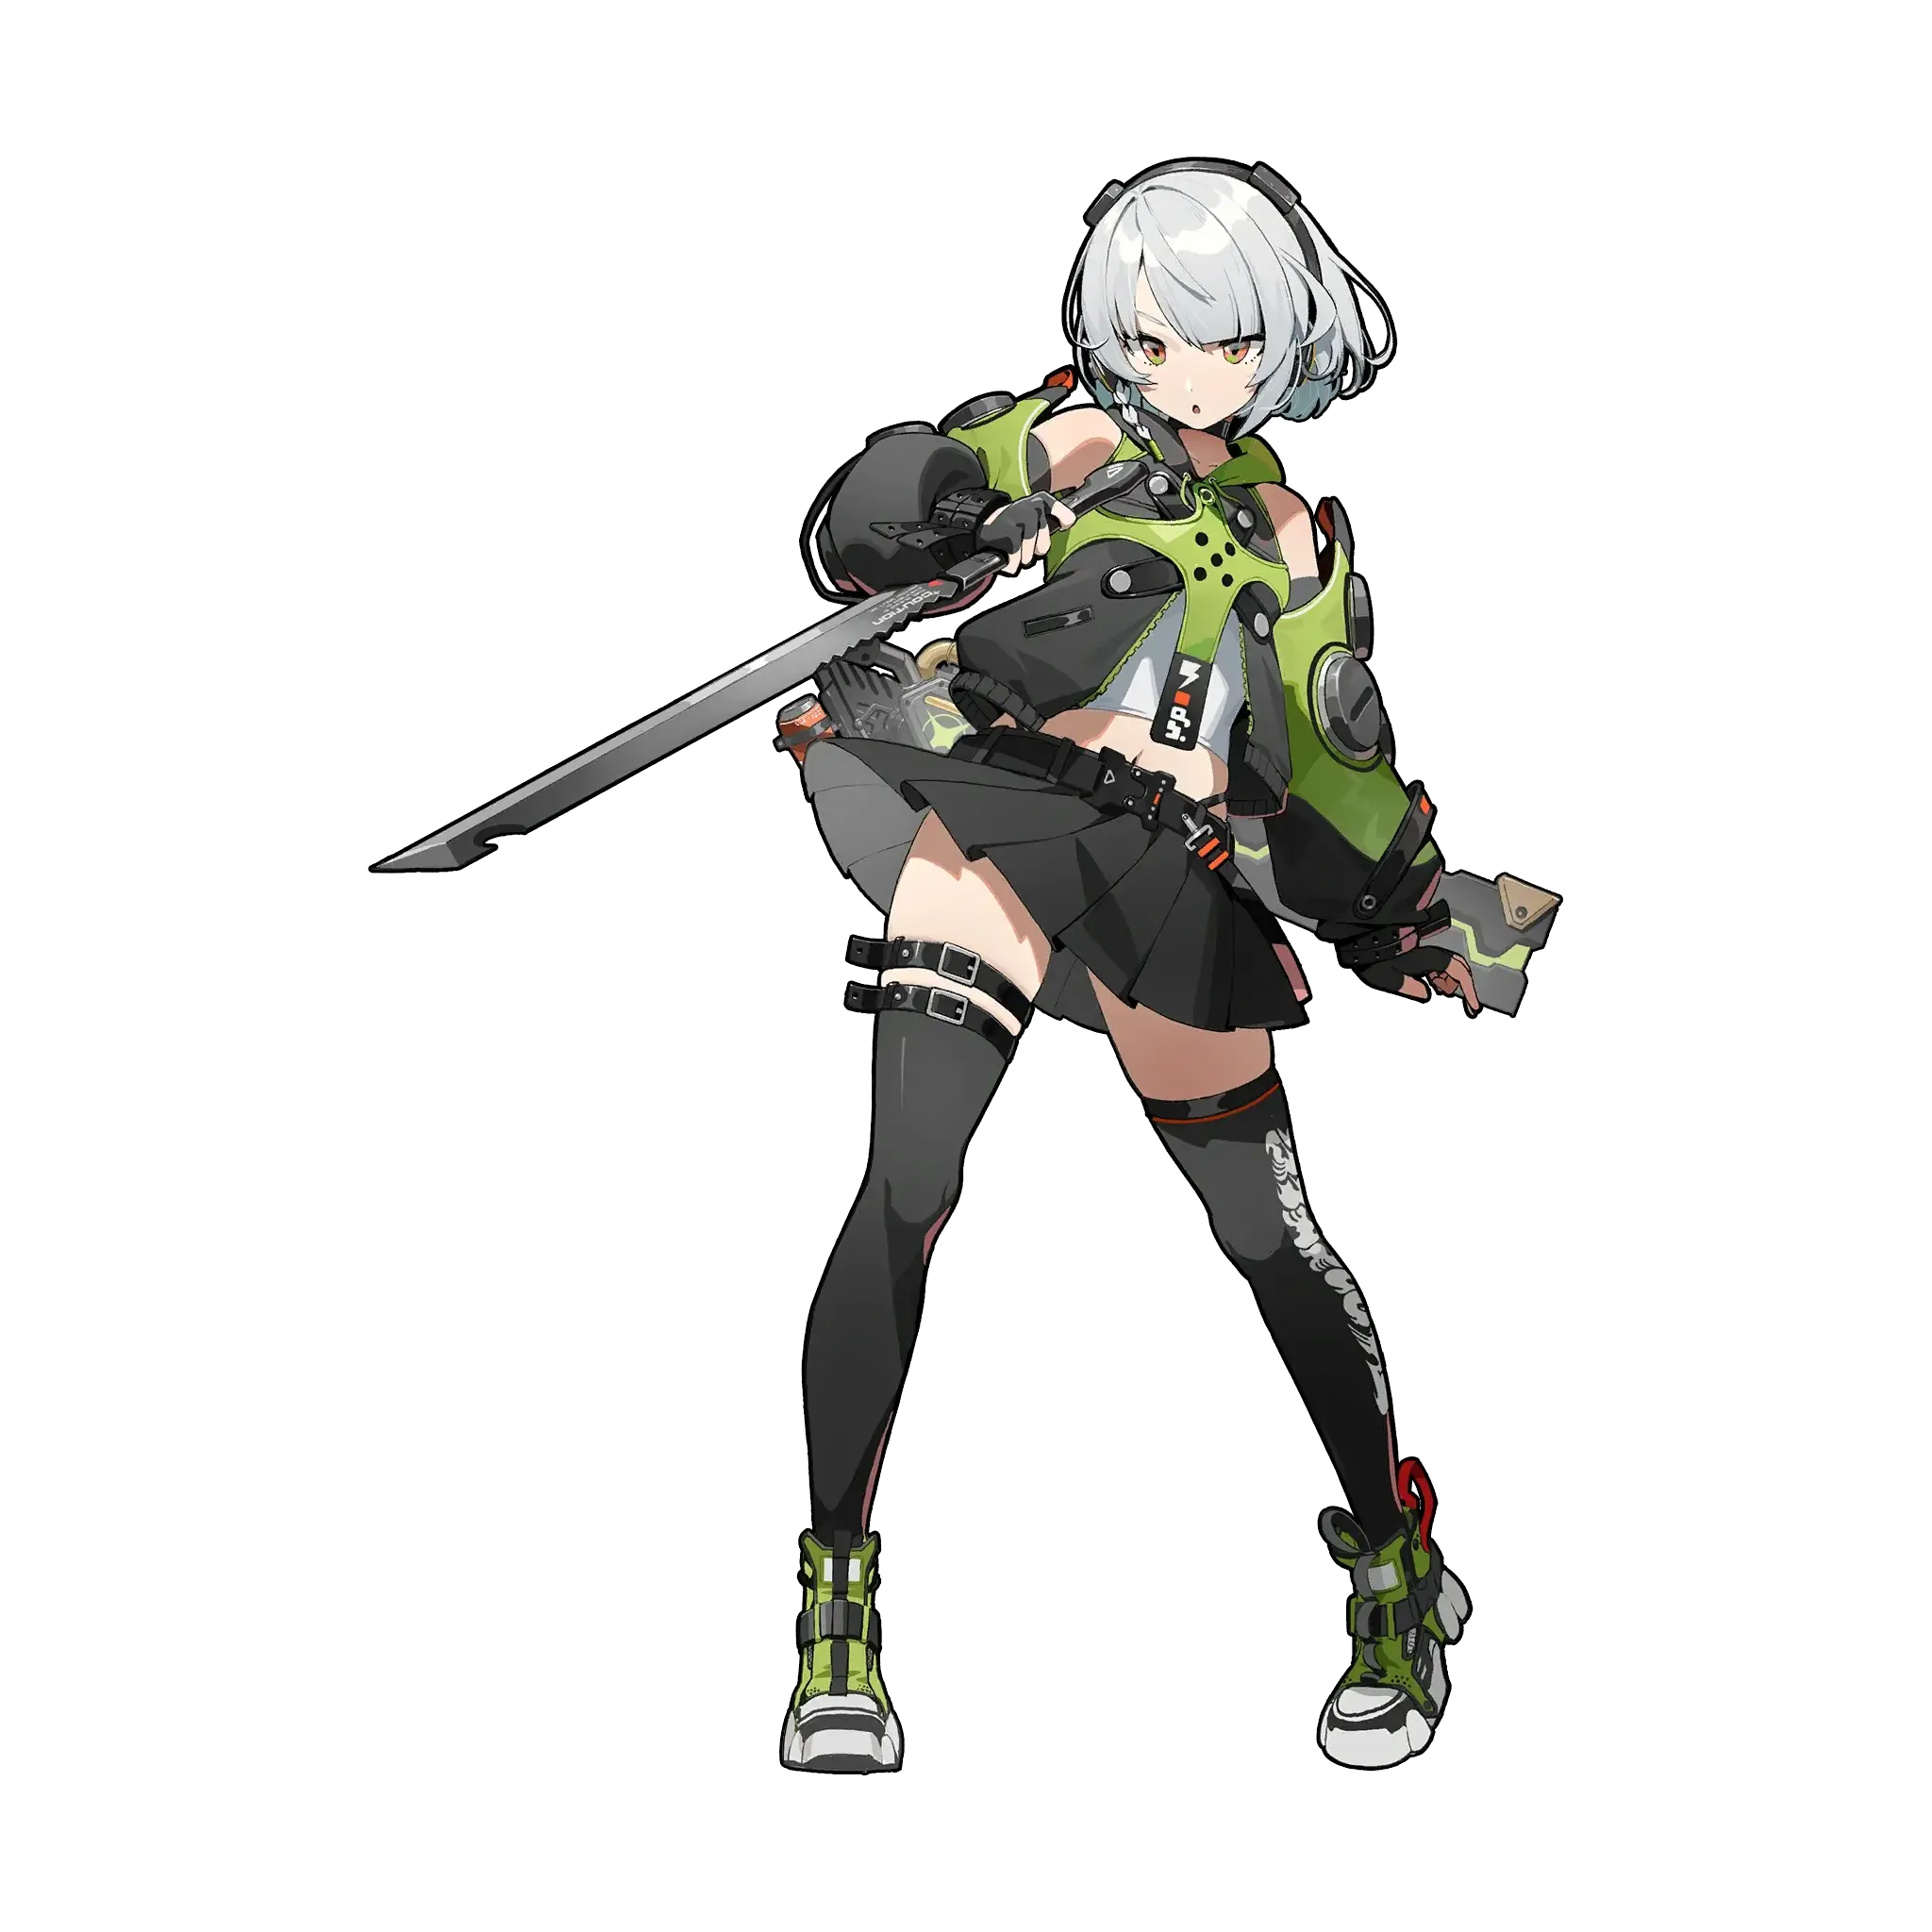
A mysterious young girl who never talks about her past, almost as if she didn't have one. She is calm and collected, and unusually competent and efficient in combat, almost as if she'd had years of training. In an unexpected incident, Nicole brought her back to the Cunning Hares, and she has an emotional independence on her ever since. She loves watching movies, but due to certain lack of common sense she seems to almost think them real-life stories.
This character has no video guide yet.
Last review update
Patch 2.0
Last build update
Patch 2.0
Last teams update
Patch 2.5
Last profile update*
14/June/2026
*Profile update means smaller edits to disk drives, stats or other things that don't require new calculations.
To learn more about Anby check the sections below. Use the tabs to quickly switch to the kind of information you're looking for.
Profile
Core Passive Fluctuating Voltage
Launch a Basic Attack: Thunderbolt, Special Attack, or EX Special Attack after the 3rd-hit of Anby's Basic Attack for an extra 32% Daze.
Impact 0
BASE ATK: 0
Additional Ability Parallel Connection
When another character in your squad shares the same Attribute or Faction:
When Anby's Dodge Counter hits an enemy, she gains an extra 7.2 Energy. This effect can trigger once every 5s.
Basic Attack: Turbo Volt
Basic Attack: Thunderbolt
Dodge: Slide
Dash Attack: Taser Blast
Dodge Counter: Thunderclap
Special Attack: Fork Lightning
EX Special Attack: Lightning Bolt
Chain Attack: Electro Engine
Ultimate: Overdrive Engine
Assist Follow-Up: Lightning Whirl
Defensive Assist: Flash
Quick Assist: Thunderfall
Rapid Charge Mode
Mindscape 1
Precision Discharge
Mindscape 2
Well-Disciplined
Mindscape 3
Conducting Charge
Mindscape 4
Street Experience
Mindscape 5
Charging Field
Mindscape 6
Anby Stats at level 60 (including Core passive bonuses).
Review
This tier list assesses Agents (characters) based on their combat potential in Zenless Zone Zero's most demanding contents - Deadly Assault (DA) and Shiyu Defense (SD). Please keep in mind Zenless Zone Zero is a skill-based game and each character has a different playstyle, difficulty level and even special tricks and combos. Zenless Zone Zero is also a team based game and it's only by combining both these factors to the highest level a character can reach optimal performance.
Very easy combos to learn and execute with high daze potential and a simplistic onfielder playstyle;
High Energy generation built into her kit, even able to funnel flat Energy to other Electric characters;
Becomes stronger the more aggressive the enemy is, thanks to her Dodge Counter, while remaining usable at a baseline;
Surprisingly acceptable personal damage by Stun character standards, especially at M6;
She’s free!
Has little to no AoE potential unless enemies are on top of each other;
Provides very little value to other Agents as she has no extra buffs/debuffs like other Stun Agents do;
Overshadowed in any team by one or more options, which makes her very easily replaceable.
Anby Demara, often called Stun Anby to differentiate her from her S-rank Soldier 0 counterpart, is a free A-Rank Electric Stun Agent available right from the get-go whose main role is to deal a lot of Daze to enemies in a short amount of field time in order to offer Stun windows for your other Agents to exploit.
Anby is a character who’s very conceptually simple to get a good grasp on. Overall, being a free character you get right from the start of the game, Anby is a character who portrays the phrase “simple yet effective” perfectly. There are some minor intricacies to her kit, but once you get a grasp of her 2 main combos (which really doesn’t take long to do), it becomes very difficult to play her incorrectly, which is one of her biggest strengths.
When it comes to explaining her kit, we’ll keep things as short as we can because it’s really simple to grasp:
Her Chain and Ultimate are simple bursts of DMG and Daze with no intricacies to them, the same applies to her Quick Assist, and her Defensive Assist is a simple big burst of Daze that should be executed along with her Assist Follow-Up when possible to stun enemies faster.
Anby’s Basic Attack and EX Special are generally tied together, they’re the two main components of Anby’s combo. After the third hit of Anby’s Basic Attack, she can follow up with a special Basic Attack called “Thunderbolt” by holding down the Basic Attack button or by pausing for a split second then pressing Basic again (it’s easier and doesn’t cause any losses to simply hold the Basic Attack button, so typically that’s what you’ll do).
Her EX Special is another big burst of damage and Daze that costs 60 Energy and is also usable after her Basic P3 for a faster start-up, after which she can immediately follow up with her Thunderbolt Basic Attack by simply tapping the Basic Attack input, allowing for a very quick burst of Daze.
Executing either of these actions after Basic P3 allows Anby, via her Core Passive, to gain up to 64% extra Daze on them. This means when you have enough Energy available you can execute this combo:
Basic P1
Basic P2
Basic P3
EX Special
Basic Attack: Thunderbolt
The EX Special gains 64% extra Daze doing this via Anby’s Core Passive, which is extremely valuable to stun enemies quickly. However, if you don’t have the Energy required to perform an EX Special, simply perform this combo:
Basic P1
Basic P2
Basic P3
Basic Attack: Thunderbolt
Hold Basic Attack after Basic P3 to perform Thunderbolt here, which gains an extra 64% Daze via Anby’s Core Passive.
Some intricacies to mention include the following:
Try to use Anby’s Ultimate whenever possible and out of a Stun window to create more Stun opportunities for your team;
Anby’s Dodge Counter is very powerful and should be executed whenever possible (even interrupting your combo for it), this grants her extra Energy with her Additional Ability activated;
If you can perform a Defensive Assist with Anby, it’s never a bad idea to do so to stun enemies quicker;
Anby’s Basic P4 can be used instead of standard combos every 30s by simply repeatedly tapping Basic Attack to get extra Energy Regen from her M1.
Finally, simply repeat the above actions until the enemy is stunned, then chain into your DPS Agent for big bursts of damage. Make sure to have Anby’s Additional Ability condition satisfied for more EX Specials, which means faster Stuns!
That sums up Anby’s gameplay in just about full detail, she’s really simplistic in essence. Her regular Special is unused as her Thunderbolt Basic is always more preferable to execute. Certain intricacies may apply depending on your specific team and the enemy you’re facing, however in terms of general usage this is as complex as it gets.
Regarding Anby’s meta relevancy, she’s always outclassed by at least one other Stun agent in any team, which is to be expected as she’s a free character obtained at the very beginning of the game. The biggest example of this is Qingyi, being another Electric Stun Agent who wants to stay on the field, stuns quickly, and applies Stun DMG Multiplier debuffs, outclassing Anby in just about every way. However, to Anby’s credit, for the character you start the game with, she very much doesn’t disappoint. Building her, even into the late game, should give you the resources you need to fully clear endgame content. She works as a “budget Qingyi” of sorts and while Anby doesn’t provide nearly as much as the robot policewoman does, she fills the same niche as her, slots in similar team compositions and remains effective nonetheless.
In conclusion, Anby is a simplistic Stun Agent to play, build, and use, and while she’s a free character given at the very beginning of the game with little special qualities to make her stand out, she remains very suitable in her role thanks to her Daze and Damage numbers standing fairly strong to this day, especially at M6. She won’t disappoint if you wish to build her, however be aware that she will be outclassed by other Stun Agent options once you acquire them, so you may end up replacing her someday. But until that day comes, she’ll be very serviceable.
Build and teams

For ZZZ calculations we worked alongside Rivyn Elowen. Any other content such as comments on W-Engines, Disks, etc are our own.
The W-Engines are listed in order of priority. Sometimes the percentages appearing near them won't reflect their performance as pure damage or Stun output isn't the only thing we're looking at - the utility of the W-Engine might be more important than the calculations imply.
The top number shows the performance of the W-Engine when applying Daze while the bottom number when dealing Damage.
103.72%
94.00%
101.55%
88.85%
101.05%
88.85%
100.00%
100.00%
93.00%
103.26%
1
New best Stun set, to be used on any Stun character in almost any team with very few exceptions. Gives 6% increased Daze on the 2-piece and up to 30% CRIT DMG for the entire squad for 15s when casting EX Specials and Chain Attacks on the condition that the equipper has 50% CRIT Rate or higher, a requirement which is easy to meet but must be ensured. Uptime on this buff is almost always easily maintained permanently, however be mindful this set will not be effective if you aren’t building the rest of your team on CRIT, in which case alternatives will be preferred, and that you cannot run this set multiple times on the same team.
Best combined with your choice of 2-PC Set:

Shockstar Disco

Swing Jazz
2
Best generalist Support set, providing a useful 10% ATK on the 2-piece but most importantly buffing DMG dealt by characters entering the field via Quick Assists by upwards of 24%, the biggest buff provided by Disc Drives in the game. Generally a must-have set on any team, but be mindful of ensuring uptime on the buff.
Best combined with your choice of 2-PC Set:

King of the Summit
Shockstar Disco
Swing Jazz
3
Niche supportive set used for teams that are in the position of triggering Perfect Assists often. Grants the entire party 15% increased DMG for 10s when triggering a Perfect Assist. Typically used if an Astral Voice wielder is already on the team and the equipped Agent is in a position to trigger lots of Perfect Assists. This set's value is significantly diminished if the player isn't comfortable with timing Perfect Assists, in which case other sets will be favoured such as 4P Swing Jazz.
Best combined with your choice of 2-PC Set:
King of the Summit
Shockstar Disco
Swing Jazz
4
Provides the highest Daze output of any Disk Drive set in the game. However, the difference between the 4-piece effect increase in Daze is marginal compared to simply using the 2-piece effect, meaning it almost always yields better results to use a supportive set like King of the Summit or Astral Voice to buff your team further, instead of the extra Daze which only gives extra Stun windows against bosses in very specific situations. If an extra Stun window is enabled by using this set it will perform the best, however this only very rarely happens, causing it to be left behind in favour of other sets.
Best combined with your choice of 2-PC Set:
King of the Summit
Swing Jazz
Substats: CRIT RATE = CRIT DMG > ATK% > PEN = ATK
Impact: 169 - 190+
ATK: 1700 - 2000+ (Optional)
HP: 9500+
DEF: 800+
CRIT RATE: 50%+ (Needed for King of the Summit)
CRIT DMG: 100% - 120%+ (Optional)
Special Attack
Basic Attack
Chain Attack
Dodge
Assist
Anby guide videos aren't available yet.
Teams & Synergy
Below we list only the most important synergies for Anby. The character can work with others if you know what to do and how to use them.
 Harumasa - Harumasa's current best F2P Stun partner is Anby, replacing Qingyi if you don't have her. She's desirable for a few reasons, being her quick Daze application which fills in for Harumasa's downtime due to her field time requirements, her ability to inflict Shock anomaly, and her acceptable personal damage. All in all the two form a great pair if you don't have other Agents.
 Zhu Yuan - Anby makes for a great F2P stunner for Zhu Yuan due to her quick Daze application that fills in for Zhu Yuan's downtime. She acts as a solid replacement to Qingyi, so it's easy to see why the two work well together as their kits have similarities. Much like the synergy with Harumasa, Anby is an option to consider if you lack stronger Stun Agents.
 Nicole - The Demara sisters are able to activate each other's Additional Abilities, which is great for enhancing Anby's Energy Regen while Nicole gets to provide an extra Ether DMG Boost to the whole party. Beyond that, Anby is able to quickly create Stun windows for Nicole's DEF shred to gain extra effectiveness, greatly enhancing the performance of the DPS character you pair them with, making the two a great duo to increase your DPS character's damage.
This section lists most popular teams featuring Anby in the current phase of Shiyu Defense.
There are no teams featuring Anby who have cleared Shiyu Defense in the current cycle.
This section lists most popular teams featuring Anby in the current phase of Deadly Assault.
There are no teams featuring Anby who have cleared Deadly Assault in the current cycle.